Cottage Cheese
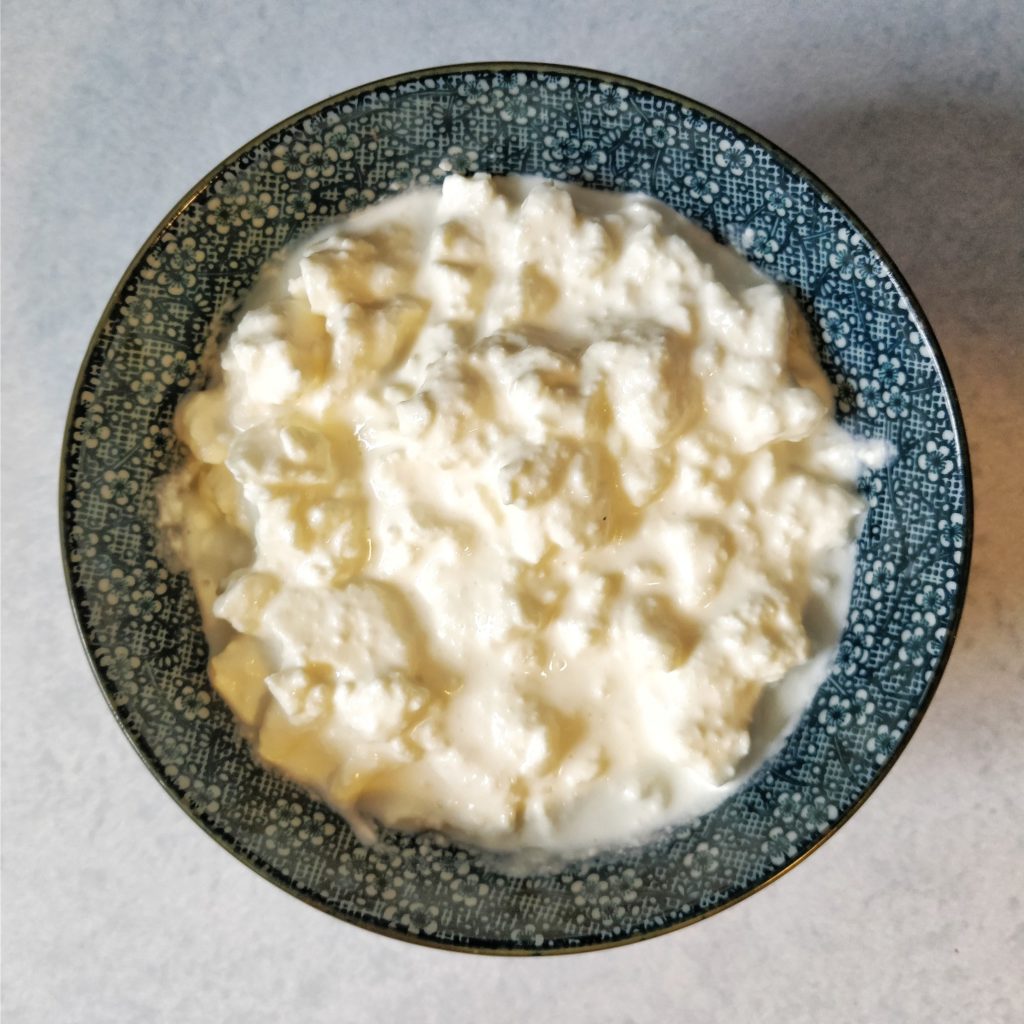
If you’ve never made cheese before, cottage cheese is a great place to start. You’ll get the experience of turning milk into an edible solid without having to wait months for the tasty results. You also don’t need to worry much about storage conditions and mold inoculation. And, it doesn’t require any skill in the handling like, say, mozzarella; just a straightforward set of steps with precise times and temperatures.
Any time I see good-quality local milk on sale at the grocery because it’s near the sell-by date, I grab it without hesitation. If you’ve never made your own cottage cheese before, I can confidently say that you’ve never had any like it. I have always loved it, but after making my own I can’t just pick it up from the store anymore. If you don’t want to be spoiled by the good stuff, then turn back now!
This recipe does call for rennet. It’s not something most people keep on hand, but trust me when I say it is crucial. I tried every other method for curdling milk to make this and they are not worth the effort. You are better off buying what they’re calling “cottage cheese” off the shelf than tryig to make it with vinegar or some other acid. It imparts a distinct flavor, your yield of curds is even lower, and the whey left over is practically useless.
I purchased a pack of vegetable rennet tablets online about… two years ago? Most “serious” cheesemakers won’t bother with vegetable rennet, but I find that it suits my inconsistent need for it well. They keep very nicely in the freezer, and only using 1/4 of a tablet at a time means I may still be using them two years from this post. They certainly won’t last forever, but effective for at least 2 years for around $10? Worth it.
1/2 gallon of milk, or 2 quarts, yields about 4 cups of curds. For me, that’s around 4 servings, 6 if I’m trying to ration it. This takes about 4-5 hours total, most of which is inactive wait time.
The Curds:
- 1/2 gallon whole milk
- 2 Tbsp cultured buttermilk, sour cream, crème fraîche, etc
- 1/4 vegetable rennet tablet, or 4 drops liquid rennet
- Heat milk gently to 95°F/35°C in a heavy-bottomed pot (with a lid). If using milk that is past expiration and starting to sour, first heat to 140°F/60°C and let cool down to 95°F/35°C.
- Remove from heat. Add buttermilk (or any other active cultured milk product, really) and crushed rennet tablet/drops and stir well, then cover and wrap in a towel. Let sit for 2-3 hours.
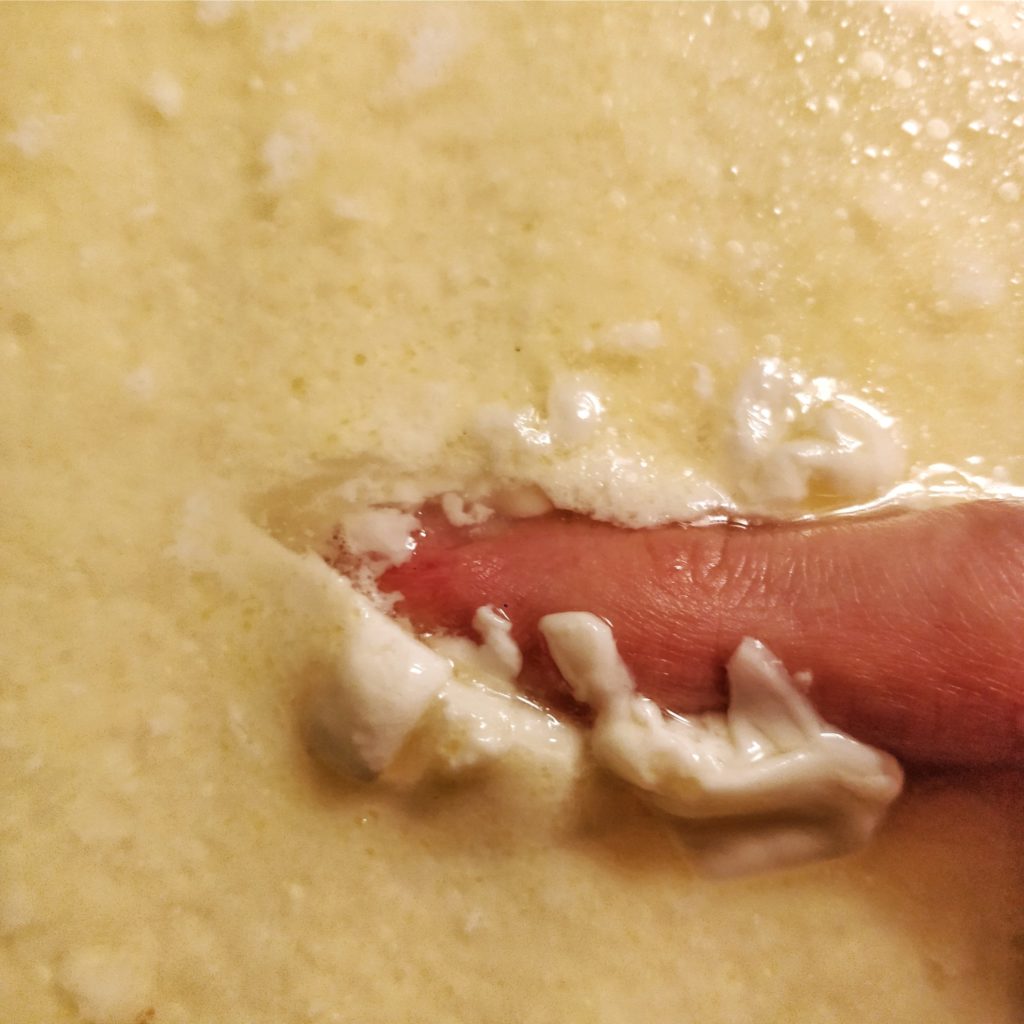
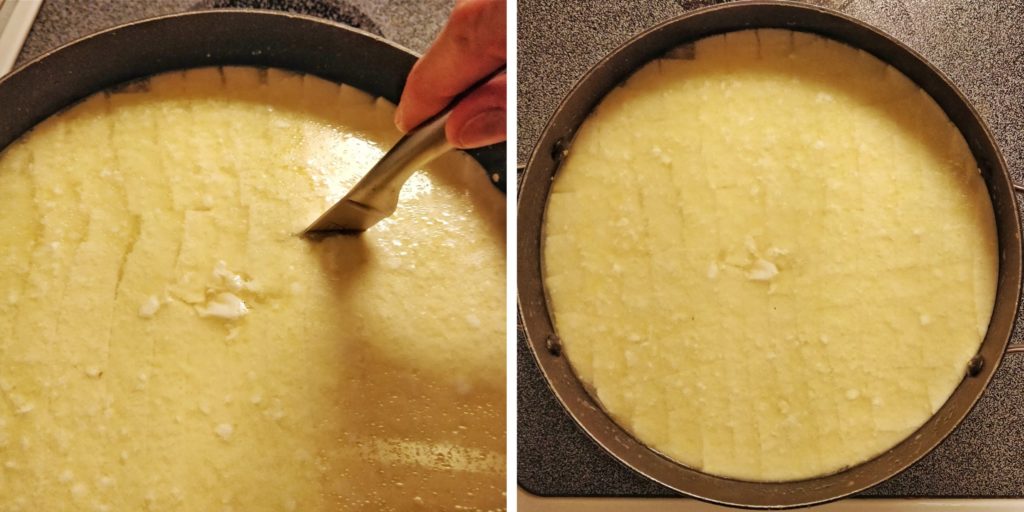
- When the curd is set (use the “clean break” method), use a thin knife to cut the curds into a checkerboard pattern with squares approximately 3/4″ wide. This will create many standing “columns” of curd which are very fragile.
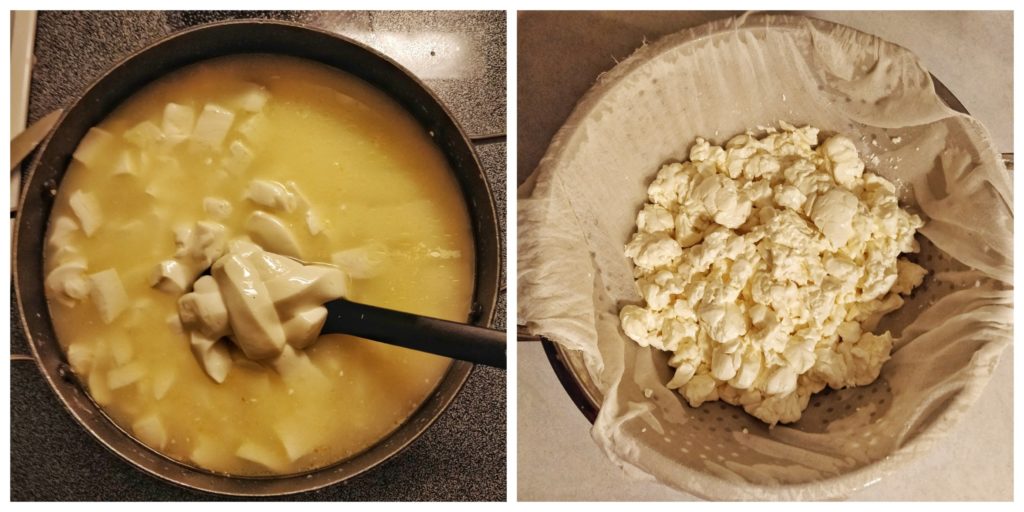
- Add a pinch or two of salt, and gently heat the pot up to 115°F/46°C on fairly low heat, which should take 15-30 minutes. Wait about 5 minutes while agitating/turning the pot slightly. While it heats, gently (gently!) attempt to cut the columns of curd into rough cubes. This can be accomplished by lifting some out with a large spoon, slicing with a knife, and putting back into the whey. As you cut more it will become easier to stir without destroying the curds.
- When you reach 115°F/46°C, remove from heat and cover while you prepare the collander. Line a collander with butter muslin or cheesecloth and set above a large bowl. Gently scoop most of the curds from the pot into the collander, then pour the rest through. Keep the whey for cooking/bread-making.
- Allow the curds to drain as much as possible. Fill a bowl in the sink with cold water, gather up the curds in the cloth, and dunk into the cold water to wash away the remaining whey. Dump the water and repeat 2 more times, gently massaging with your hand.
- Allow curds to drain again (you can squeeze ever so gently). Store the dry curds in an airtight container in the fridge.
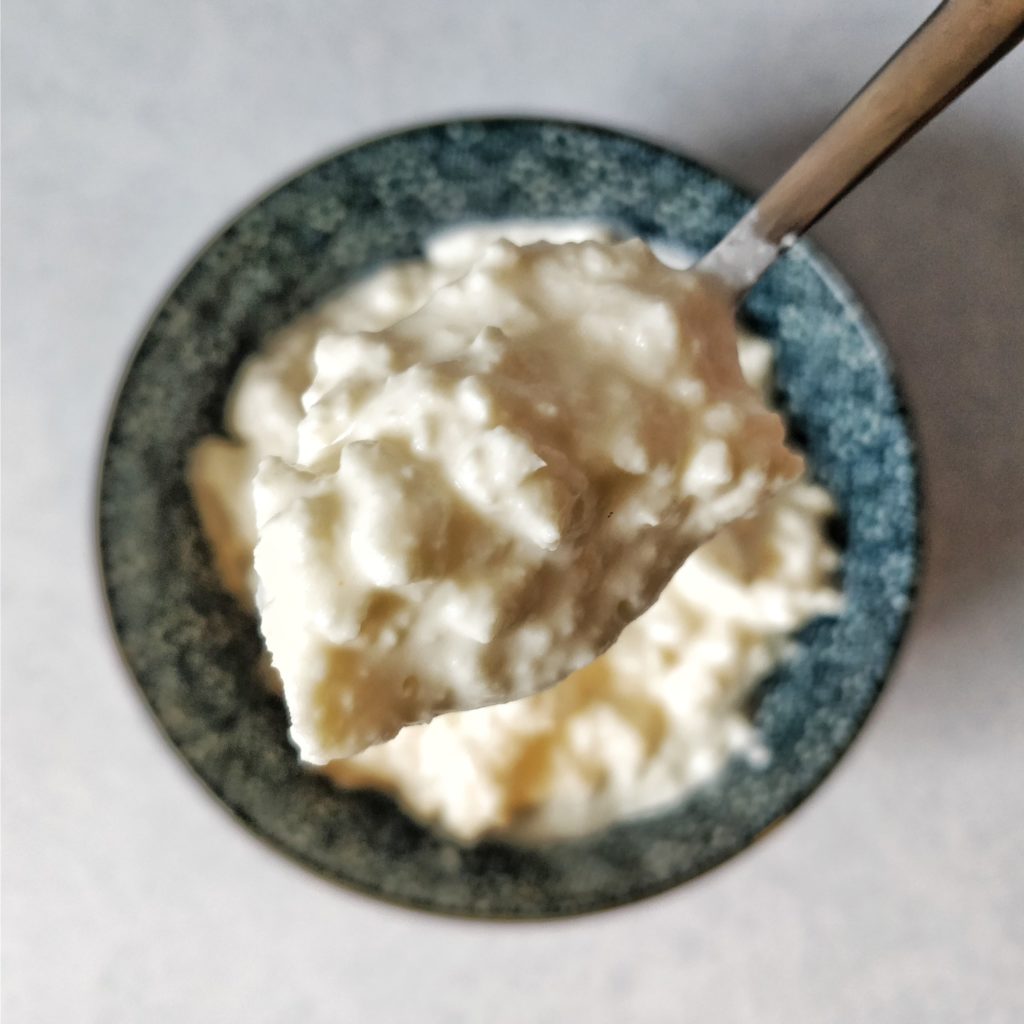
To serve:
- Salt to taste
- heavy cream or half and half, to taste
When ready to eat, scoop some curds into a bowl and add salt and heavy cream to taste. Go easy on the salt, a pinch at a time, and you may want to add a little more cream after it’s had a chance to soak in a bit (depending on how you like it).
