Cherry Berry Jam Without Pectin
There are generally one of two things wrong with any jam recipe near the top of the search results page. Either the recipe calls for something you don’t have on hand, like pectin, or the recipe uses very specific amounts, measured volumetrically, that don’t match up with what you’ve got.
Let me ask you a question: did you get here because you already have some cherries or berries and want to make some jam, and you searched for a recipe “without pectin”? Or did you just decide one day “I should make jam” and set out to find a recipe so you can make a trip to the grocery store?
Maybe I am in the minority when it comes to my recipe preferences, but I chafe at very detailed, prescriptive recipes. I am usually looking for a method to apply to the ingredients I have on hand, not the other way around. I like to buy what’s on sale or what’s in-season and figure out my meals from that, so if a recipe doesn’t come with an explanation I give it a pass.
In this case, I had some cherries I’d been meaning to do something with, like a clafloutis, but hadn’t got around to, and they were starting to wrinkle. I also had some raspberries because, well, I picked them up on sale.
I’ve been baking a lot of sourdough bread since the pandemic started, and it’s always nice to have some good jam on buttered sourdough toast. Seems like a good way to lengthen the useful life of fruit that is past it’s prime, but I only had a vague notion that it involves “cooking it down”. I finally found this recipe for cherry jam without pectin that I used as a template because it includes some good info about the process, but also because it calls for 1kg of the main ingredient, cherries.
I did not have 1kg of cherries, but my experience with sourdough has given me a different outlook on the underlying ratios of recipes, specifically “bakers’ percentages”. It’s useful because it allows the recipe to be scaled quite easily with a bit of simple math, as long as you’re working with units of weight. The gist is that the main ingredient, regardless of the amount, is your “100%”, and every other ingredient is measured as a percentage of that. I’ve converted the base recipe (with my own modifications) to these percentage units for use with any berry at any amount:
- 100% cherries/berries/any tart fruit
- 50–75% sugar
- 1–2% lemon juice
- 0.5–1% butter
There’s some wiggle room in the base ratios to account for your particular tastes. Want a sweeter jam? Use 66–75% sugar. More tart? Use 2% lemon juice, or dare I say ignore my recipe and go for 3%, or use lime juice instead! However, I would like to go into some detail of the process I used, and provide some options for different styles of jam.
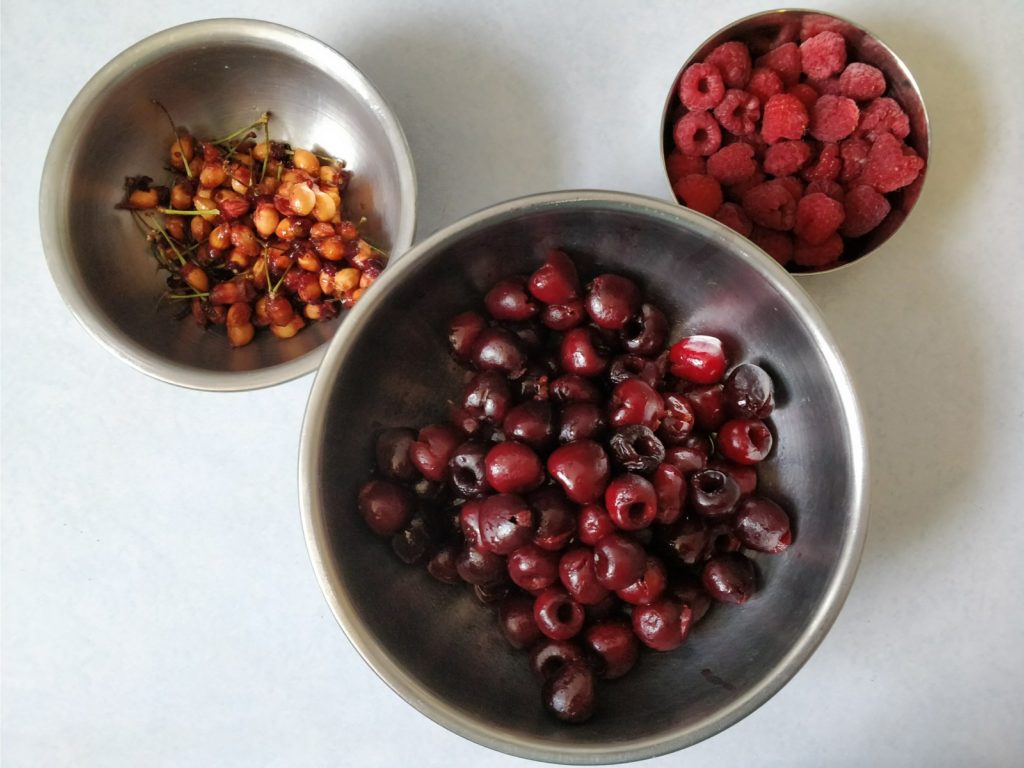
First, I pitted the cherries. If you have a reusable metal or plastic straw, those work pretty well. Just insert the straw through the stem side and the pit is pushed right out. Still pretty tedious, but unavoidable. If you aren’t using cherries, congrats! You’re already done with step 1!
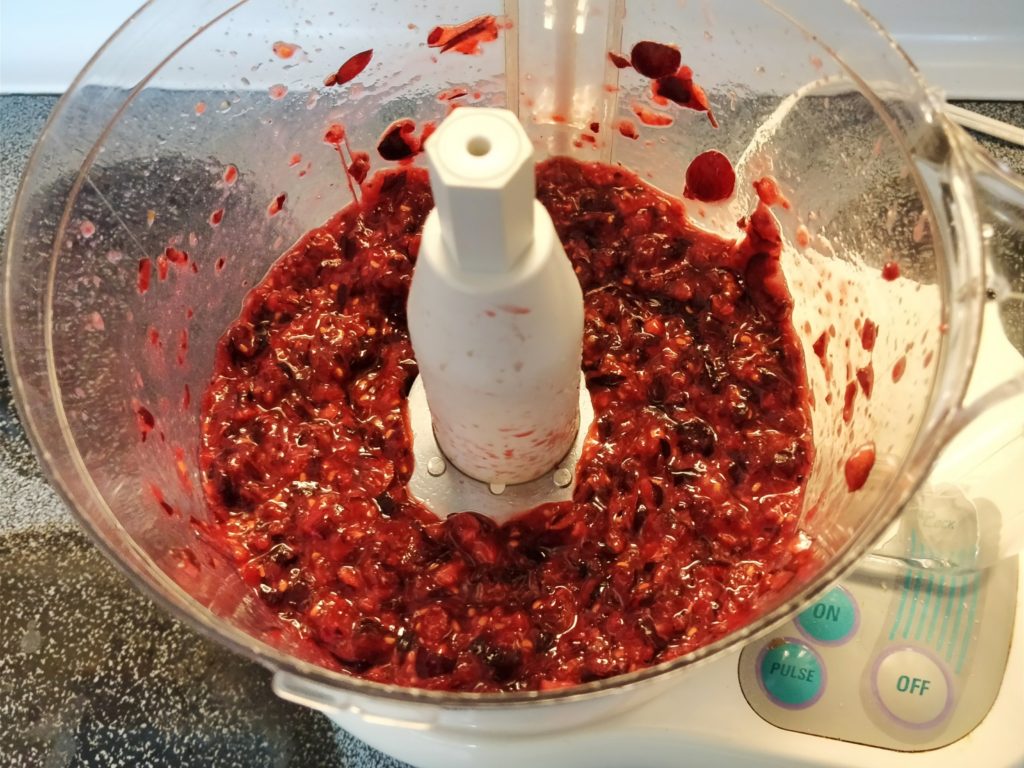
Second, I placed the cherries and raspberries into a food processor with about 2 tablespoons of water (the water will be boiled off regardless of the amount, I just added it to facilitate putting the fruit through a food mill). You only need to pulse a few times for a few seconds each.
You can absolutely begin your jam-making with just the lightly-blended berry mix, but I’m not really into chunky jam. Skins I can do without, and seeds I find annoying. So I put it through my OXO food mill. I have to say, I was a bit disappointed with the amount of raspberry seeds that got through my mill, so I also put it through a fine mesh strainer. That did the trick, and I was left with 420g of pulpy fruit juice.
Applying our ratios, these were the amounts I used:
- 420g cherry/raspberry pulp
- 280g sugar (66%)
- 8g lemon juice (2%)
- 5g butter (~1%)
All except the butter went into a heavy-bottomed pot over medium-high heat. This is where we apply some more cross-disciplinary techniques: we’re essentially making a really really really ridiculously good loo—er, I mean soft candy. Like so soft it’s still a liquid. To do this, we have to bring the temperature up past the boiling point of water, which is interestingly not as simple as it sounds. Water doesn’t get hotter than 212°F/100°C.
Let me say that again. Water does not get hotter than it’s boiling point! This is why double-boilers are a thing used to “gently” cook or heat things, as there is a maximum temperature which is lower than the point of burning anything. The more heat you pump into water, the more steam is created, but the temperature is stable. In order to get to our target temperature of 221°F/105°C, enough water must be driven out as steam to allow the other materials in the mix, primarily the sugar, to absorb heat.
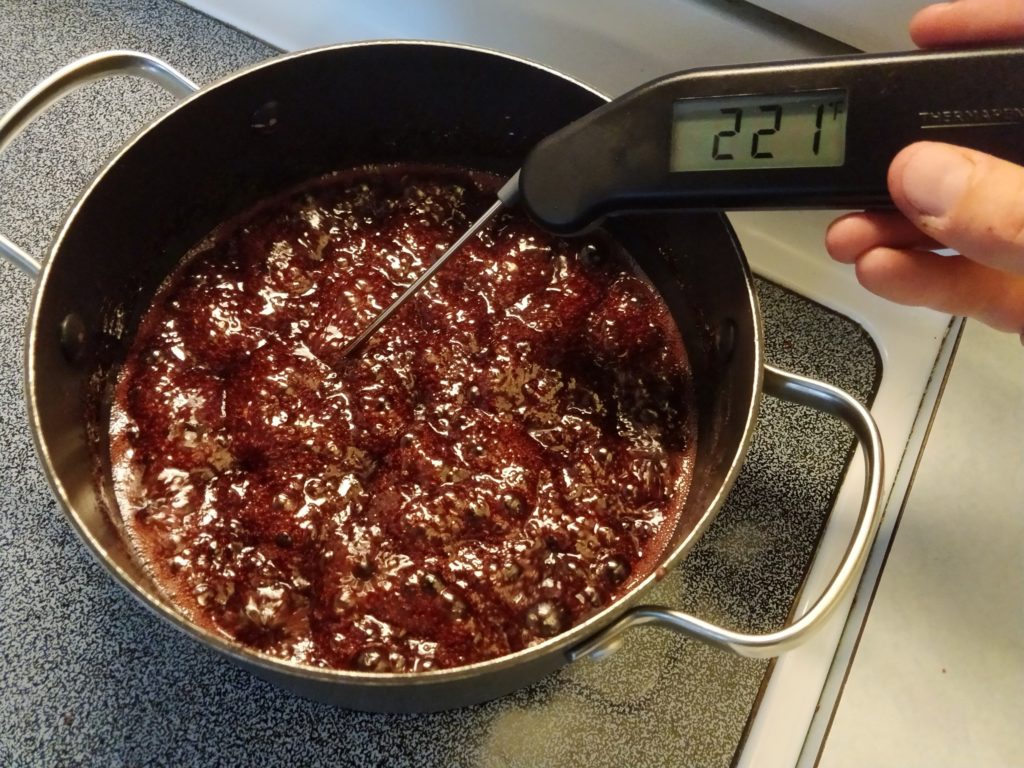
You will find that the temperature will stall at the boiling point, and then very slowly (depending on the intensity of the burner) creep upwards. We do not want to let this get higher than 221°F/105°C, which is only 2°F below “thread stage”, the first stage in candy making.
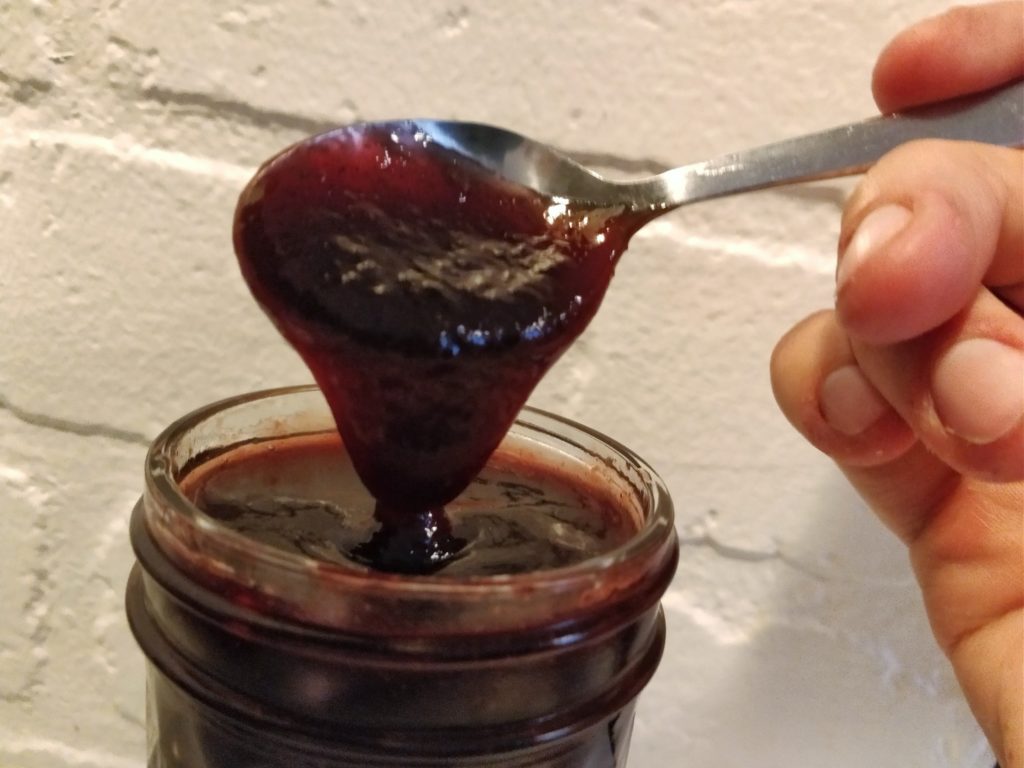
Once the jam reached target temp, the pot was removed from the heat source and butter stirred in. Hot liquid jam was then transferred to a metal bowl which had been in the freezer. Still not cooled at all, it was put over an ice bath until room temp, at which point it was poured into a jar and put in the fridge.

The basic ratios and methods do not change if you are canning your jam, but I opted to go straight into the fridge. You can put the hot jam into sterilized jars, seal, and heat in a water bath for 5 minutes.
So yeah, that’s it. I guess this isn’t much of a recipe, but it’s also not a full-blown guide (those will be coming soon). But I wanted to share a simple method and ratio-based approach to preserving those bountiful summer fruits we’ll be seeing for the next few months.