Makgeolli
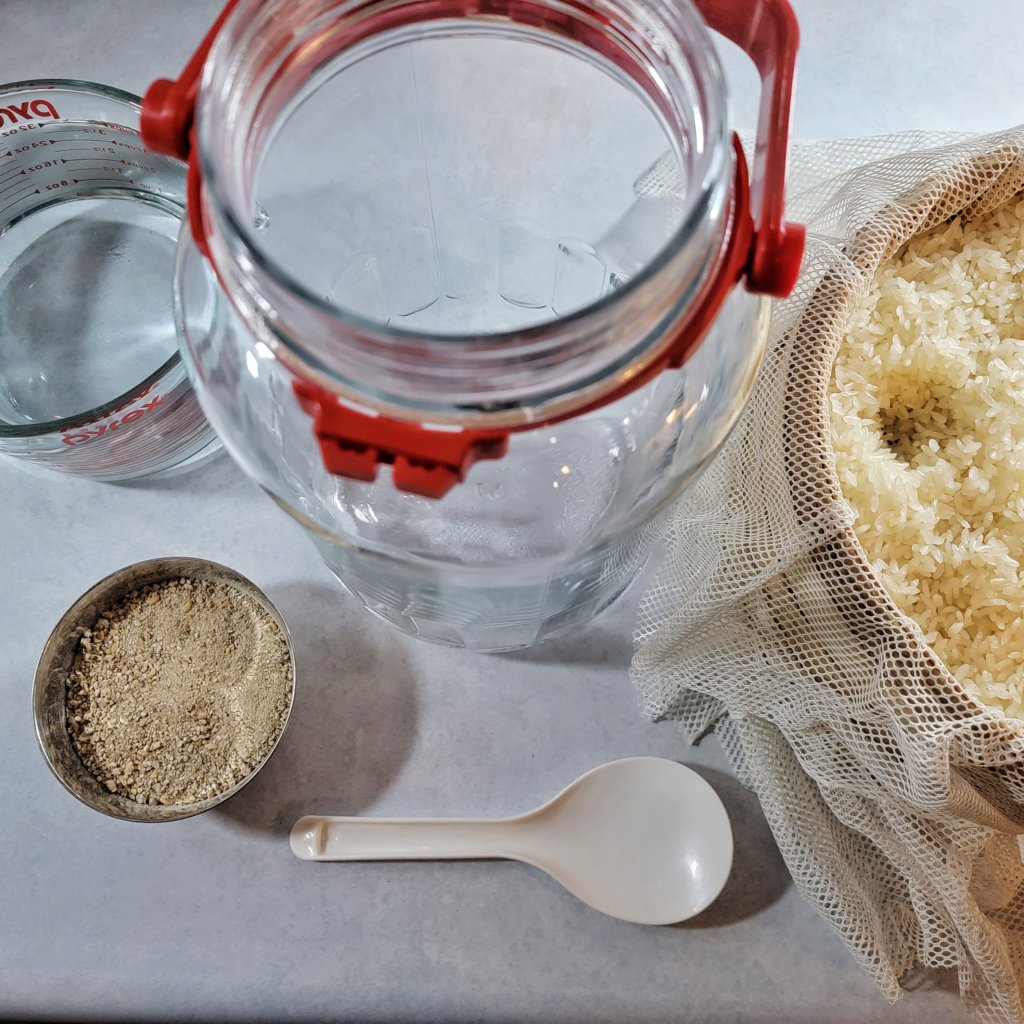
Makgeolli, an unfiltered Korean rice wine, is the first rice-based alcohol I ever tried to make. I’ve always enjoyed unfiltered (“nigori”) sake so I was keen to try makgeolli after watching a video by Maangchi, and I’m lucky to live near a little Korean store that keeps nuruk in stock. As the Lunar New Year is here, I think it’s the perfect time to make a new batch!
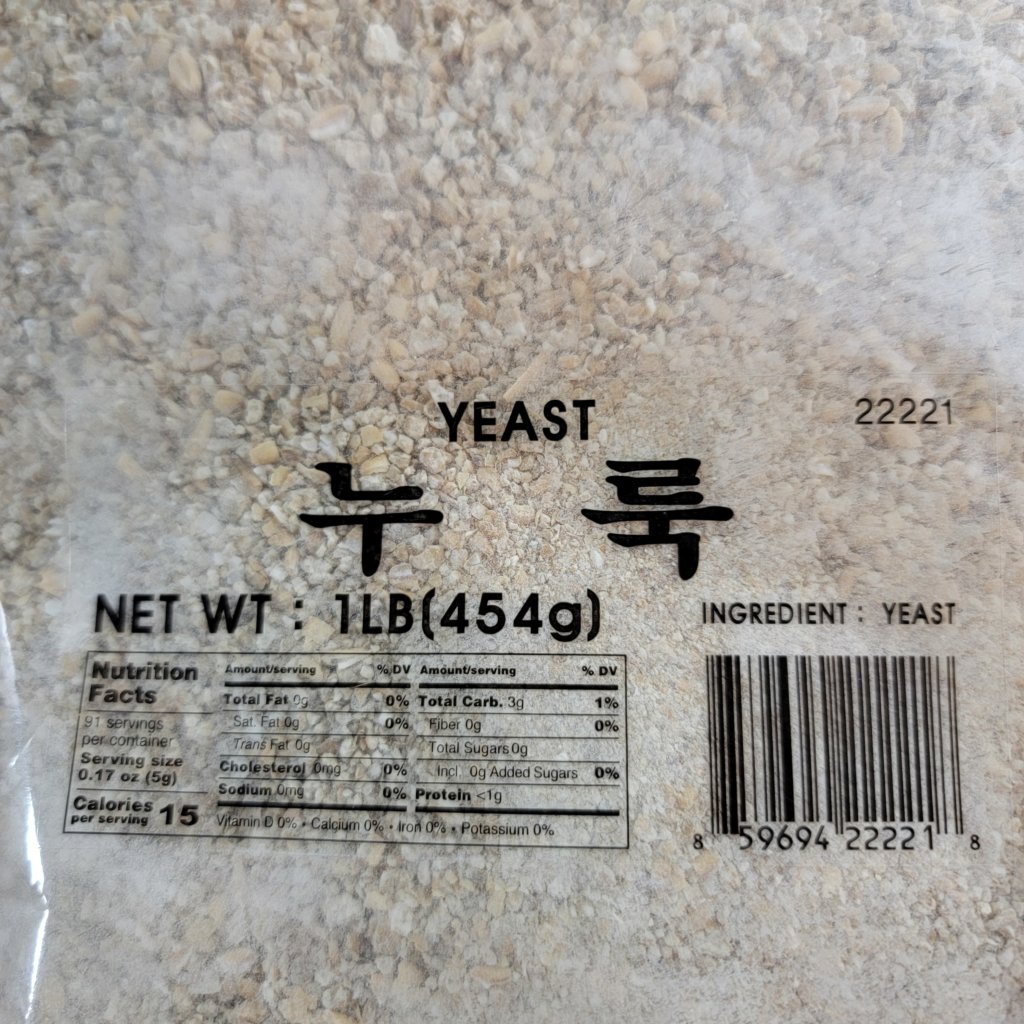
Nuruk is the key ingredient that makes makgeolli work. It provides a similar function that koji does in sake: enzymes (especially amylase) that break down starches into sugars. It’s generally made from wheat, rice, and barley in a similar fashion to the Chinese qū (pronounced “chu”)—grains are moistened, packed together into bricks, dried, hung up, and incubated to cultivate bacteria, yeasts, and molds that produce the amylase enzymes.
Lets make some makgeolli!
Day 1—2022-01-30
Part 1: Wash & Soak
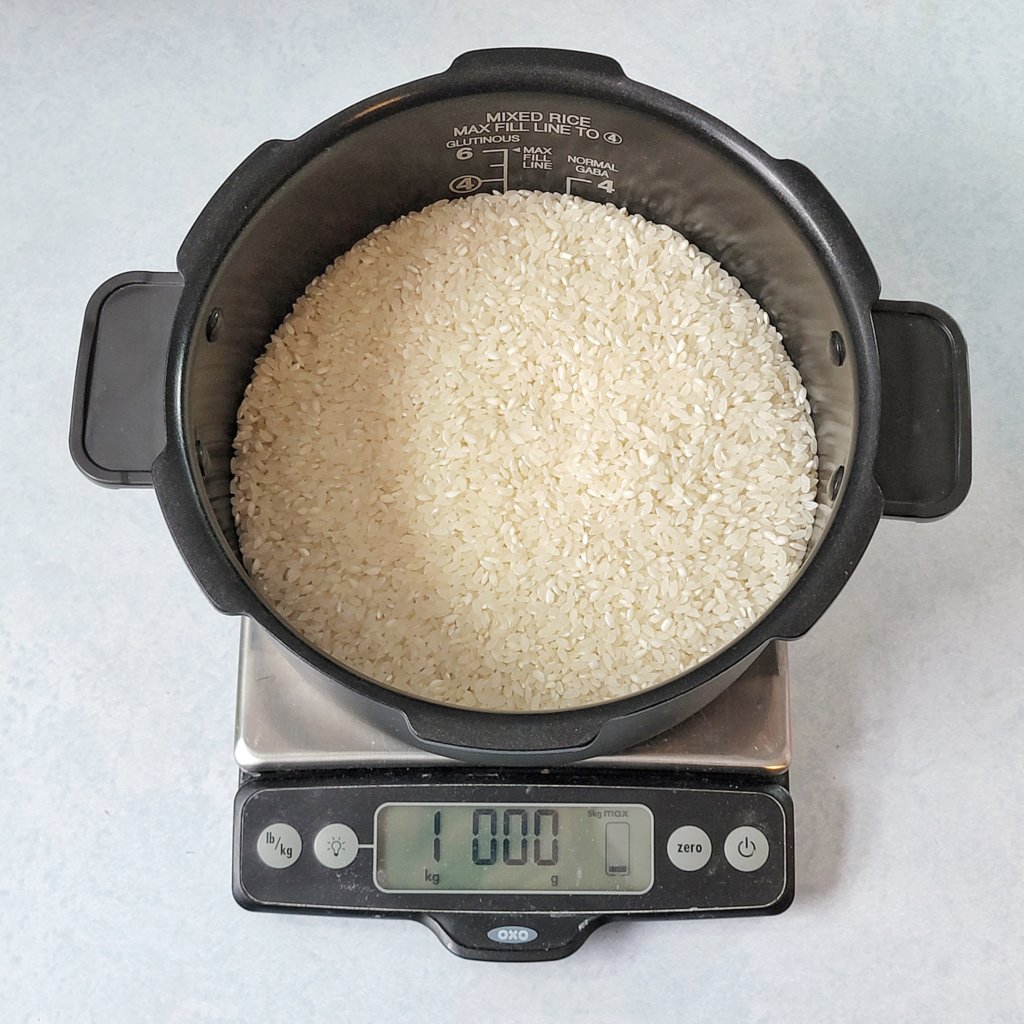
- 1 kg medium-grain rice (Kokuho Rose)
Despite what it looks like, I won’t be using my rice cooker for this rice. I just happen to like the size and shape for washing and soaking the rice. Washing and soaking are not optional!
Wash the rice by running cold water in and stirring vigorously with your fingertips. Then, carefully pour the cloudy water out without losing any rice grains. You don’t have to get every last drop out, just keep rinsing and draining 3-5 times until the water is not so opaque (note: it won’t become fully clear).
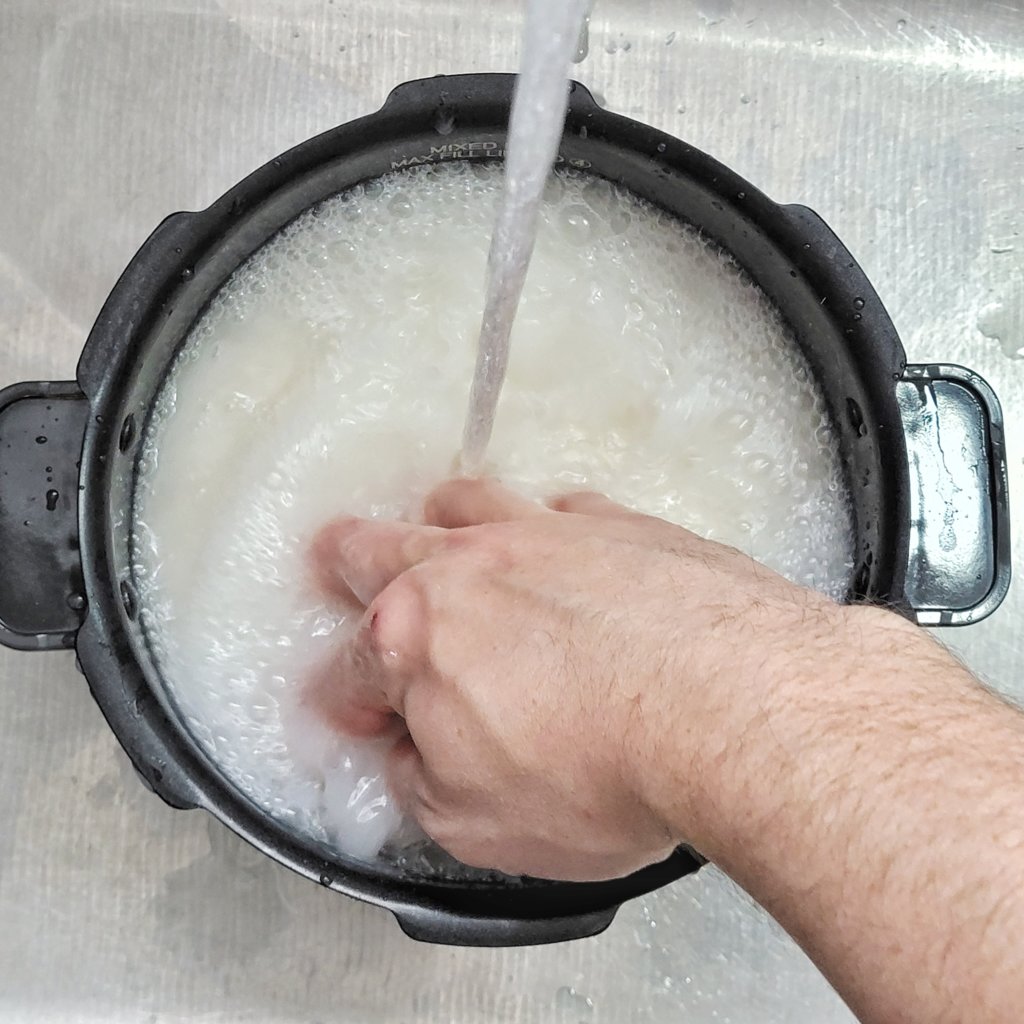
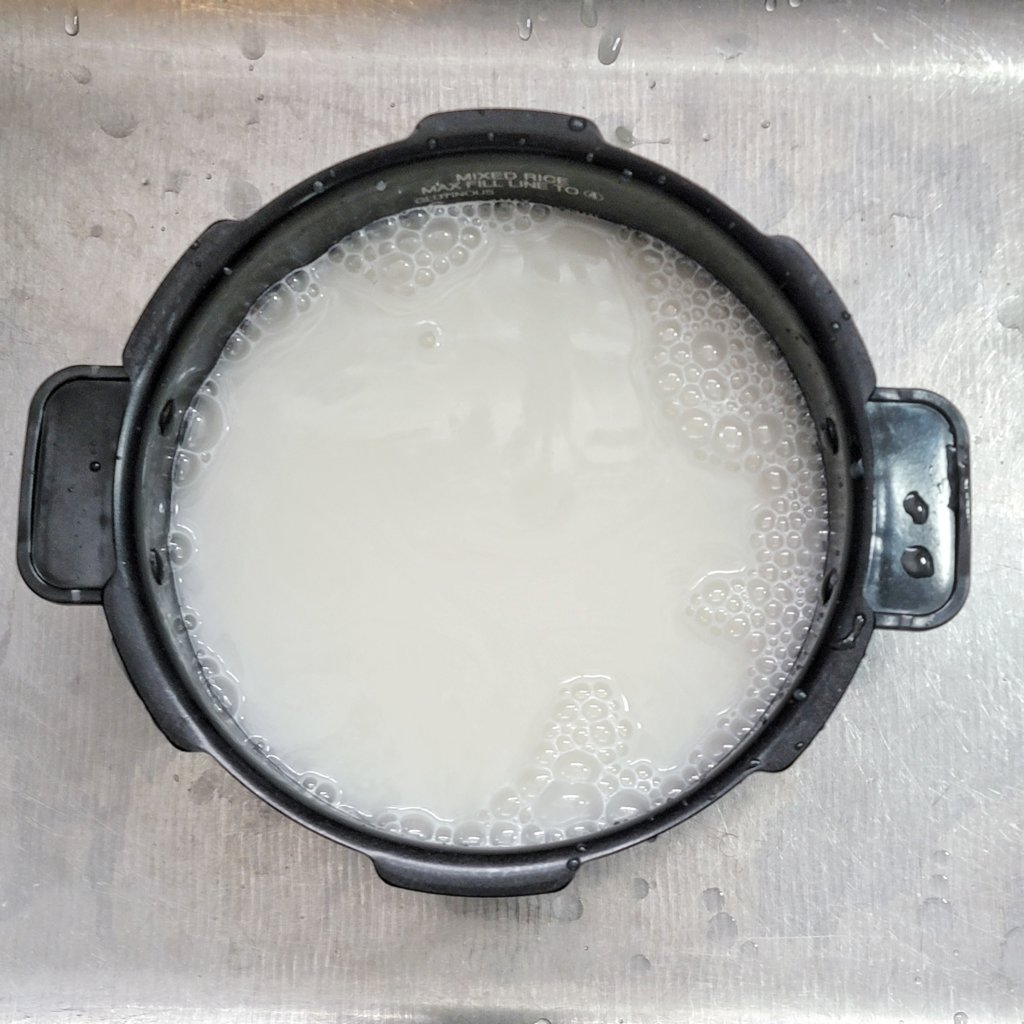
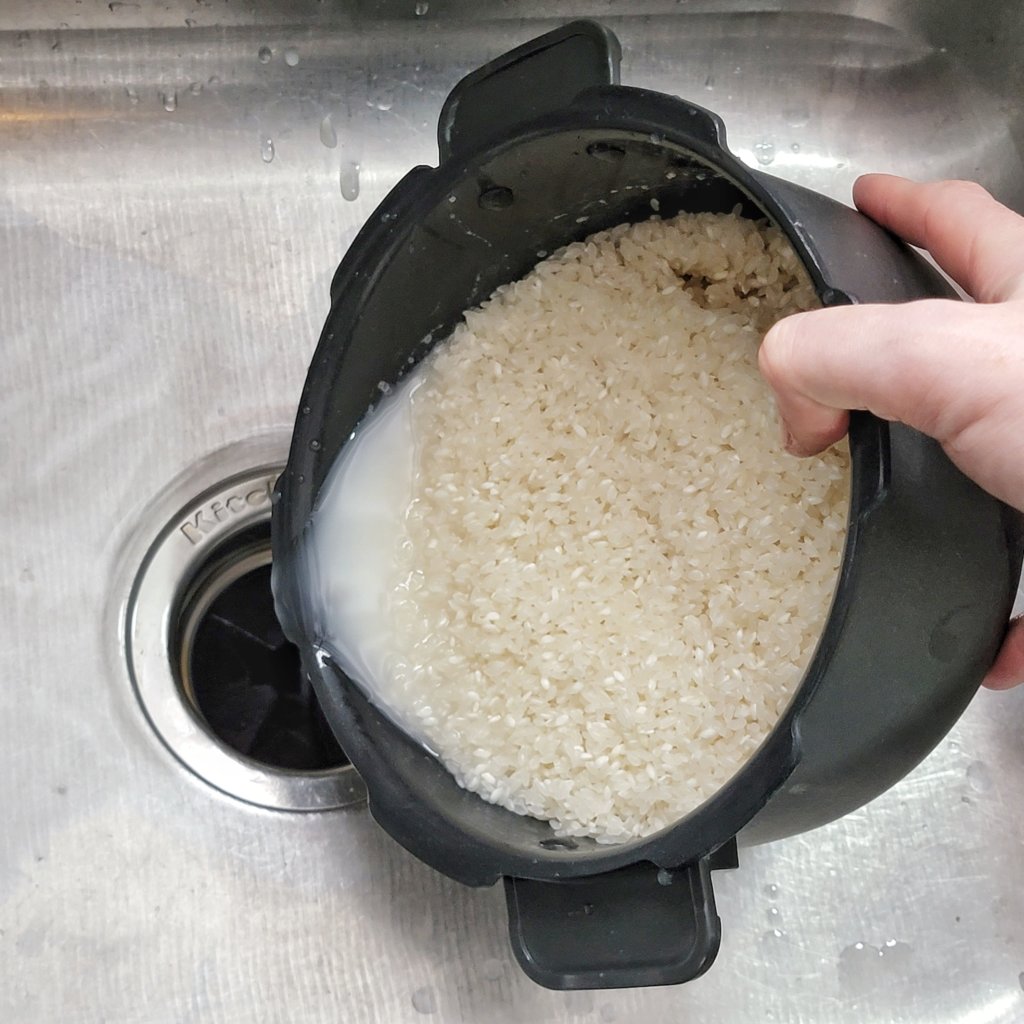
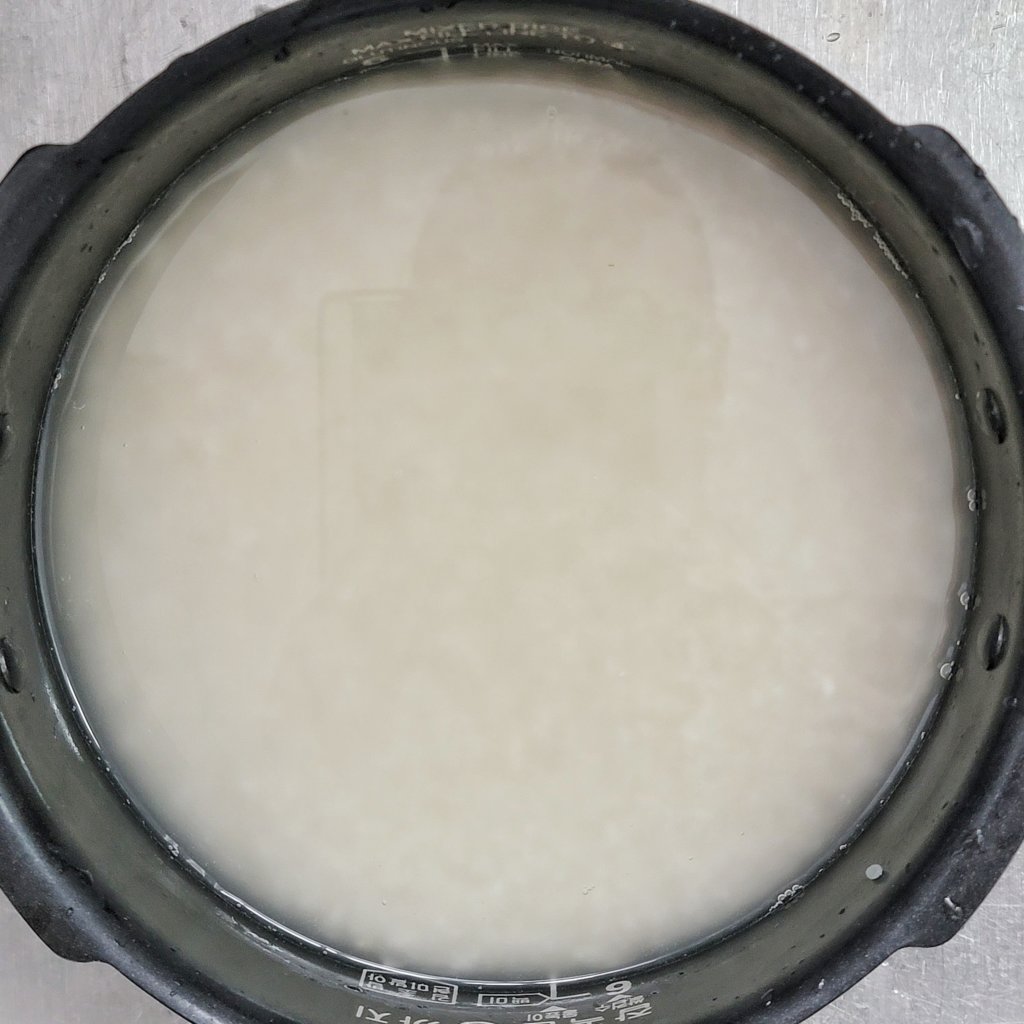
Now the rice should soak for roughly 4 hours. It doesn’t need to soak overnight. After soaking, the rice will look less translucent and more chalky white.
Part 2: Steam
Do you have to steam the rice for makgeolli? Probably not, but it’s a habit from making other rice alcohols and growing koji, and the results are always consistent for me.
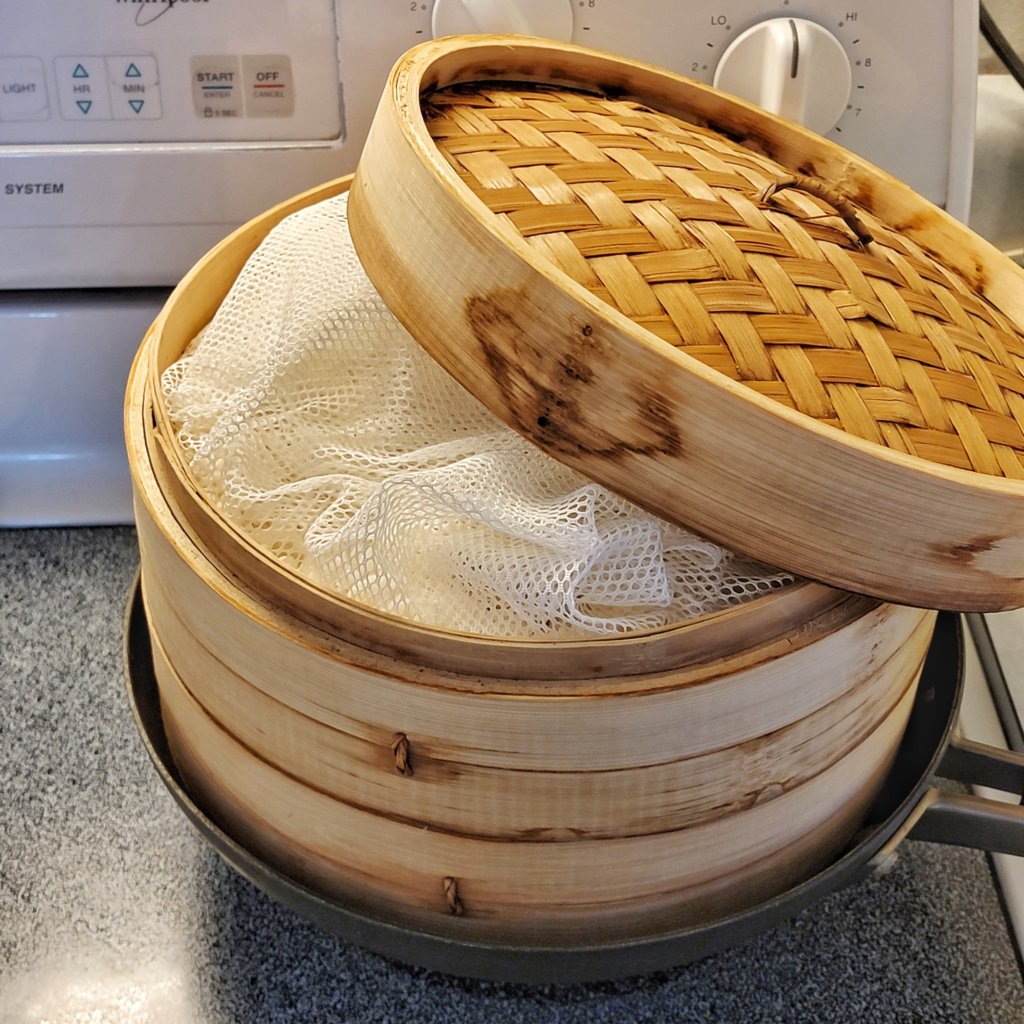
I use a medium-sized dual-layer bamboo steamer with “rice napkin” cloth. I used to use cheese cloth or butter muslin, but the rice always sticks to those, but comes right off this magical nylon mesh.
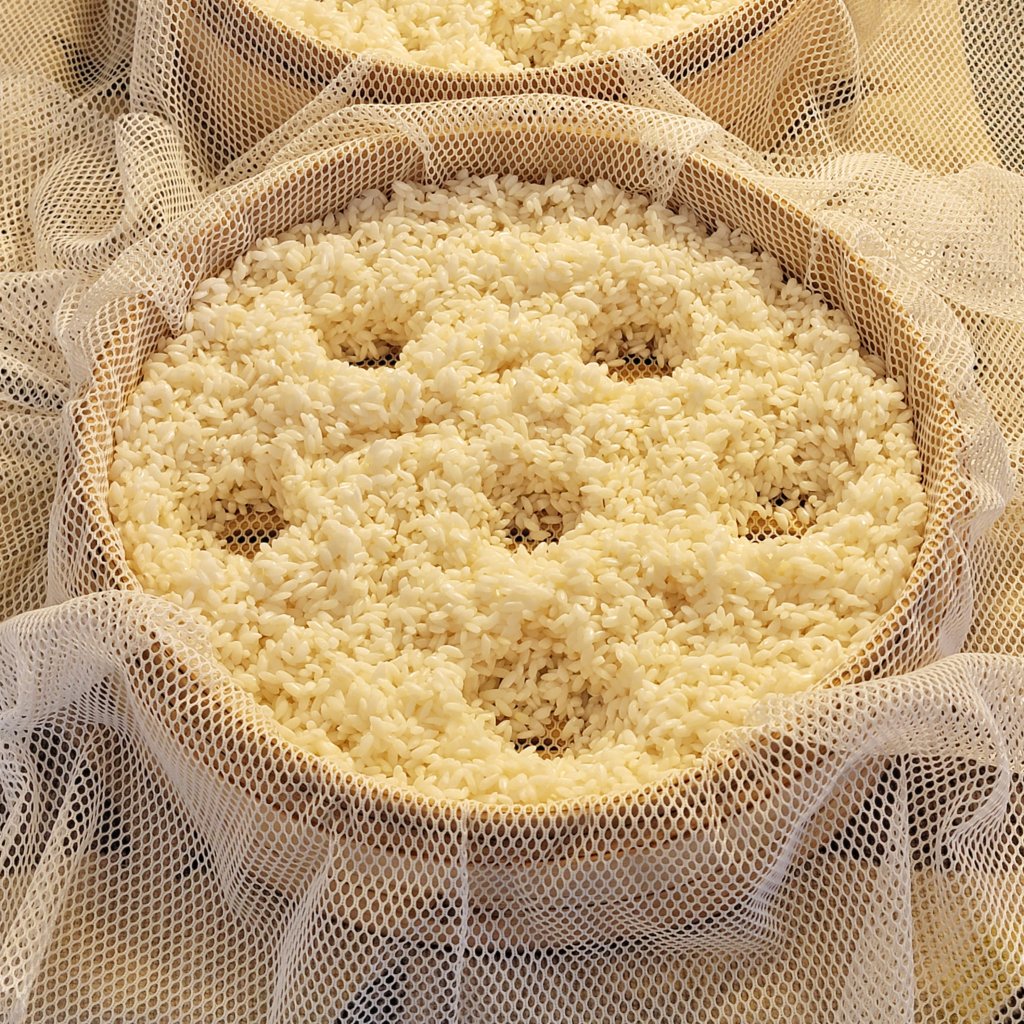
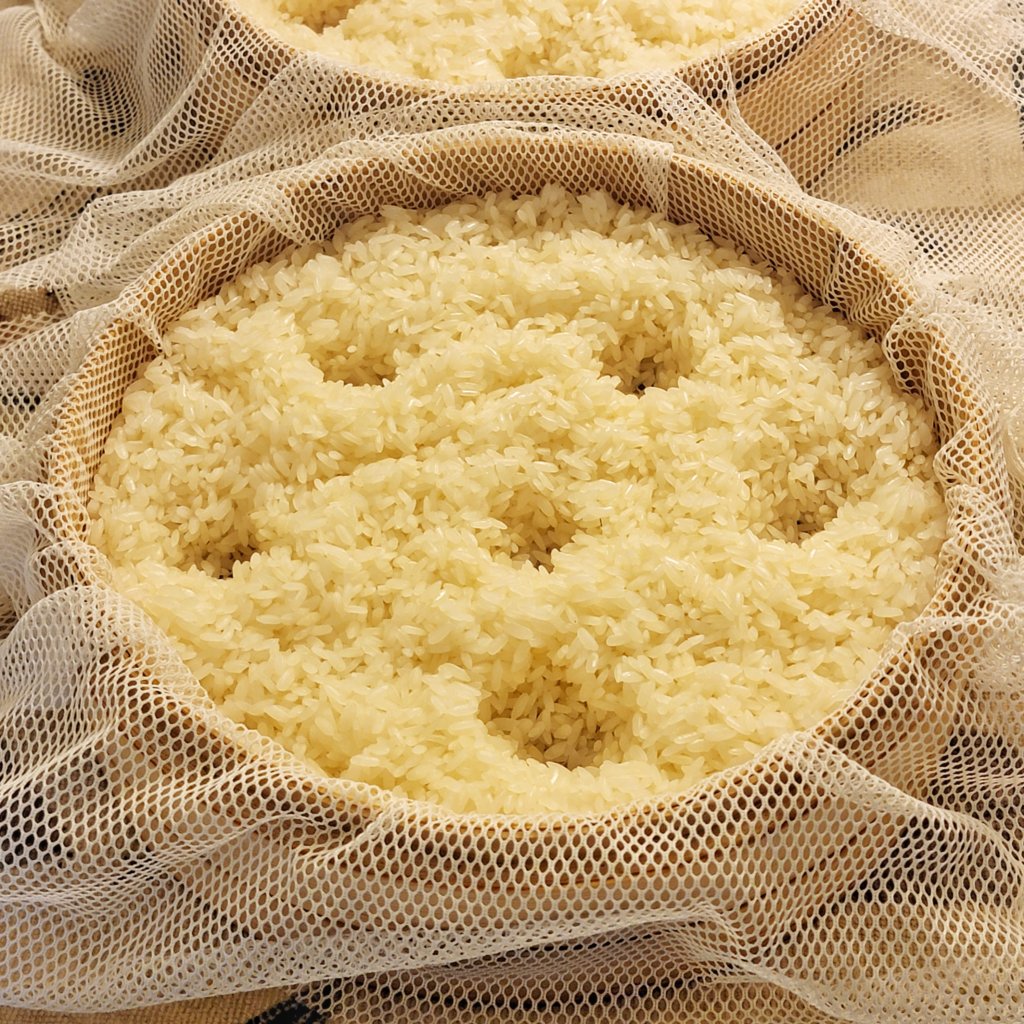
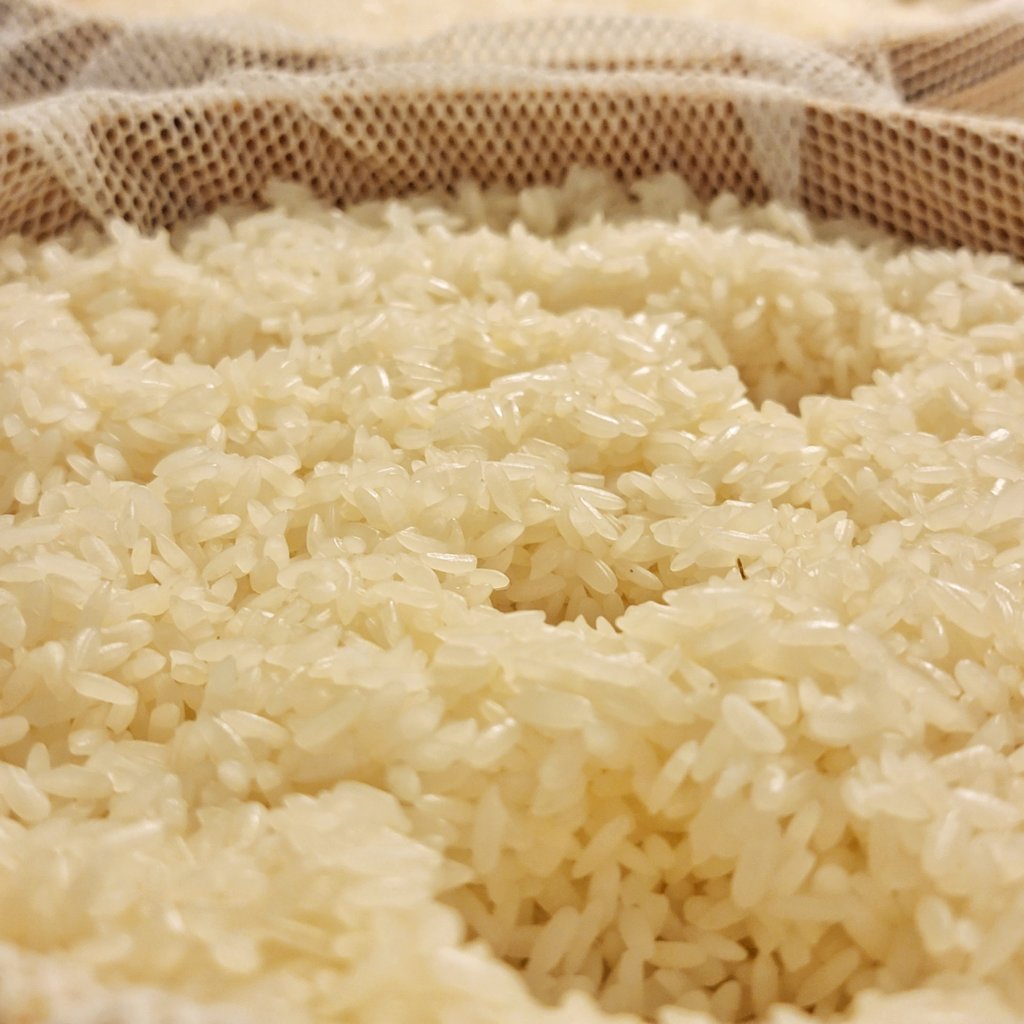
I make these holes with my fingertips to help the steam penetrate the lower layer to reach the upper layer. I don’t really know if it helps or not.
The bamboo steamer fits well enough in my small wok, which is filled with about 4 cups of water and set to medium-high heat.
The rice is steamed for 1 hour, swapping the layers halfway through.
Once it’s done steaming and my kitchen smells of cooked rice, I have to stop myself from eating fistfuls of it. Instead, I let the rice cool right in the steamer trays ontop of a towel. The temperature needs to come down to roughly 100°F/38°C before we can do the final step of the day.
Part 3: Fermenting

- 100g nuruk
- 4g brewing yeast (lager)
- 1L spring water
- 1 gallon/4.5 liter jar with non-air-tight lid
It’s time for our friend nuruk to work its magic. For 1kg of rice, I usually use 100g of nuruk. I also usually add a teaspoon (4g) of lager yeast to the nuruk to ensure efficient alcohol production. This is optional, as there will be wild yeasts present in the nuruk, but the end result will likely have a lower ABV and a more sour taste.


The rice and nuruk is added to the jar in layers to ensure good coverage, and then mixed* thuroughly with the water. Note that, if you opt to cook the rice in water (like in a rice cooker) instead of steaming it, you will likely not need as much (or any) additional water.
Now the jar is set somewhere relatively cool to ferment for 1–2 weeks. This I think is a break from tradition, as normally the jar would be set on an ondal, the heated floor popular in Korea. I like to keep my makgeolli ferment in my basement on a seed mat, which keeps the ambient temperature around 64°F/18°C. The relatively cool temperature is optimal for lager yeasts and will keep the sourness to a minimum. If you would rather have the finished product sooner with a bit of an acidic kick to it, absolutely ferment at room temperature!

Day 2—2022-01-31

After 24 hours, the rice has absorbed all of the added water and increased it’s volume by roughly 125%.
The contents need to be stirred at least once per day for the first few days, because it takes a while for the enzymes to liquefy the rice. Stirring helps redistribute the nuruk and break down the rice, as well as prevent mold growth since the top is exposed to oxygen.
I will continue to stir daily until the contents are mostly liquid.

Day 3—2022-02-01
Happy Lunar New Year! 🎊

The rice is starting to take on a thick oatmeal consistency. It’s actually even starting to taste a little bit like lightly sweetened oatmeal as the starches are broken down into sugars.
Day 5—2022-02-03
Now we’re getting somewhere.


Liquefaction! Bubbles! Beautiful.
It’s noticibly sweeter now, and still likely has a little ways to go before it peaks.
One more stir and I can probably leave it alone.
Day 7—2022-02-05
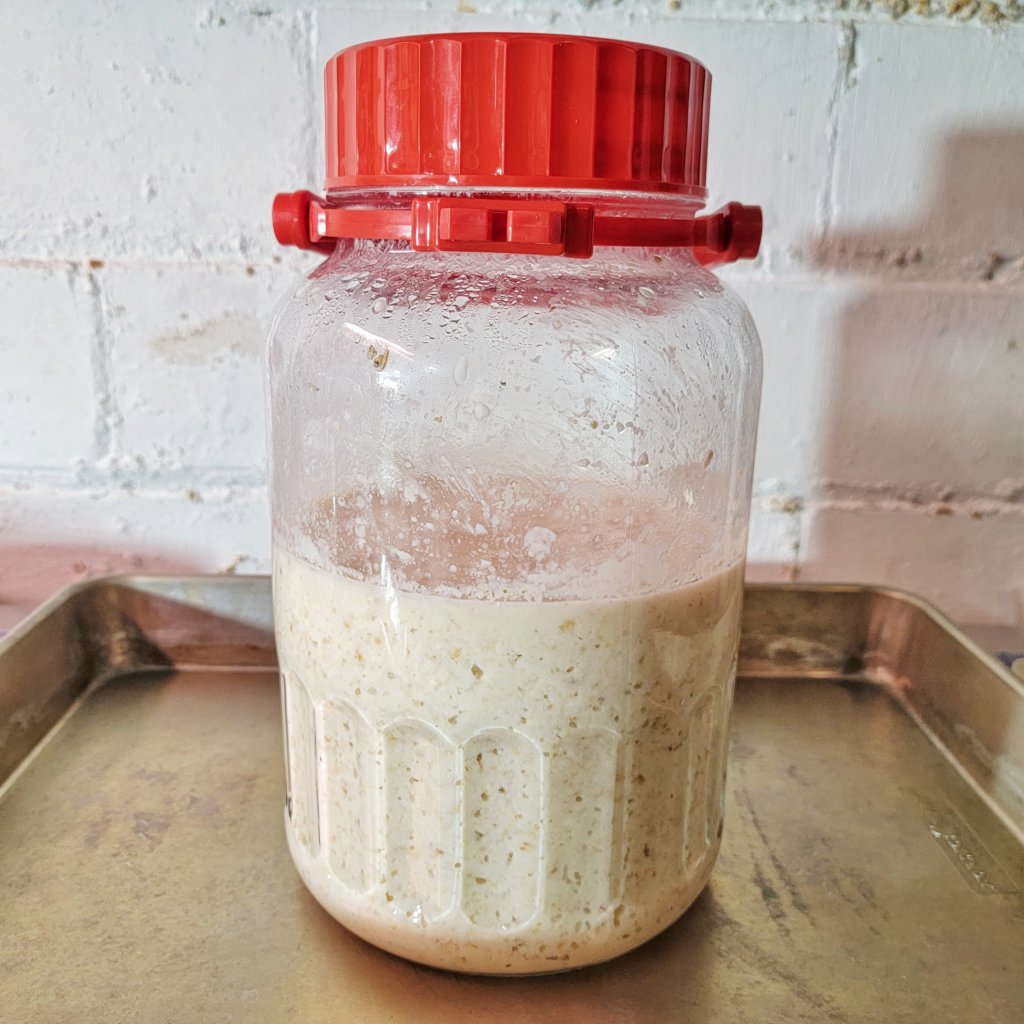
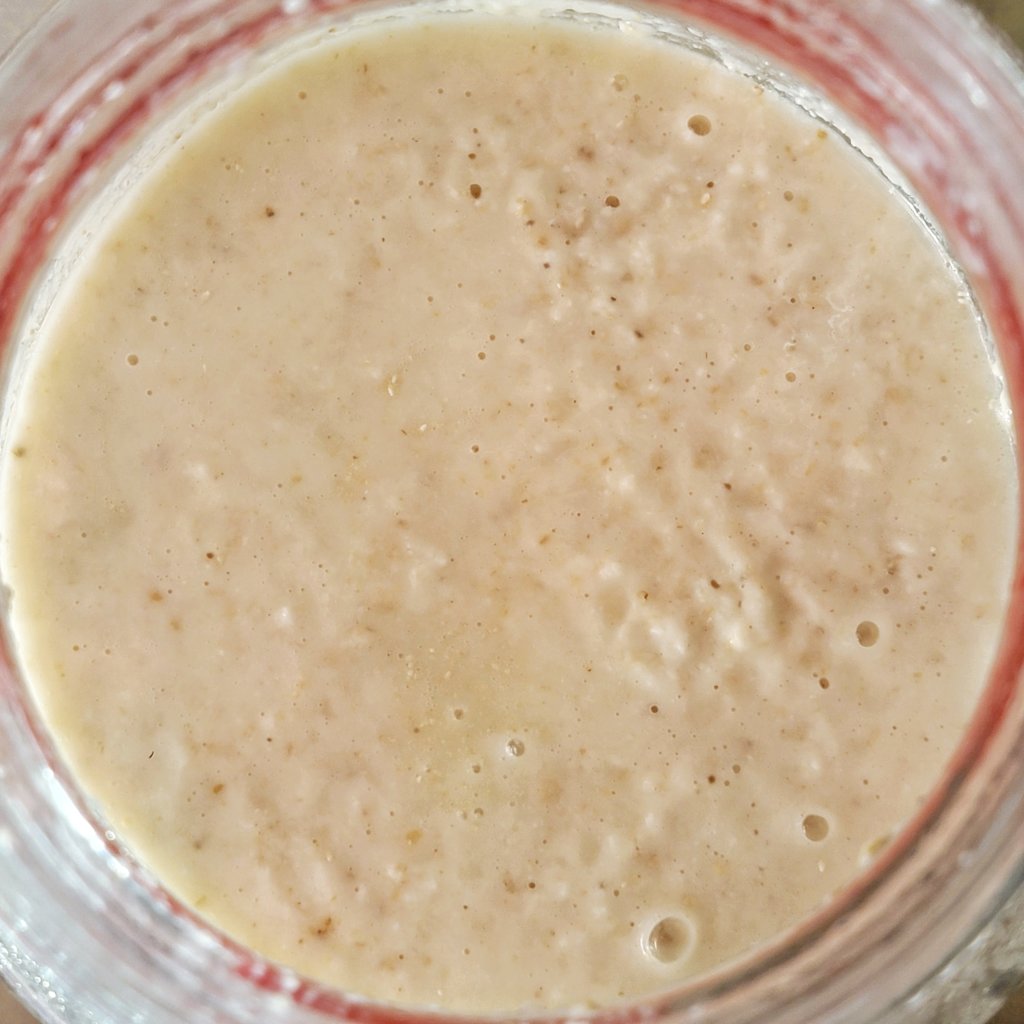
I can taste the alcohol now.
It isn’t bubbling quite as vigorously on top, but it has further liquefied which allows the bubbles to pass through easier.
In the past I’ve allowed this to go for 2+ weeks, after significant separation of the contents is visible. This time I’m going to stop it early. I’ll continue to check in daily, but I likely won’t let this go past 10 days.
Day 10—2022-02-08
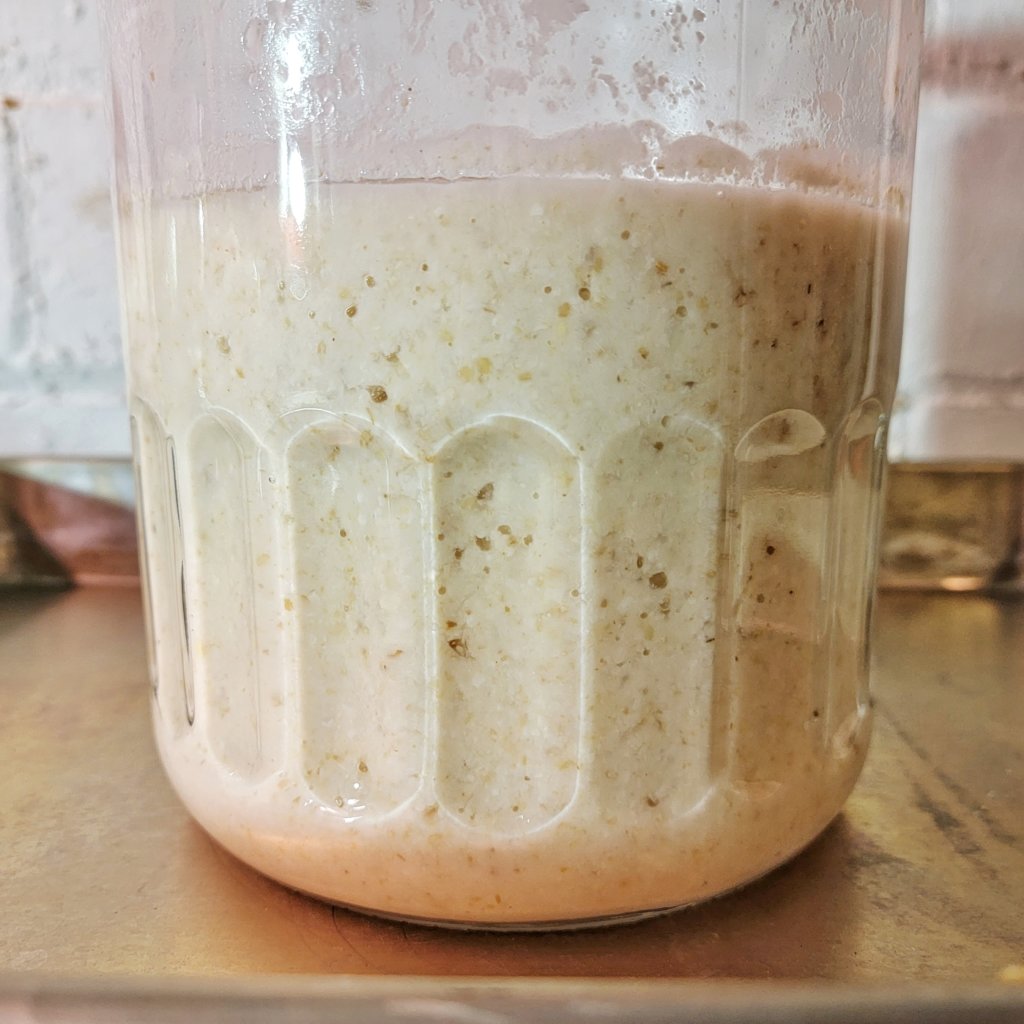
Still no separation into visible layers yet, but if I want to stick with pulling it early, this is what it means. Tomorrow I will strain.
Day 11—2022-02-09
I put the makgeolli through my cider press and got roughly 600mL of thick, opaque liquid.
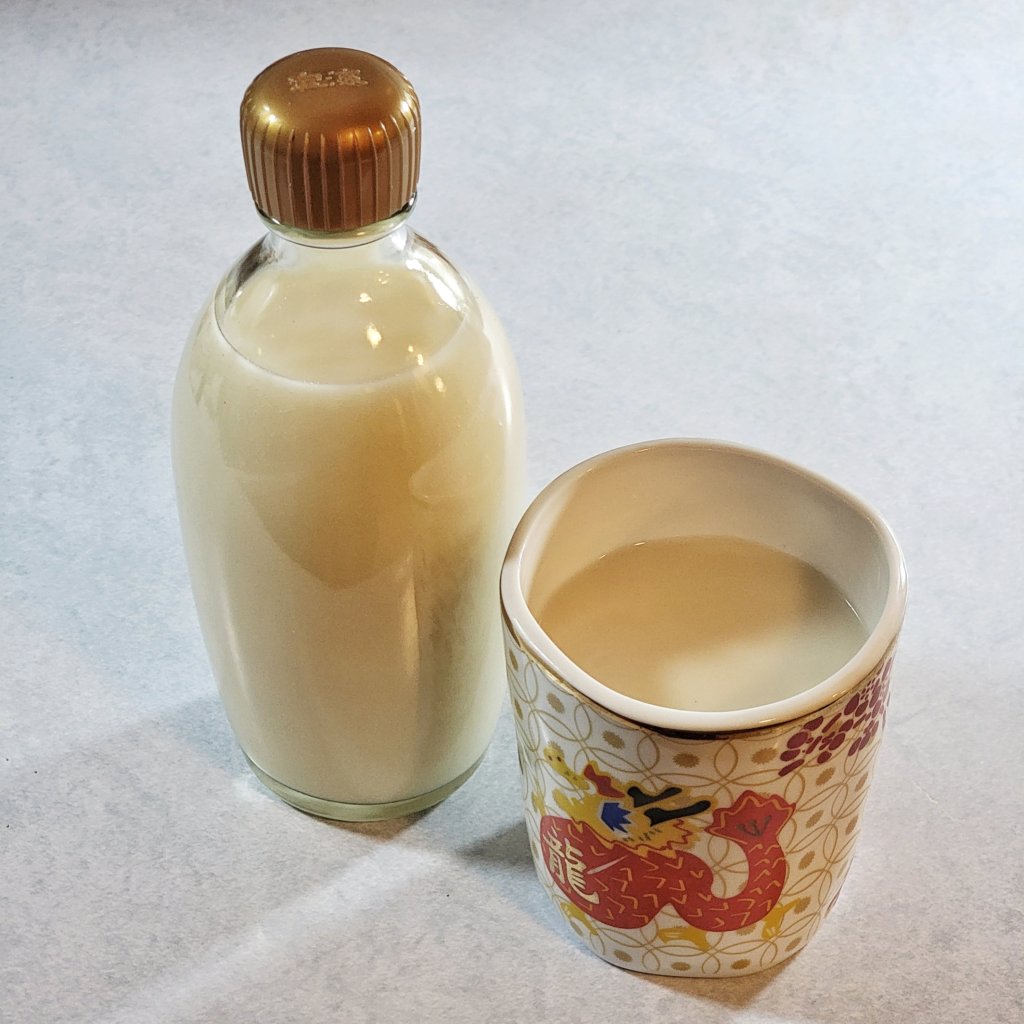
The last makgeolli that I did, which fermented for 3 weeks, yeilded about 1750mL. I figured it was the cost of making a young, sweet-tasting makgeolli… until I tasted it.
It’s sour!
It isnt terrible, but not at all what I was trying to do. I was thinking in terms of the brewing I’m most familiar with which ferments a sugary liquid, and stopping it early means it is less strong and more sweet. While that is technically true its only half the picture when doing a rice-based ferment, especially using a “wild” starter like nuruk. Because the reality is that lactic acid bacteria are present and thriving!
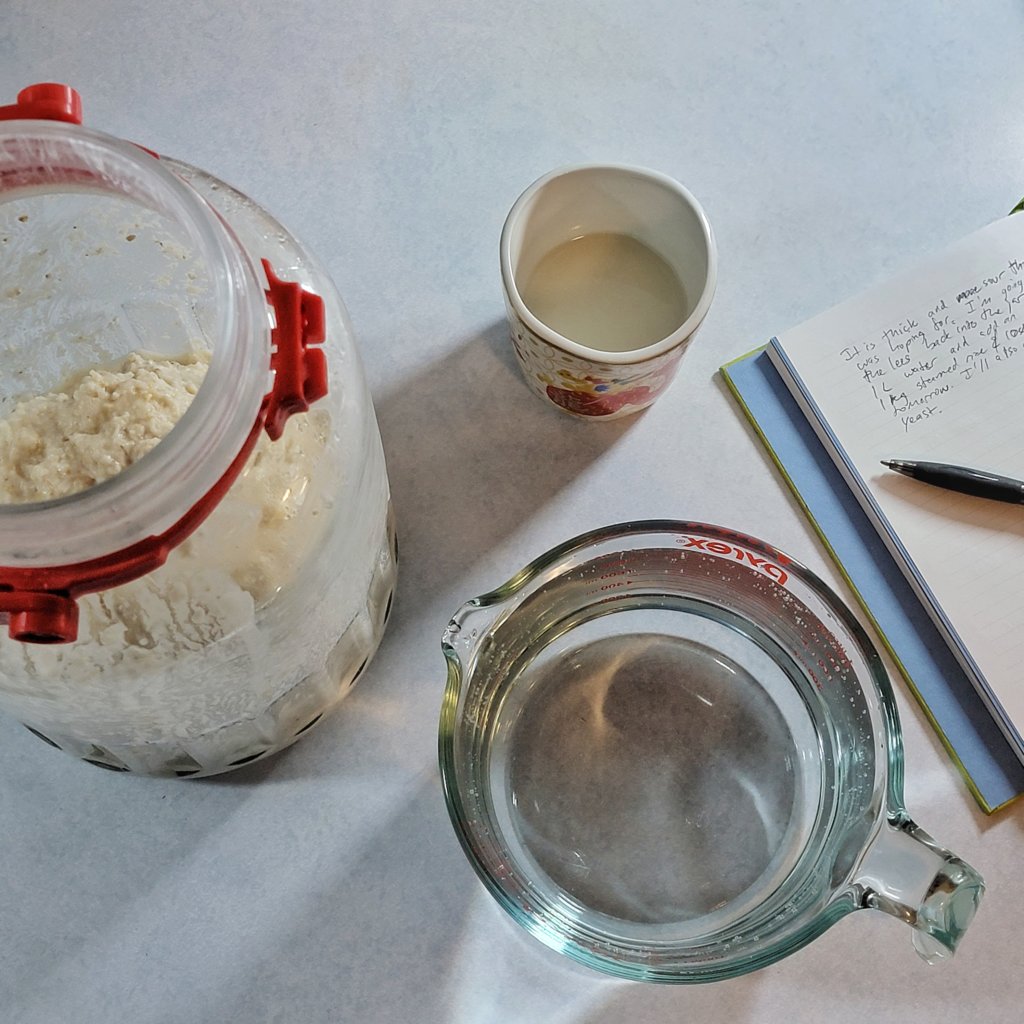
After some conversation in the discord, I’ve decided to add another liter of water back to the lees for tonight, and add in some freshly steamed rice and more nuruk tomorrow for a kind of second stage.
Since you can’t prevent the bacteria in this ferment, the method for battling against it isn’t pulling it early, but rather prolonging the fermentation. As more rice is introduced and the enzymes provide for a constant flow of new sugars, it helps attenuate the yeasts and the alcohol level helps control the bacteria, or so I’m told.
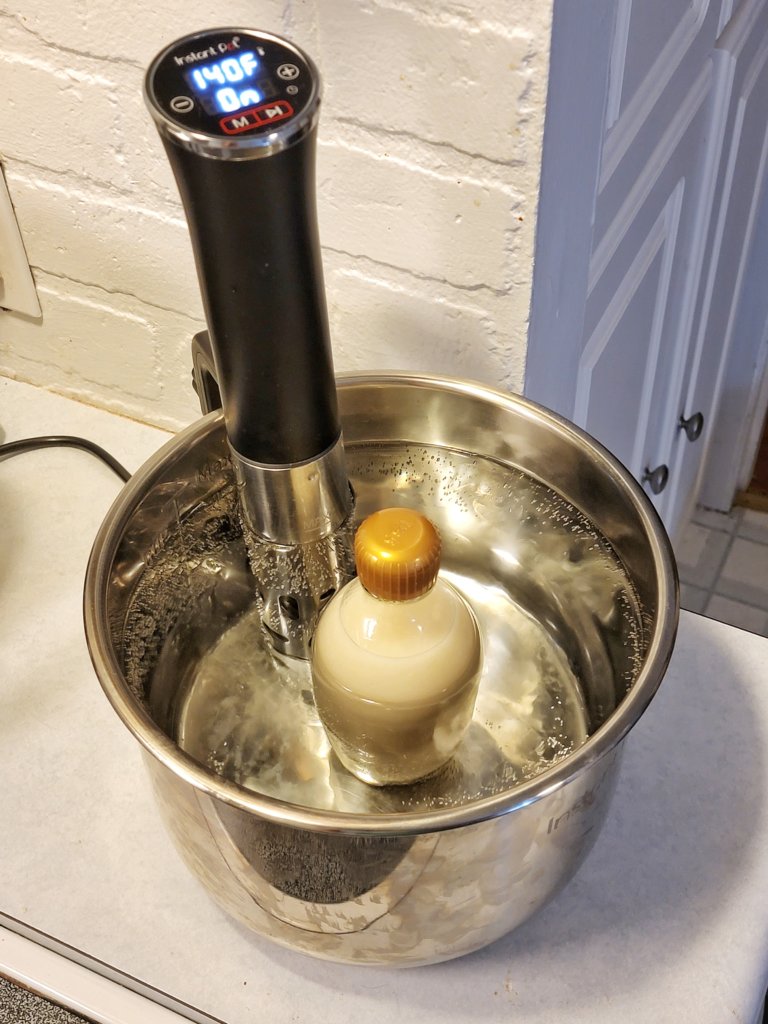
I’m using my immersion circulator to hold the little bottle at 140°F for around 2-4 hours. This should be enough time to kill the yeasts and bacteria to prevent further fermentation, but it will also put the enzymes into overdrive to squeeze out any additional sugars that can be produced.
I’m hoping that this helps balance the flavors while also preventing a bottle bomb from going off in my fridge.
Day 12—2022-02-10
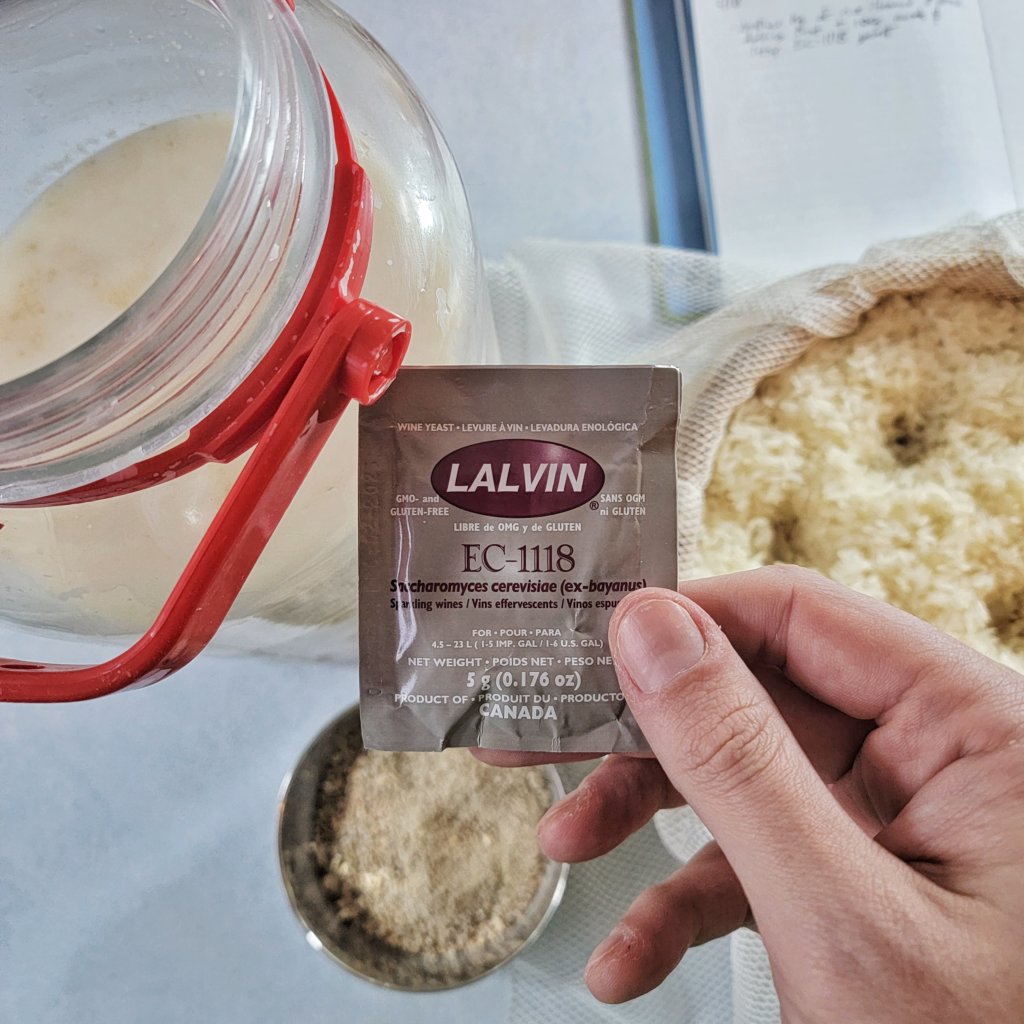
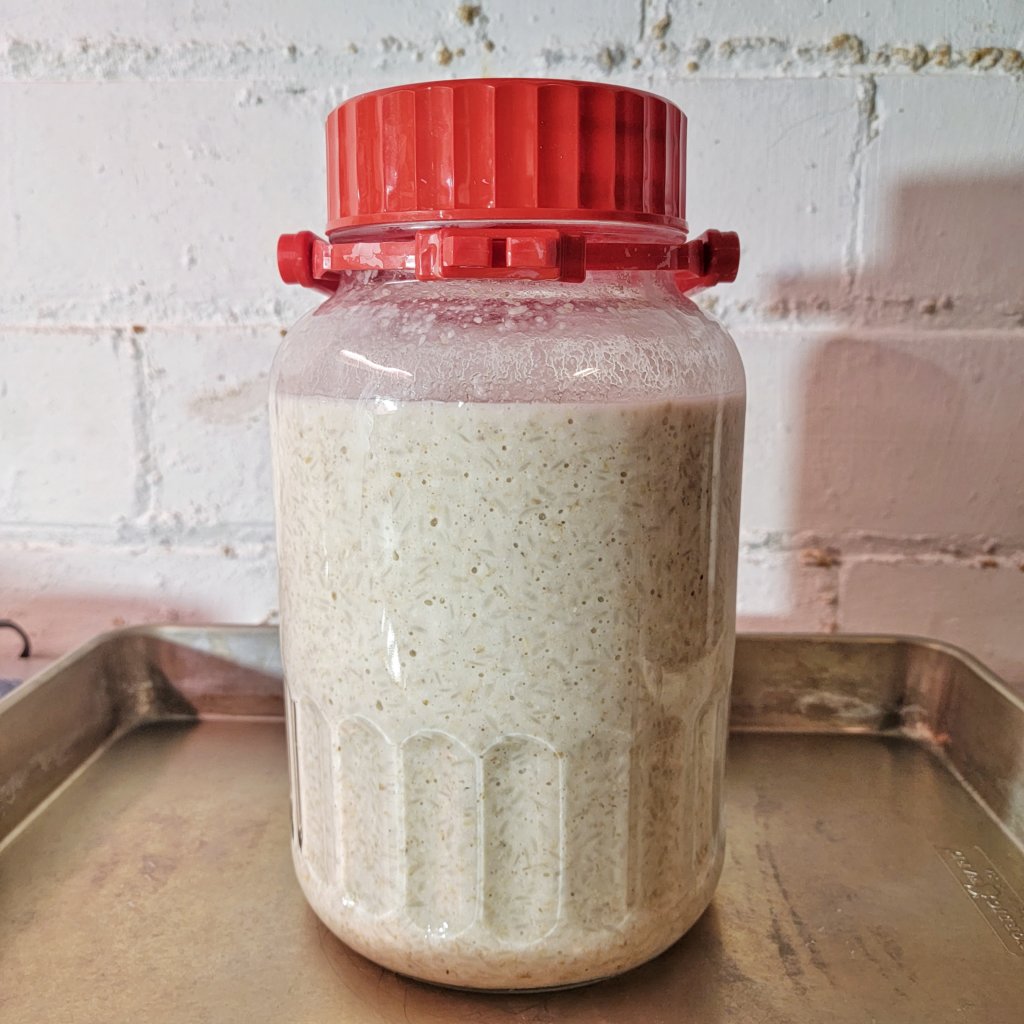
Today I steamed another kilo of rice and added that to the jar with another 100g nuruk. I also added 1 teaspoon of heavy-duty yeast, Lalvin EC-1118. The jar might come dangerously close to overflowing after the rice absorbs the liquid…
Day 13—2022-02-11
Oh boy.
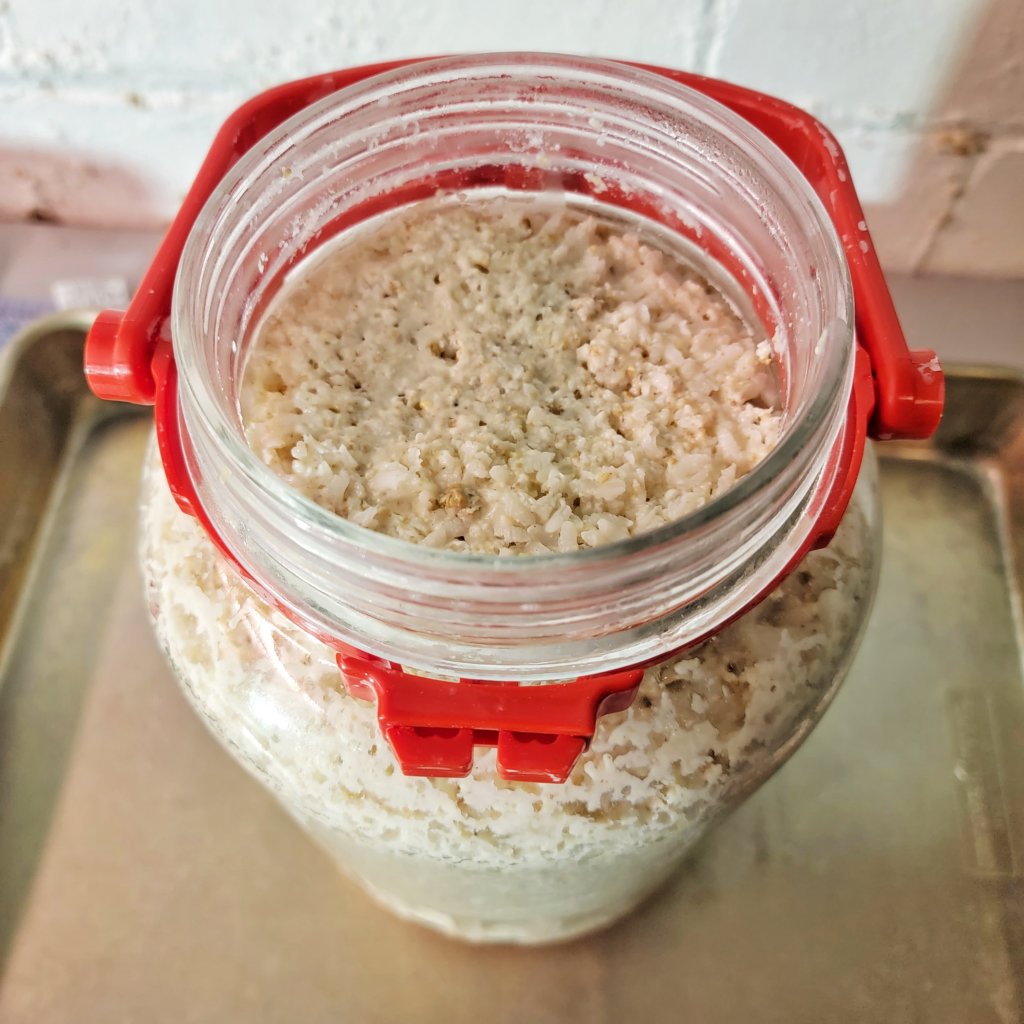
Almost hit the top after the steamed rice absorbed the liquid. That is the first danger zone passed successfully—there is a second expansion phase yet to come when the rice is halfway liquefied and it traps bubbles.
Day 20—2022-02-18
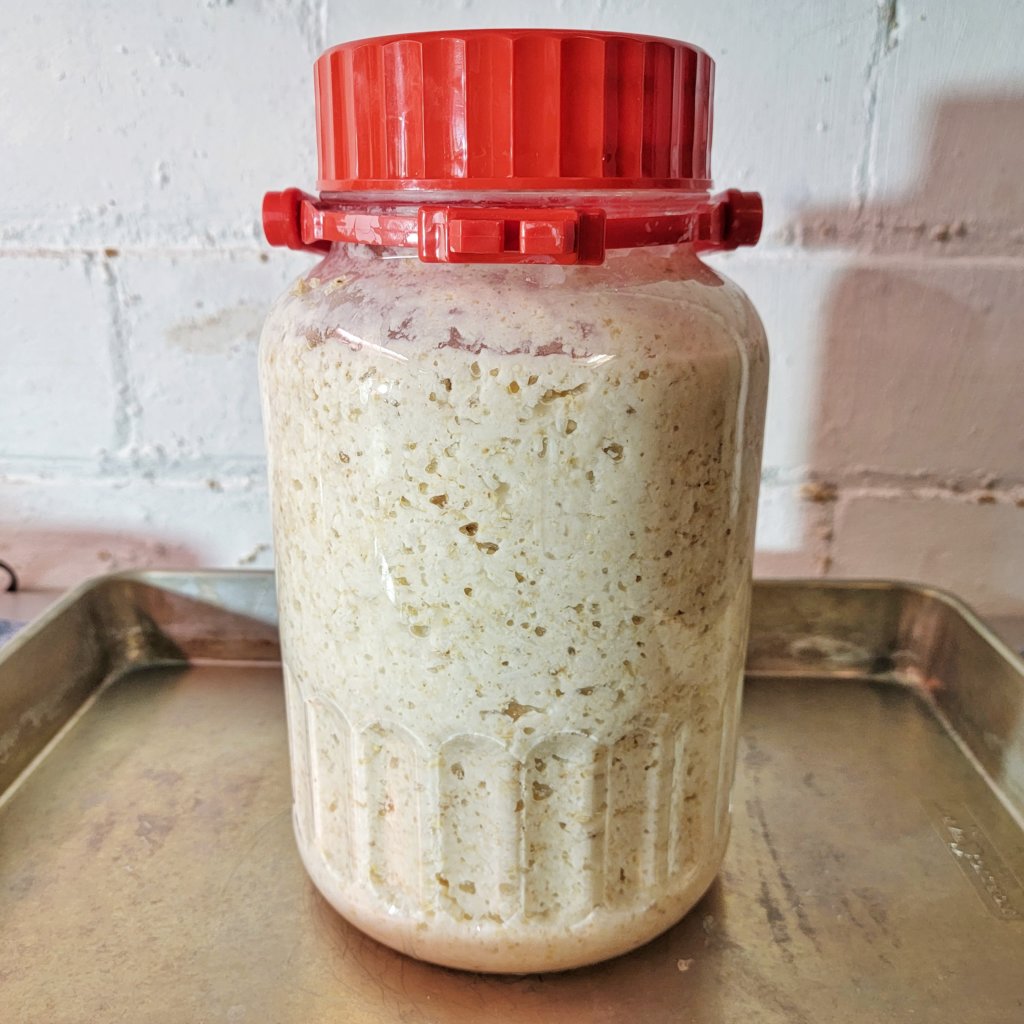
This is roughly 7 days since setting up a second stage, looks pretty similar to the first day 7. We will be patient this time and let it go until some separation happens.
Day 127—2022-06-05
So, uh, well, I forget about things sometimes.
Did I mean to do a four-month ferment? No.
Did I do a four-month ferment? Yes.
Should you do a four-month ferment? …Maybe?

My expectations were low. Every time I remembered it in the past 4 months I was worried about it turning out awful and having to report that here. I know that’s silly because that’s the point of my public logbooks, but I do always hope they turn out good, and they do most of the time.
I strained through a nut milk bag in my cider press, and then I tasted it.
…
Oh my god, this is it. This is what I was aiming for!
- Thick, but not chalky, verging on creamy.
- Alcoholic, but dangerously drinkable.
- Sweet! And not sour!
After the first stage I was a bit disappointed at how sour it turned out, but I was willing to accept that naturally-fermented beverages are usually sour. But after stage two, and possibly because I left it so long after going dormant, there is very little sourness at all and a surprising amount of sweetness. Perhaps it would have been like this if I had strained it 3 months ago, but maybe letting it sit after reaching some threshold of ABV allowed it to continue saccharifying without turning to alcohol or lactic acid.


My laziness seems to have saved this one? Or maybe I’m allowing internalized alcohol snobbery to color my view of this successful and relatively simple ferment.
Have you made makgeolli before? Have you left it to ferment this long or even longer? I’d love to hear about your experience in the comments below or in the Crock of Time Discord!
Very nice. There is an excellent book/resource on Amazon:
Homebrewing Korean rice wine: Learn how to make makgeolli and sool by Joe Kim
Korean rice wine can be as complex as Sake, with multiple levels of fermentation steps (chaptalizations) to increase the ABV or yield.
Hello, I’m on day 4 of a single step danyangju and it just started to turn sour. Since I’m aiming for something sweeter, should I let it go on and let it ferment for 2 weeks in hopes that it will mellow out and become sweeter, or is a 2nd-step (yidanju?), as documented on your 4 month ferment post necessary?
If you want a sweeter taste I definitely recommend doing a second stage. That’s been my experience anyways.