Strawberry Jam without Pectin
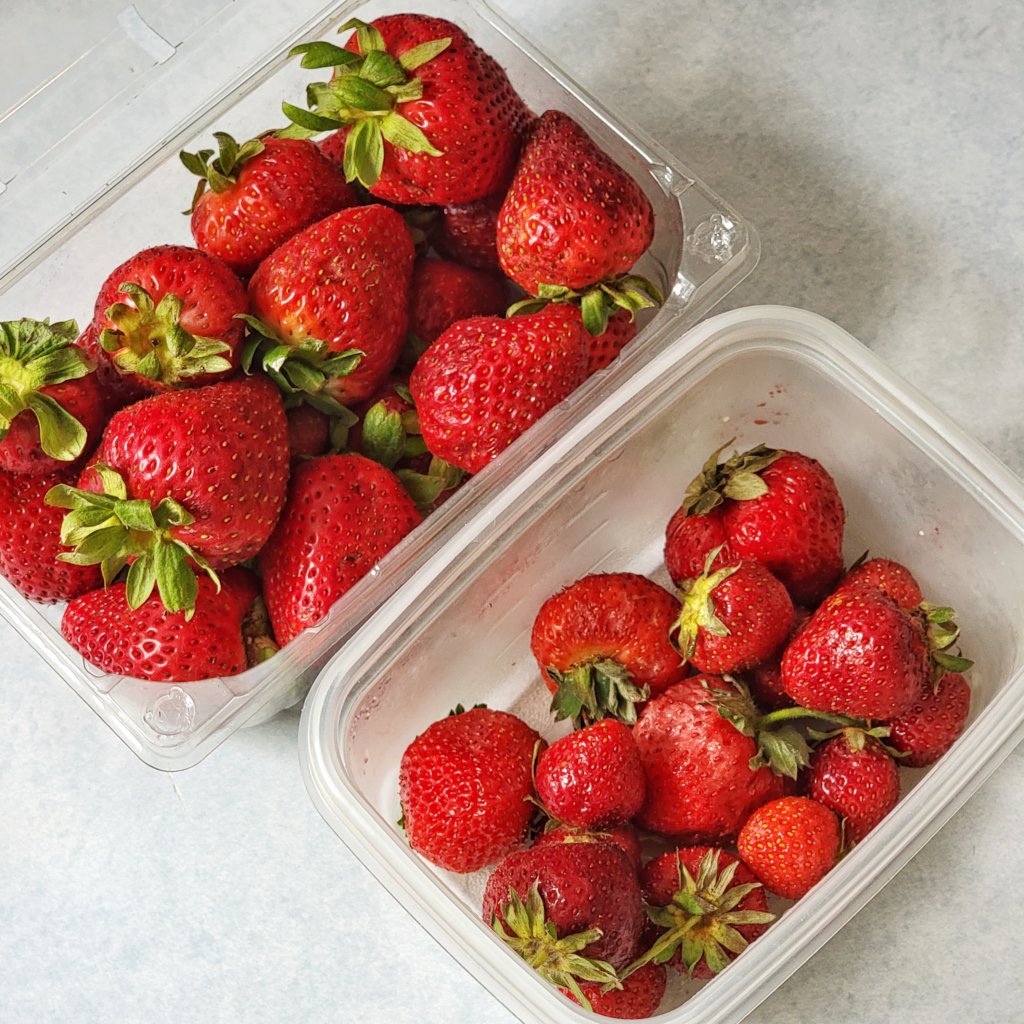
So you’ve bought more strawberries, even though you have some at home still, but they’re on sale! But the old ones are getting mushy…
Make jam, not compost!
Strawberries are practically made for jam. No real skin to deal with, and the seeds are small enough to not matter, unlike cherries which need to be pitted, or blackberries which have big noticeable seeds.
And just like the Cherry Berry Jam Without Pectin recipe, this doesn’t require any pectin, gelatin, or other thickeners. Also like that recipe, we’ll be doing it with weight ratios instead of specific volumetric amounts, though it’s easy to eyeball it with volumetric measurements at this scale.
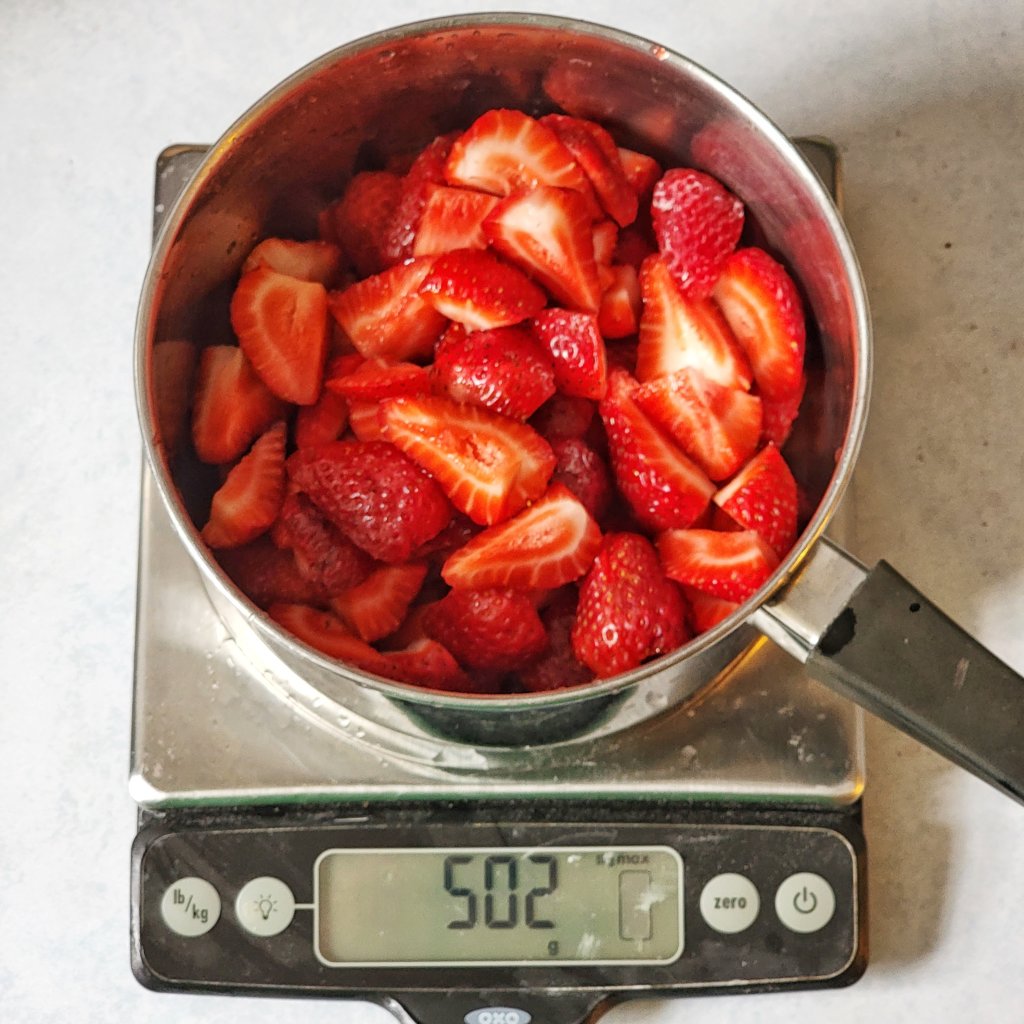
I’ve got about 500g of strawberries, rinsed, tops removed, and cut into chunks. That’s a little over 1lb, or roughly 2.5-3 cups. If you’ve got a scale, you don’t need to worry about how to scale this recipe up, because it’s all based on the weight of the strawberries you’ve got:
- 100% strawberries
- 50-75% sugar
- 2% lemon juice*, or 0.1% citric acid, optional
I my case, since I’ve got about 500g of strawberries, I’ll use 250-375g of sugar (50-75% of 500). If you don’t have a scale but the volume is small (such as a single clamshell from the store) then the percentages are about the same volumetrically, so do 1.5-2 cups of sugar per pound (2.5-3ish cups) of strawberries.
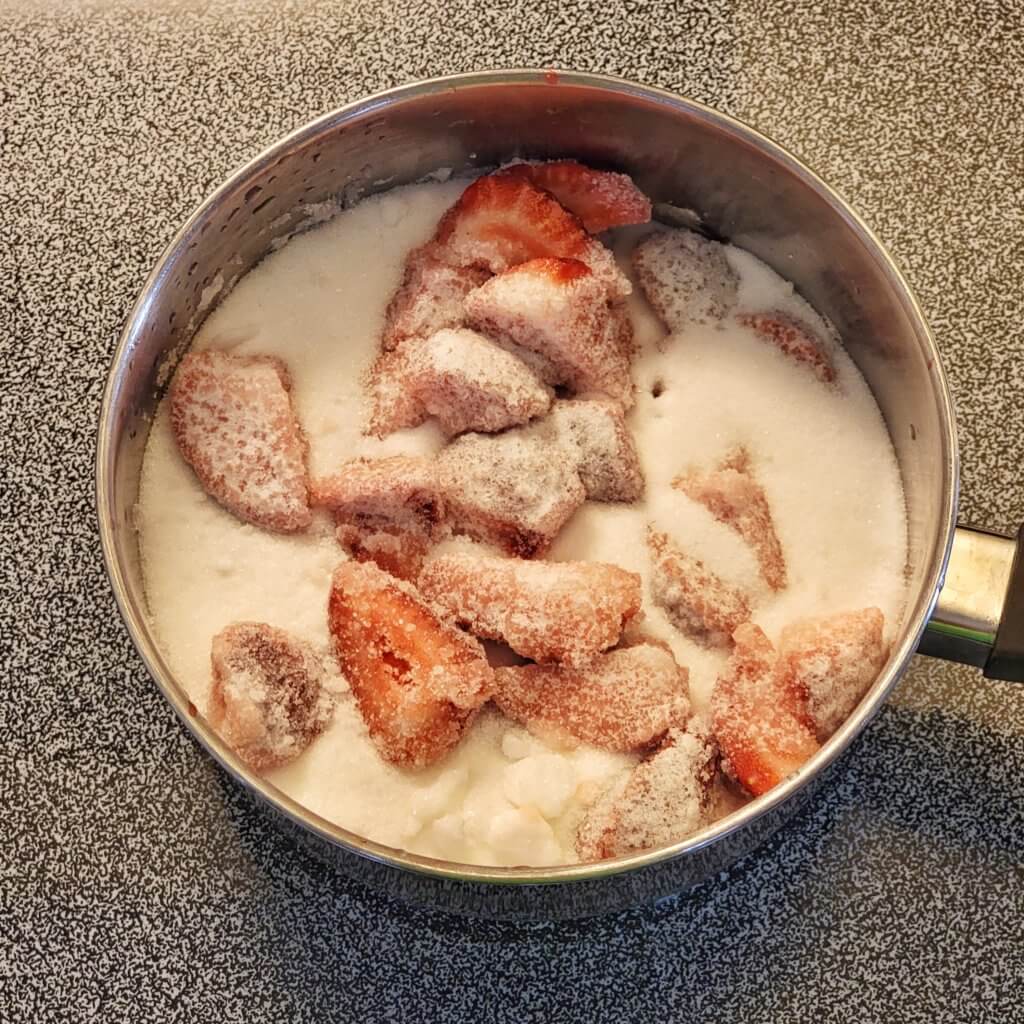
Add the sugar, lemon juice or citric acid, and a little bit of water just to get things going. The amount doesn’t matter that much, since you’ll be boiling it all off, just a couple tablespoons for this size batch—enough to wet the sugar.
Set on the stove at medium heat and stir. Higher heat will get you the same result faster, but it can quickly go too far at the end, so be careful of that. Also, make sure you use a pot that feels too large for the amount, more like what is pictured below than above, otherwise there’s a risk of boiling over.
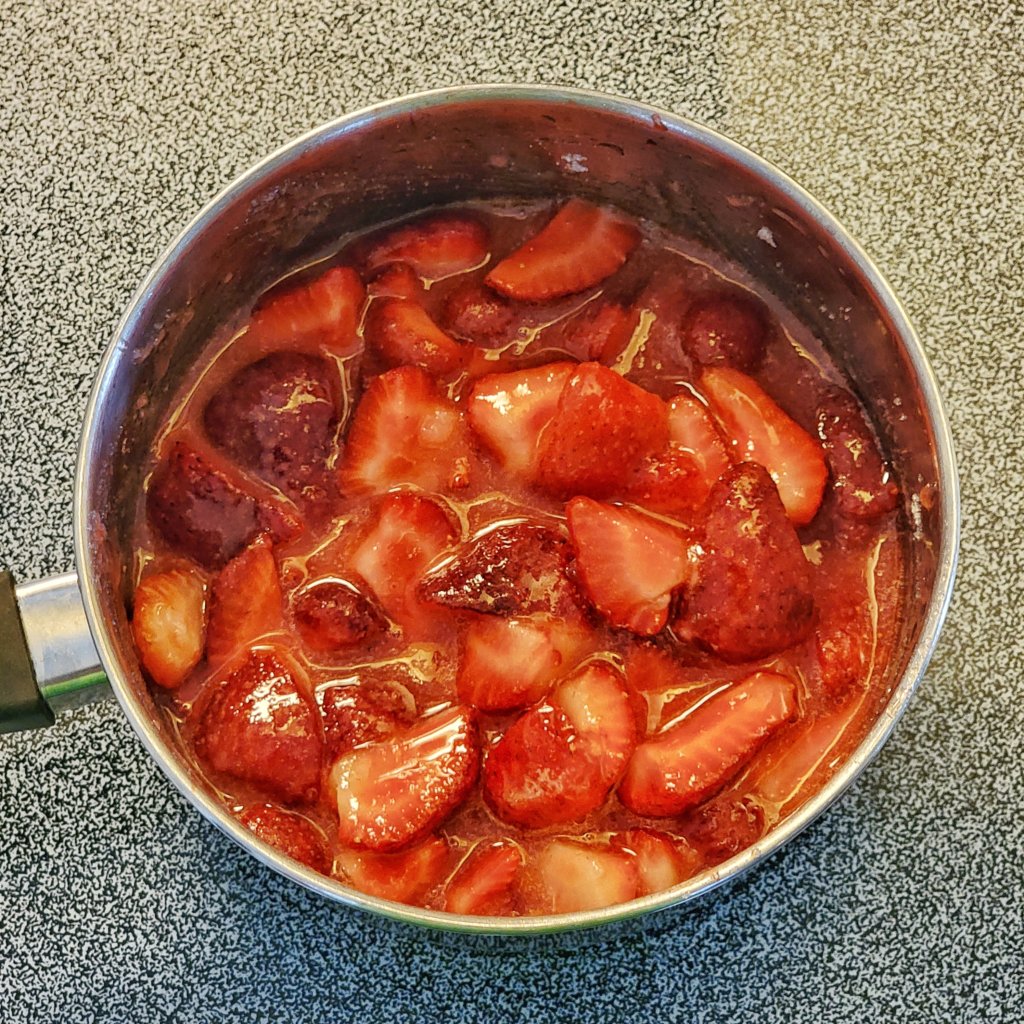
Once the strawberries have softened, you can either leave them be for chunky preserves, mash them a bit if you like, or do what I did here and remove to a food processor (or immersion blender) for a smoother end result.
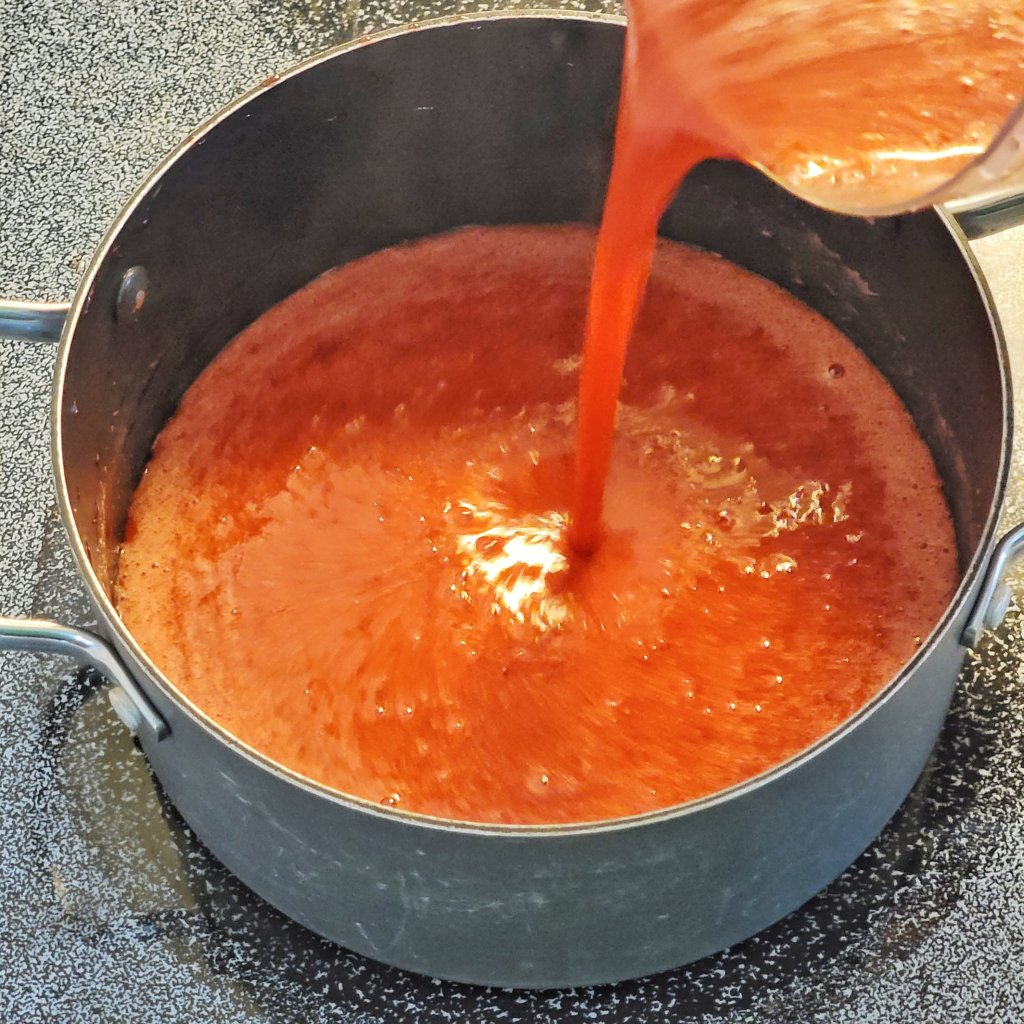
Bring this back up to a boil and continue cooking. All told, it will take 1-2 hours, depending on the level of heat you use, to boil off enough water to begin caramelizing the sugars.
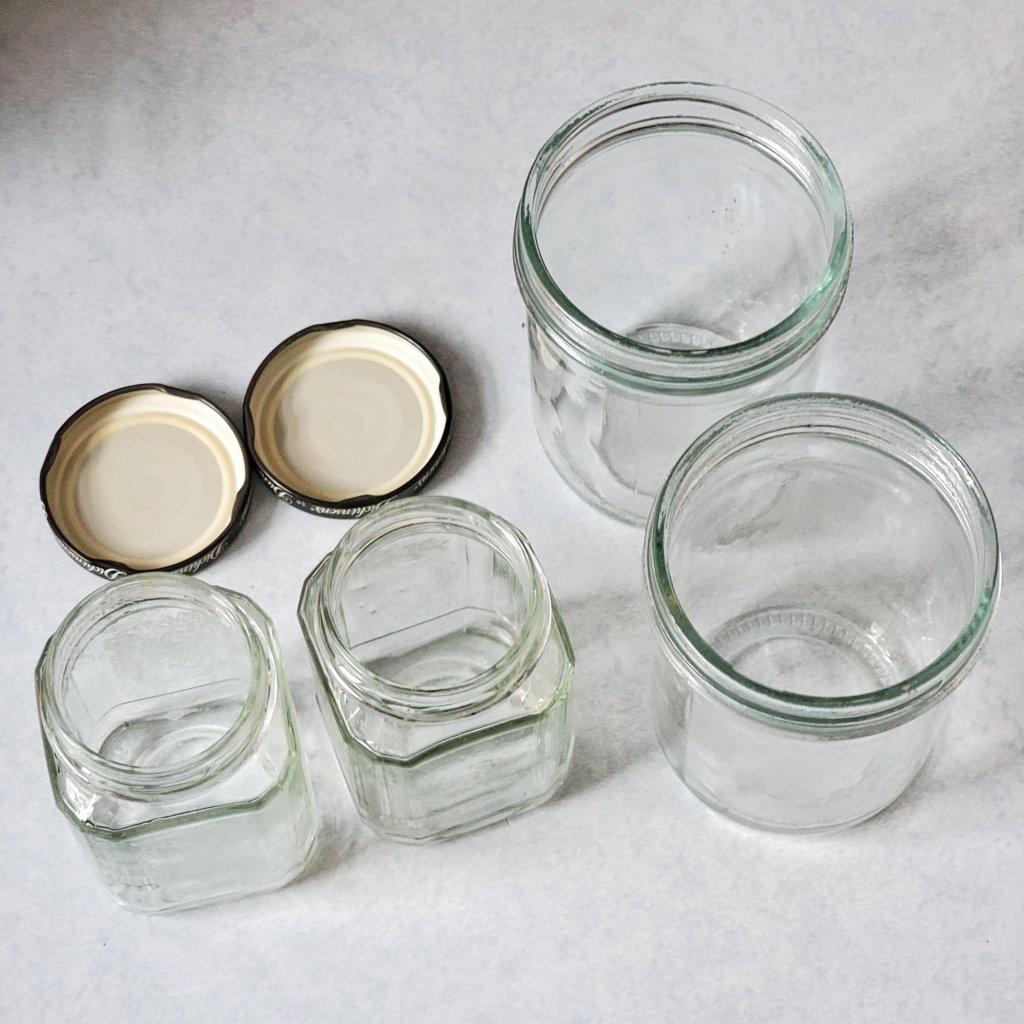
Meanwhile, sterilize some jars. For 500g of strawberries, I ended up needing just one 500mL/2 cup mason jar, but always sterilize more than you think you’ll need just in case. I used StarSan here, but setting them upside-down in an inch of boiling water for a few minutes also does the trick.
Now we just cook down until we get to 221°F/105°C*. It will get stuck around 212°F/100°C, the boiling point of water, for quite a while as the water boils off. As the water escapes and the liquid thickens, the temperature will begin to climb and the sugars will start to caramelize. At this point, I am no longer stirring.
If you don’t have an instant-read thermometer, you can eyeball this, though I don’t recommend it. I’m including some videos for reference of what it looks like at various stages:
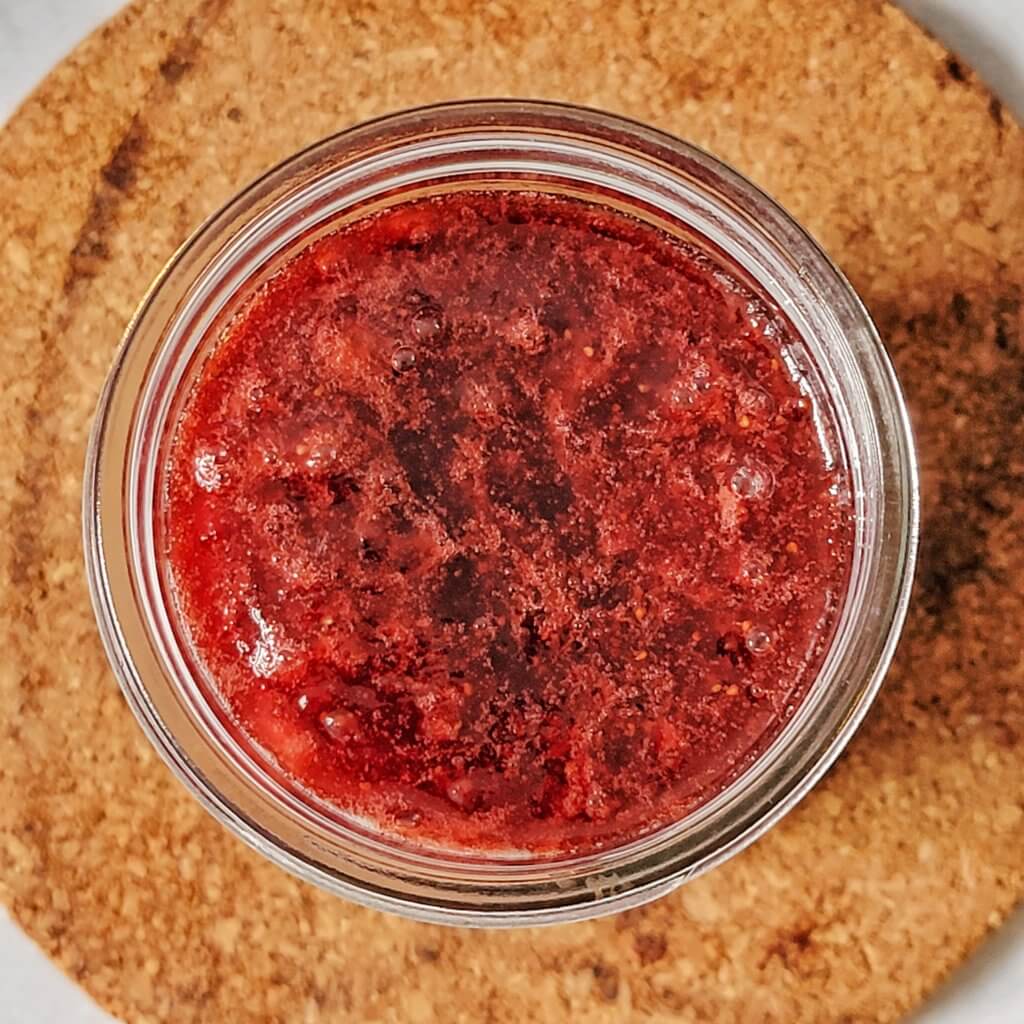
If you have foam like this from blending and you don’t stir, you may also see the strawberry fairy ring, but don’t expect it will always happen!
This amount I made fit one 500mL/2 cup mason jar nicely, which I split up into smaller repurposed jam jars to share with a friend.

If you’re canning these to store at room temperature, I’d recommend measuring by weight and being precise about the added acid. I’ve had success just using the boiling method mentioned above for jar sanitization, pouring in the hot jam, and closing with a fresh jar top, letting the jars seal overnight under a towel—but of course consult other home canning resources for further information.