Sourdough Discard Crepes
We’re all familiar with the routine—you fed your starter yesterday and now it’s time for another feeding. You measure out a small percent of the starter to become the inoculation for the next batch of flour and water, but what to do with the rest? Of course, you can bake with it as intended, but not all of us can bake a full loaf of sourdough bread every single day.
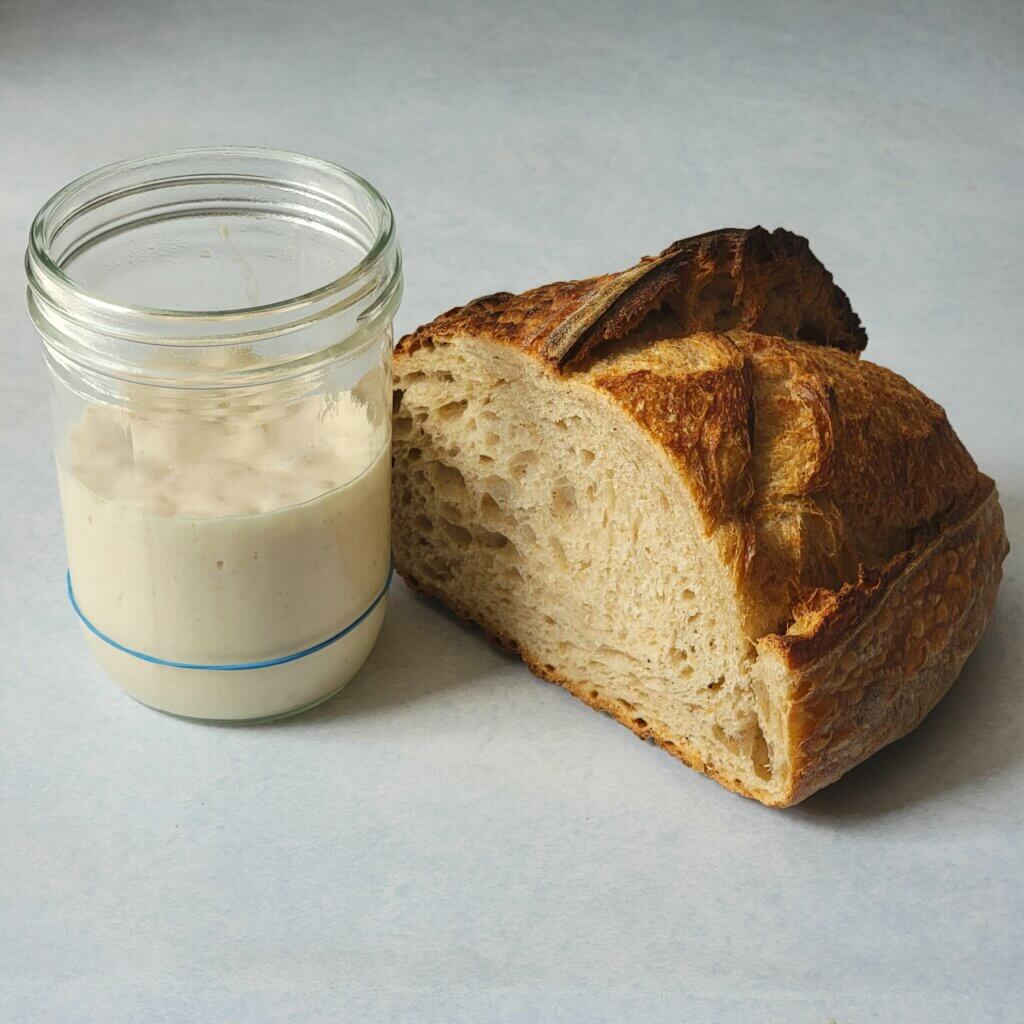
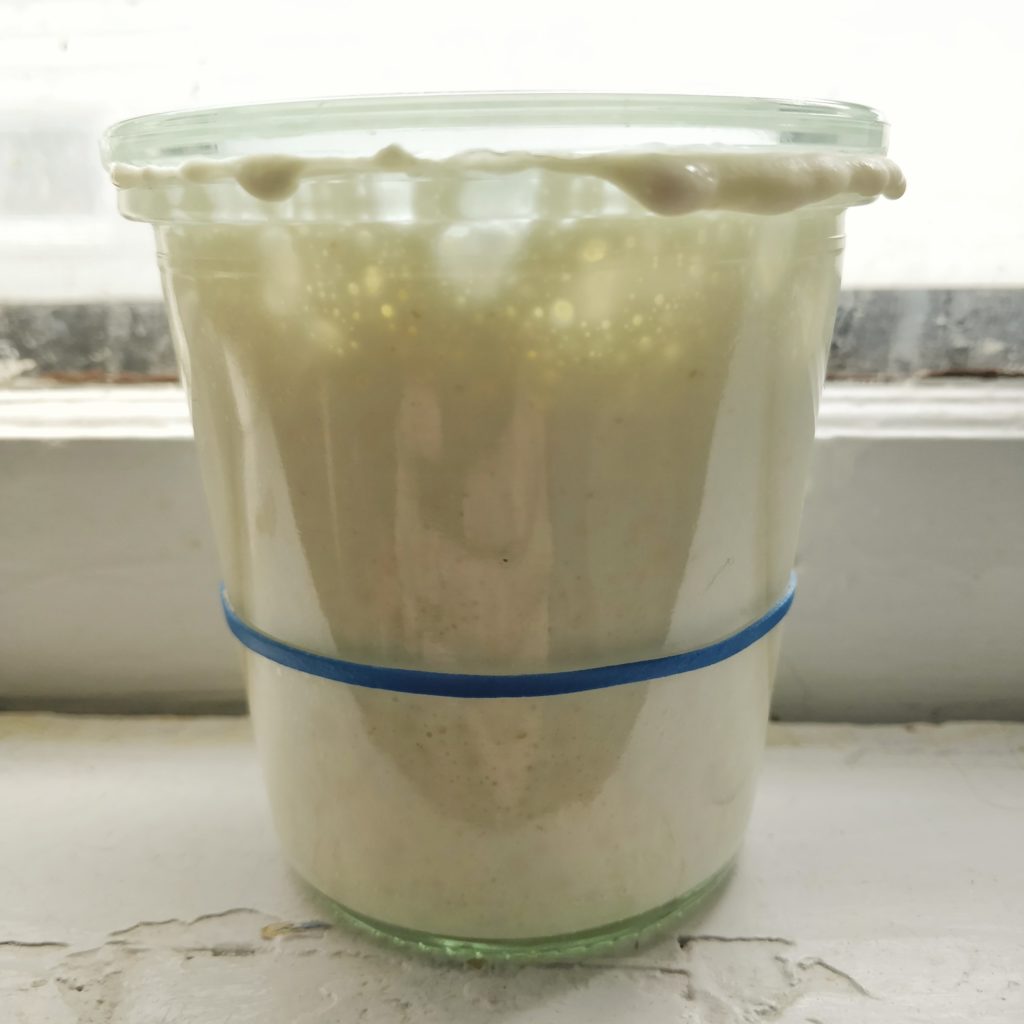
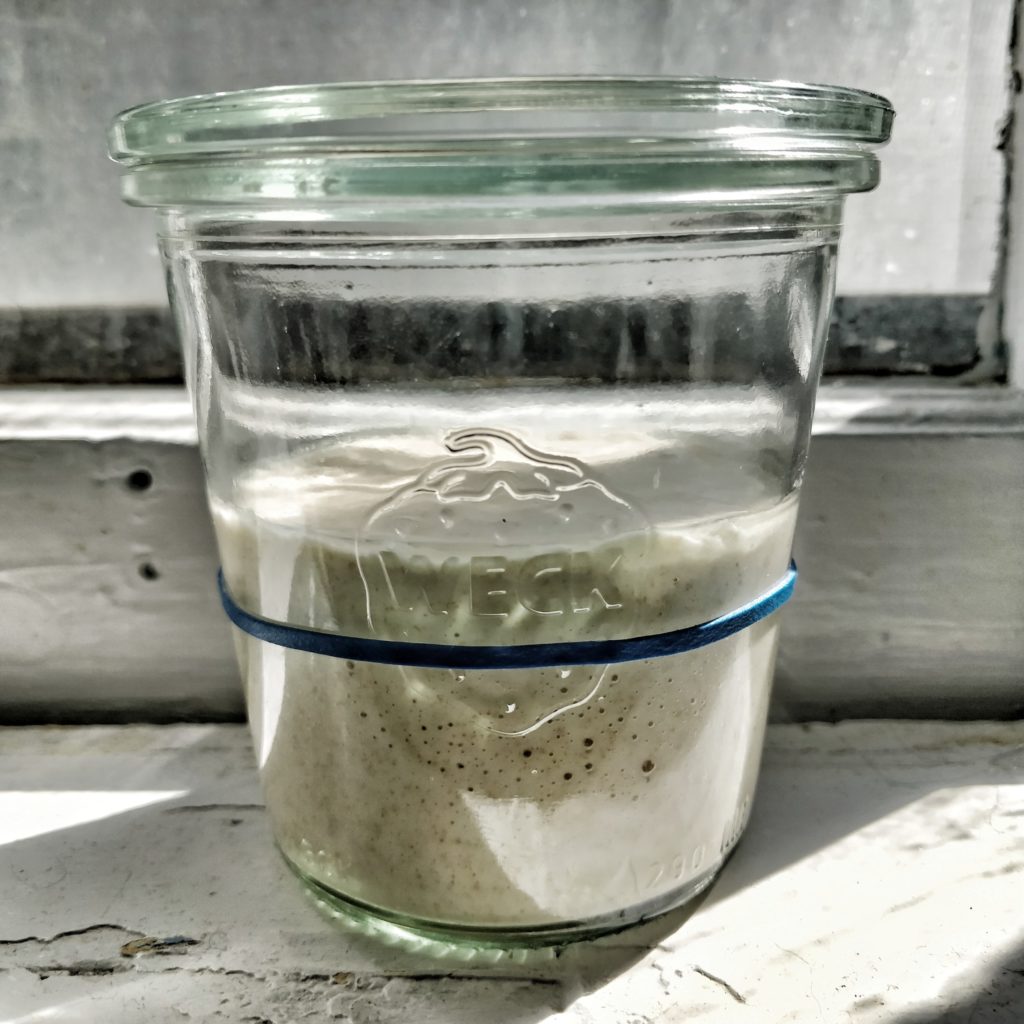
I keep my discard in a mason jar until I find a use for it. You can keep it in the fridge to slow down the lactic acid buildup, or leave it out on the counter to cultivate the sourness—either way, these crepes are a great way to use it up on a lazy Sunday morning.
The recipe couldn’t be simpler, as everything is added in twos!
Ingredients:
- 200g sourdough discard
- 2 eggs (100g)
- 200mL milk
- 30g (2 Tbsp) brown sugar
- 30g (2 Tbsp) butter, melted or browned
- 2 small pinches of salt
- 10g (1 Tbsp) corn starch, optional
- oil for greasing pan
- Whisk all the ingredients together. I highly recommend browning the butter, and you can do it in the pan you plan to use for the crepes to get it oiled and hot. Otherwise, simply melt it in the microwave and drizzle it in while whisking. The corn starch is optional but recommend if your crepes aren’t quite holding together.
- Heat nonstick pan over medium heat. Have a long, thin plastic spatula at the ready.
- Brush pan with a thin coating of oil. After a few seconds, ladle enough of the batter into the hot pan to just coat the bottom as you swirl it around. The batter should sizzle somewhat when it hits the pan instead of just sliding around.
- Wait for the wispy edges to start to brown before trying to check the underside. You may wish to pull the thin edges away from the pan with the spatula to prevent them from burning. Once the bottom is golden brown, flip the crepe onto it’s other side. Depending on how non-stick your pan is, this may be easy or difficult. I tend to unstick all around the edges with the spatula, then lift one side, grab it with the fingertips of both hands (setting down the spatula), then flip it in one swift motion. It may take a little practice, but no matter how ugly they are they’ll still be delicious.
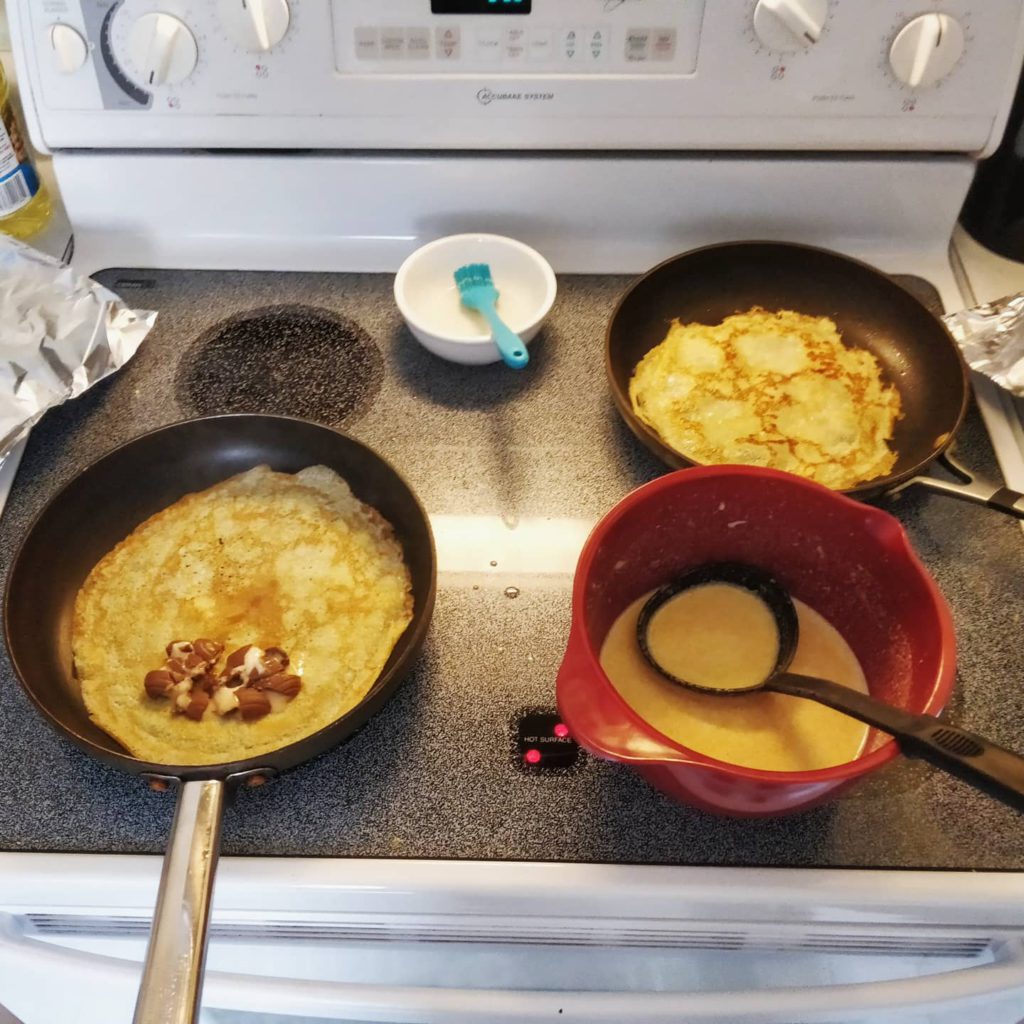
- The second side will not take quite as long to cook. If you want, you can add fillings on top that are meant to be warmed, like Nutella or half of a Cadbury cream egg, then fold the crepe in half and in half again. Or simply allow the second side to brown, then place on a plate on top of the last one you made.
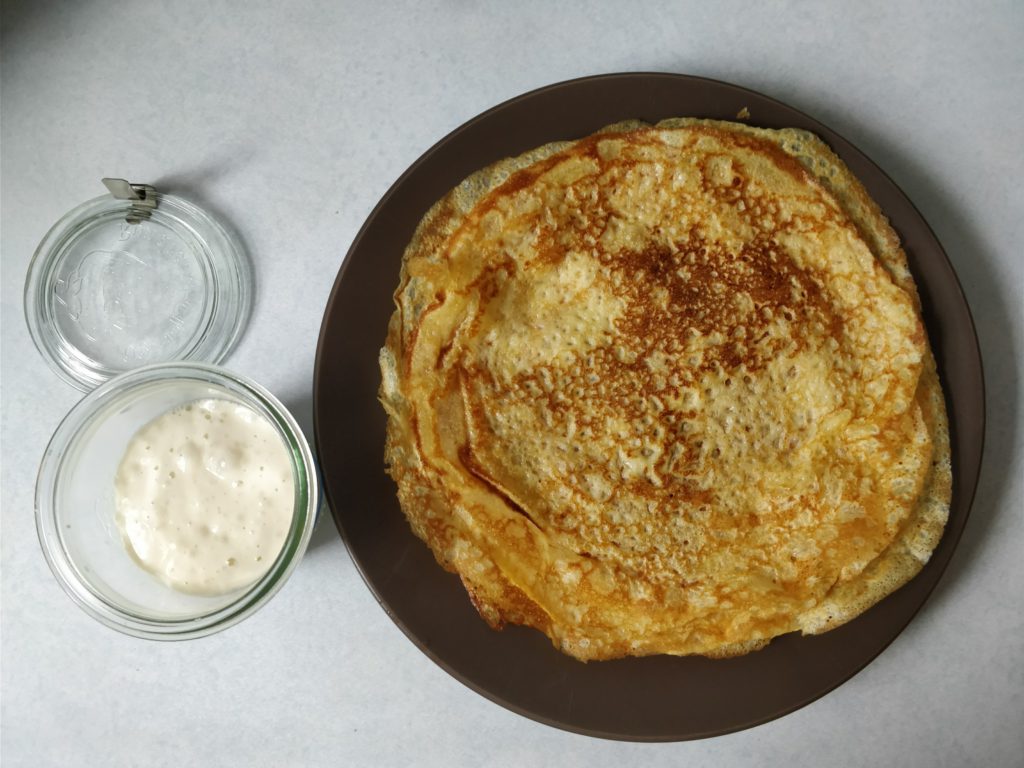
- Repeat steps 3-5 until the batter is gone; depending on the size of your pan, you should get around 10 crepes.
I usually enjoy my crepes stacked plain with a dusting of sugar and a spritz of lemon, or sometimes with butter and real maple syrup. Either way, you can’t go wrong!