The Sourdough Conspiracy

Big Sourdough wants you to believe that it’s too hard to do yourself. And if you’re doing it anyways, you’ve probably been working harder than you need to, but it’s not your fault.
Ok, so I don’t really think there is a Big Sourdough conspiracy, but I do blame the internet. The world’s most accessible font of human knowledge is prone to many errors, and one of those is the insidious grip of SEO. I’ll try not to go into full web developer rant mode right now, but I will say this: The majority of recipes on the first page of Google search results are generally just copies of each other vying for the top spot by way of money and data that aren’t related to the recipe or its “provenance”.
What do I mean by provenance? I don’t mean that recipes must come from some kind of authority necessarily, and maybe I’m in the minority here, but when I want to make something new I want to know why it’s done in a certain way. No, I don’t mean that I want to have to read your life story, neatly packaging the idea of the recipe as part of a lifestyle—I just want to know why you think people should generally trust your instructions over any other website. And for me, that means some indication that you formulated the recipe yourself, or focused on testing and improving some aspect of it, rather than making it with some slight adjustment from someone else’s recipe and then taking some pretty photos.
Ok, I’m done ranting now. Let me tell you why you might be working too hard to make sourdough bread, and why many people believe it’s too complicated to be worth doing yourself.
If you search for “sourdough bread recipe”, you will likely see a dozen results with this basic format:
- Your sourdough starter must be active, and it may require you do a preferment/levain
- Mix the rest of the recipe’s water and flour (no salt!) and let the dough autolyze for 30 minutes
- Combine the autolyzed dough, starter/preferment/levain, and salt
- 30 minutes later, perform a series of stretch & folds
- 30 minutes later, perform a series of stretch & folds
- 30 minutes later, perform a series of stretch & folds
- 30 minutes later, perform a series of stretch & folds, the dough should probably pass the windowpane test by this point
- Bulk rise for some arbitrary amount of time quibbling about room temperature with no specifics about how much it should rise and how to measure it
- Pre-shape the dough (hopefully it shows how) and bench rest for 20-30 minutes
- Final-shape the dough (hopefully it actually shows how) and place into a proofing basket
- Maybe do a second rise, or maybe retard in the fridge overnight
- Preheat oven and maybe a cast-iron dutch oven to 500°F
- Remove from proofing basket and score the dough with a lame
- Place dough in preheated dutch oven with lid or some complicated steaming setup and bake for 20 minutes
- Turn the oven down to 450°F, remove the lid or steam source, and bake for an additional 40 minutes
- Maybe turn the oven off and maybe crack the door open for a final 10 minutes
- Allow bread to cool for some amount of time before enjoying it
What an exhausting list, especially for something as simple as bread. It’s essentially a full day of babysitting dough, only to have to wait until the next day to bake it, then waiting some more before getting to eat it!
Let me also be the first to say that I am guilty of the above, just look at my Quarantine Sourdough recipe! I wanted to be timely during the pandemic and also provide some insight into the learning process along the way. This actually illustrates my point: I posted a recipe that was an adjustment to the somewhat “standard method” that I found when researching, and even then it took me months to get it right.
Now that I can make a fantastic loaf with this general method—even after having combined many of these steps—I couldn’t help but wonder about some parts that always seem necessary, like those pesky stretch & folds. When making bread with commercial yeast, even with “no-knead” recipes, nobody does stretch & folds. And it seems like nobody can agree as to their purpose (though to be fair, the consensus seems to be about strengthening the gluten network).
I have been experimenting with cutting and combining as many steps as possible in an attempt to find the essential sourdough bread method, and I think I’m getting close. Here’s my list of steps to compare to the 17 above:
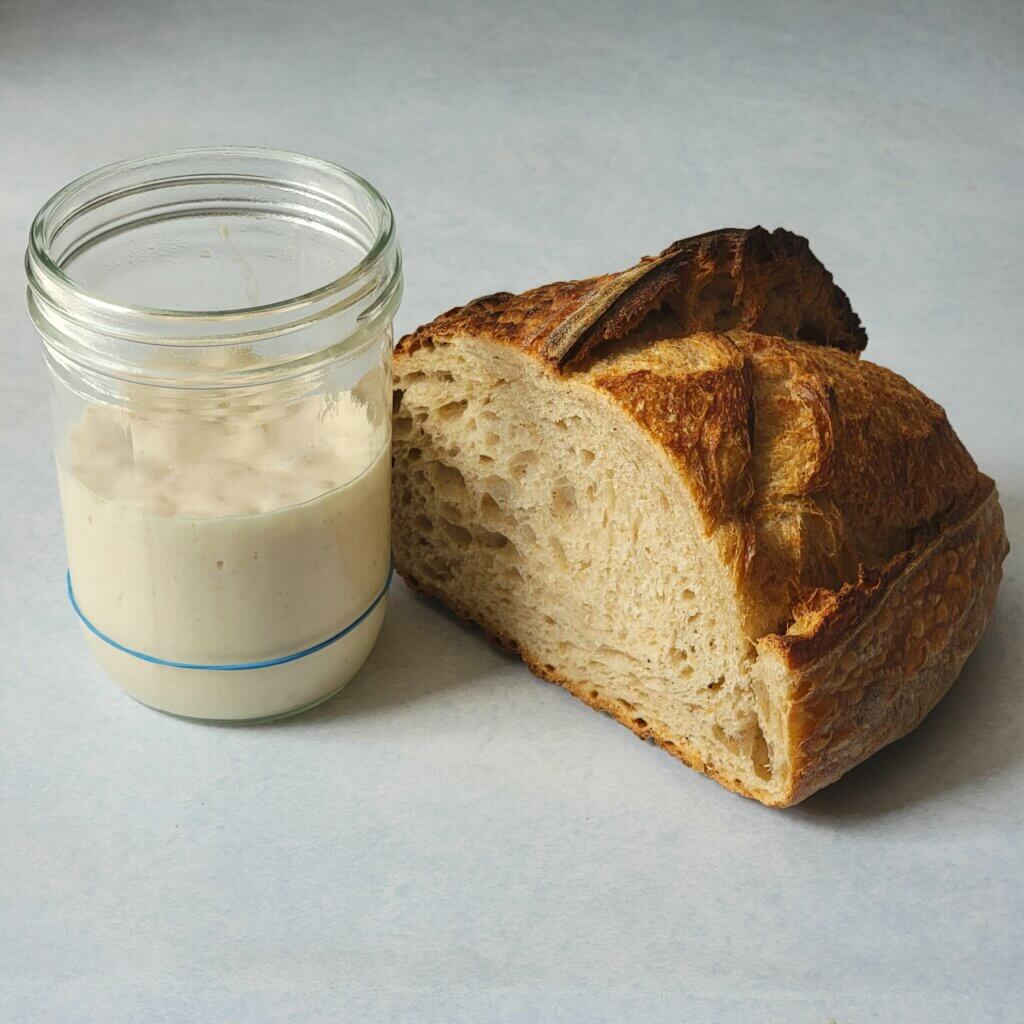
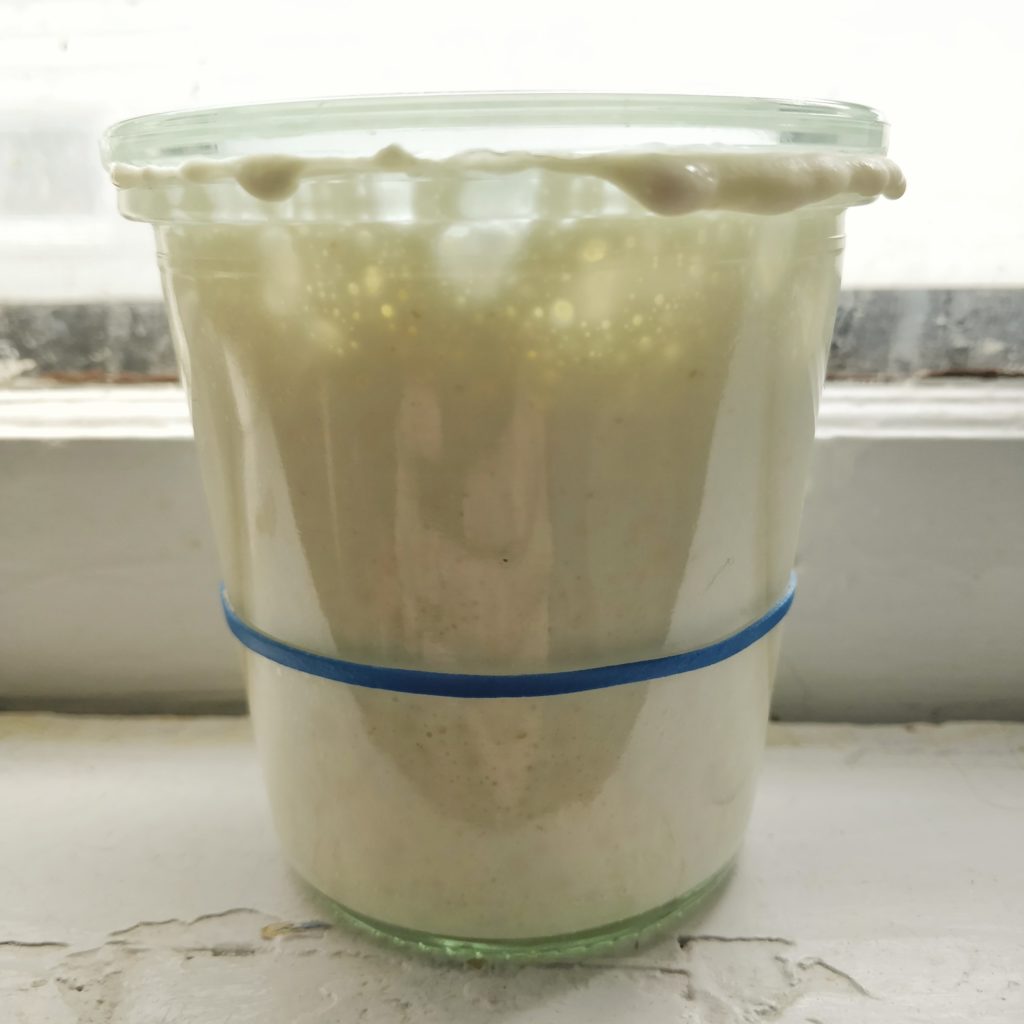
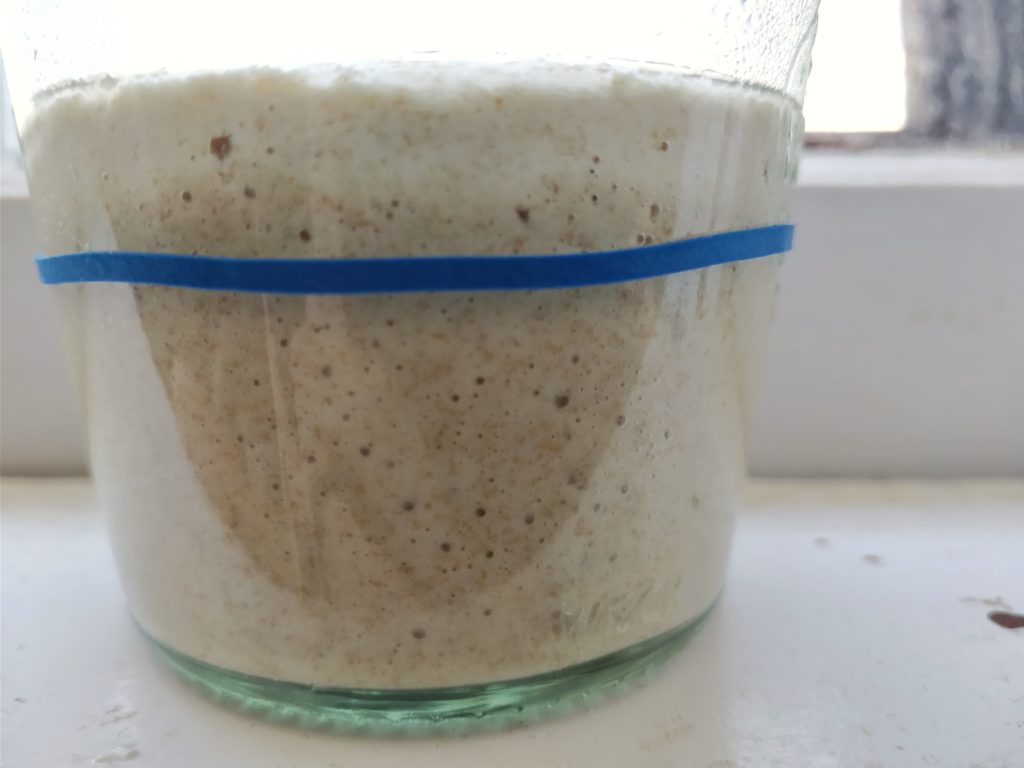
- Use starter that’s been out on the counter, unfed for a week (since the last time I made bread)
- Mix all dough ingredients together at once in a see-through container, flatten, and mark the volume and where 50% increase will be
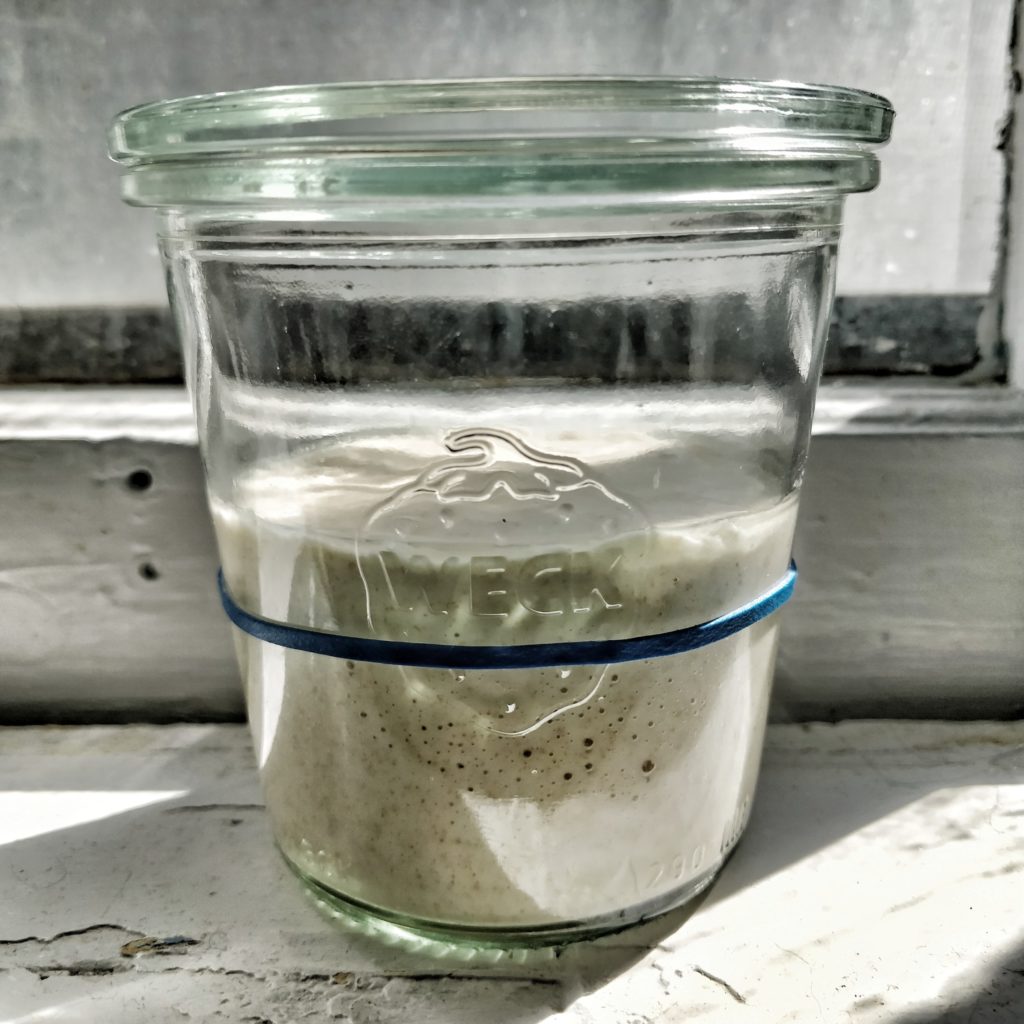
- Autolyze for about 2.5 hours (in my oven with the light on), until it passes the windowpane test without any interference or agitation
- Let it continue straight into bulk rise (still in my oven with the light on), until it has risen 50% in volume via marks made at the beginning (takes around 2-3 hours)
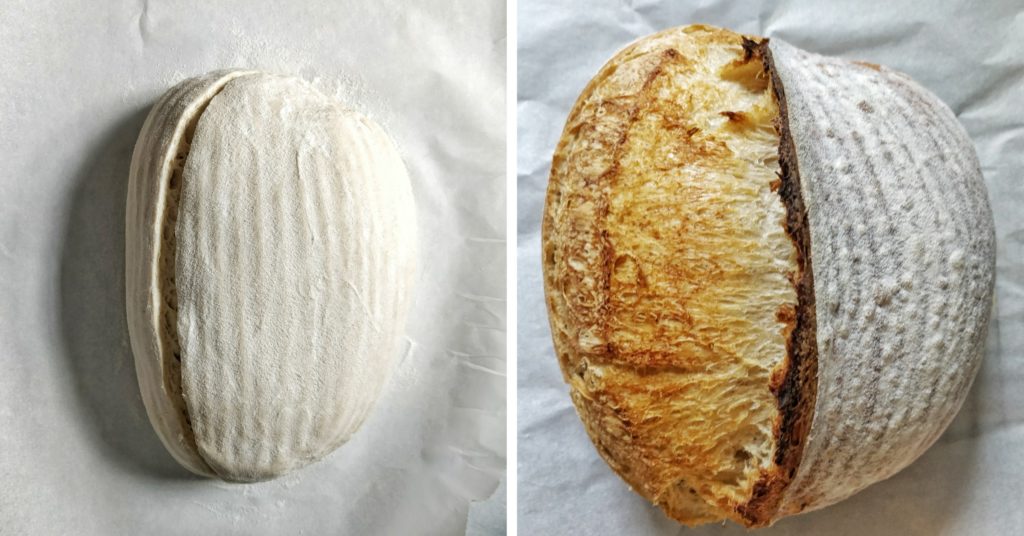
- Pre-shape with stretch & folds, form into a ball, and add tension, then rest for 30 minutes
- Final shape with letter fold & roll method, place bottom-side-up into whetted & rice-flour-dusted oval banneton, clean up ends and stitch
- Refrigerate in a plastic bag for at least 18 hours
- Preheat oven with cast-iron dutch oven inside to 450°F
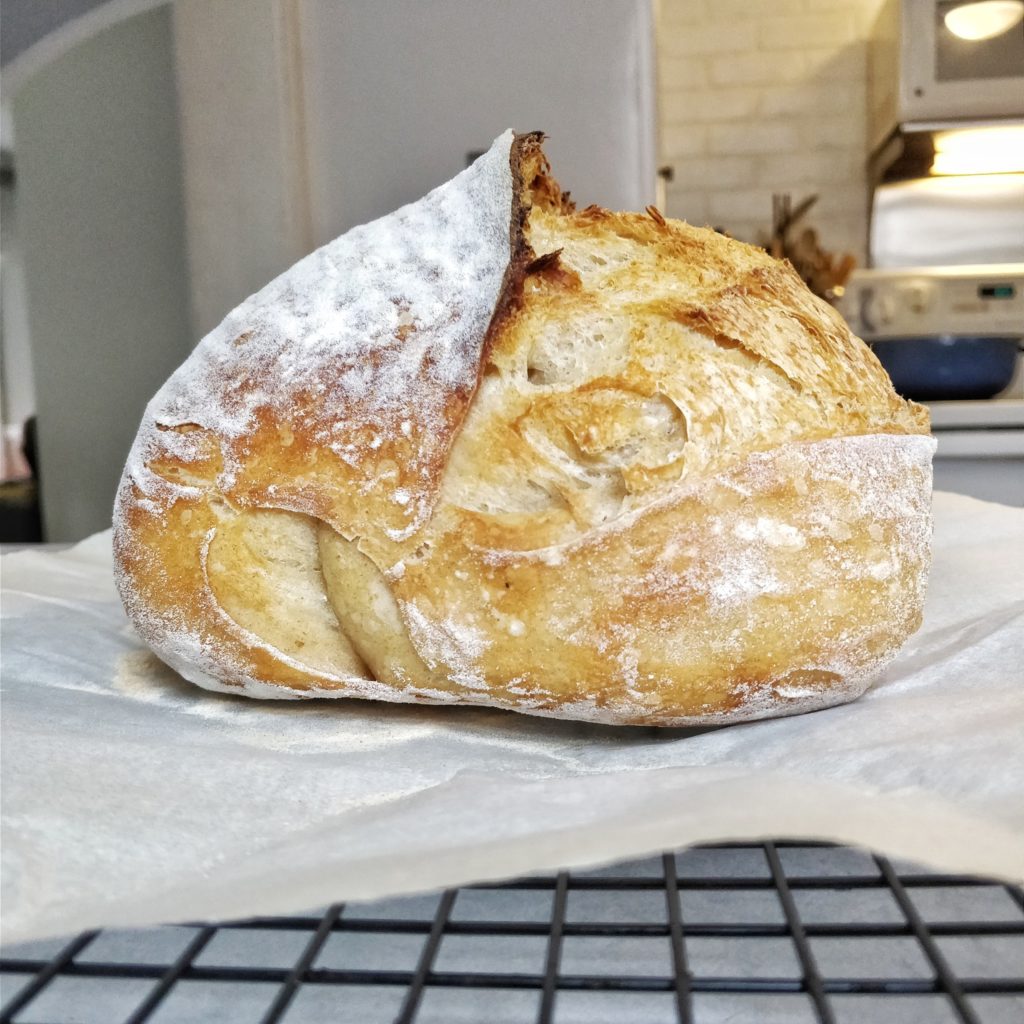
- Remove dough from banneton onto parchment paper, dust with rice flour and score ( sharp paring knife works fine), one long slit at an angle about a half-inch deep
- Place dough into preheated dutch oven by lowering in via the parchment paper, put on lid, bake for 20 minutes
- Remove lid and continue baking another 20 minutes
- Cool on wire rack until you can’t stand it anymore
And so, 17 steps become 12. I’m still experimenting to see if I can reduce that further, but right off the bat my steps #3 & #4 are almost not worth separating—you can just mix the dough and wait until it reaches the 50% mark, since you can be confident that the gluten will form all by itself.*
Now, there are a few (like maybe 3 that I could find*) side-by-side tests on YouTube of various stretch & fold techniques vs just letting the dough sit undisturbed. It does seem to make a small amount of difference in those tests, but at this point it’s such a small sample size that I don’t consider it definitive. I intend to do my own side-by-side video at some point, so stay tuned for that. I also intend to see if I could make the wait between mixing the dough and being ready for shaping work with a work commute schedule, or even overnight, for which a cooler temperature would be crucial (might even consider leaving it to proof in my basement, who knows!).
Here are my main takeaways, potentially for a future sourdough bread guide:
- Your starter doesn’t need to be “active” or “at peak” to make good bread.
- Mixing the dough all at once vs the complicated dough mixing schedule of the “gold standard” makes no difference.
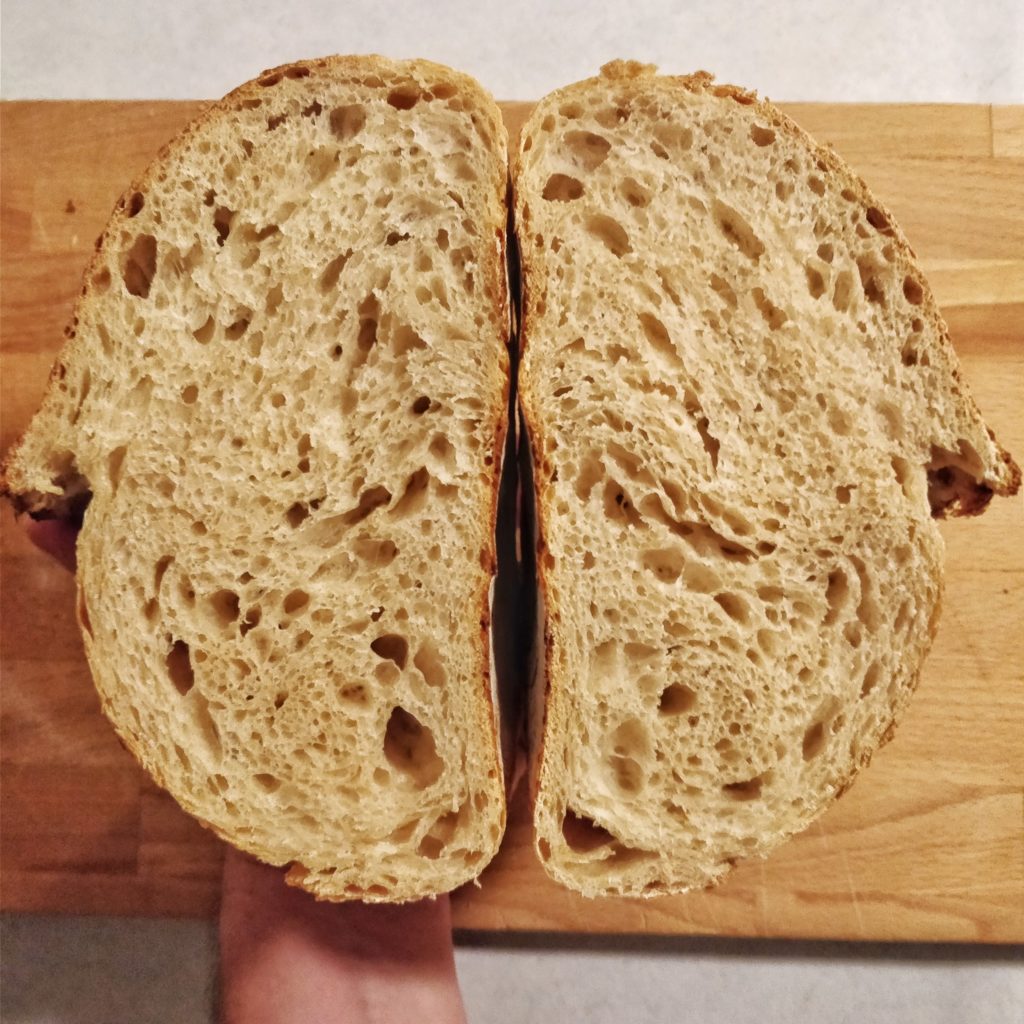
- It is crucial to be able to track the rise during bulk with volume marks, otherwise it’s easy to accidentally overproof because of the long proofing times (I learned this lesson many times over).
- The most important factors for oven spring in my experience are:
- ensuring that the dough is not overproofed (see #3 above)
- how you do the final shaping—more tension
- the proofing basket shape—oval loaves stand up better for me
- baking the dough cold from the fridge
And the final takeaway that I believe is the most important of all: experiment for yourself, and adapt the recipes you find to your own habits and experience. I hope that, above all else, this is the theme and moral of the entire Crock of Time experience.