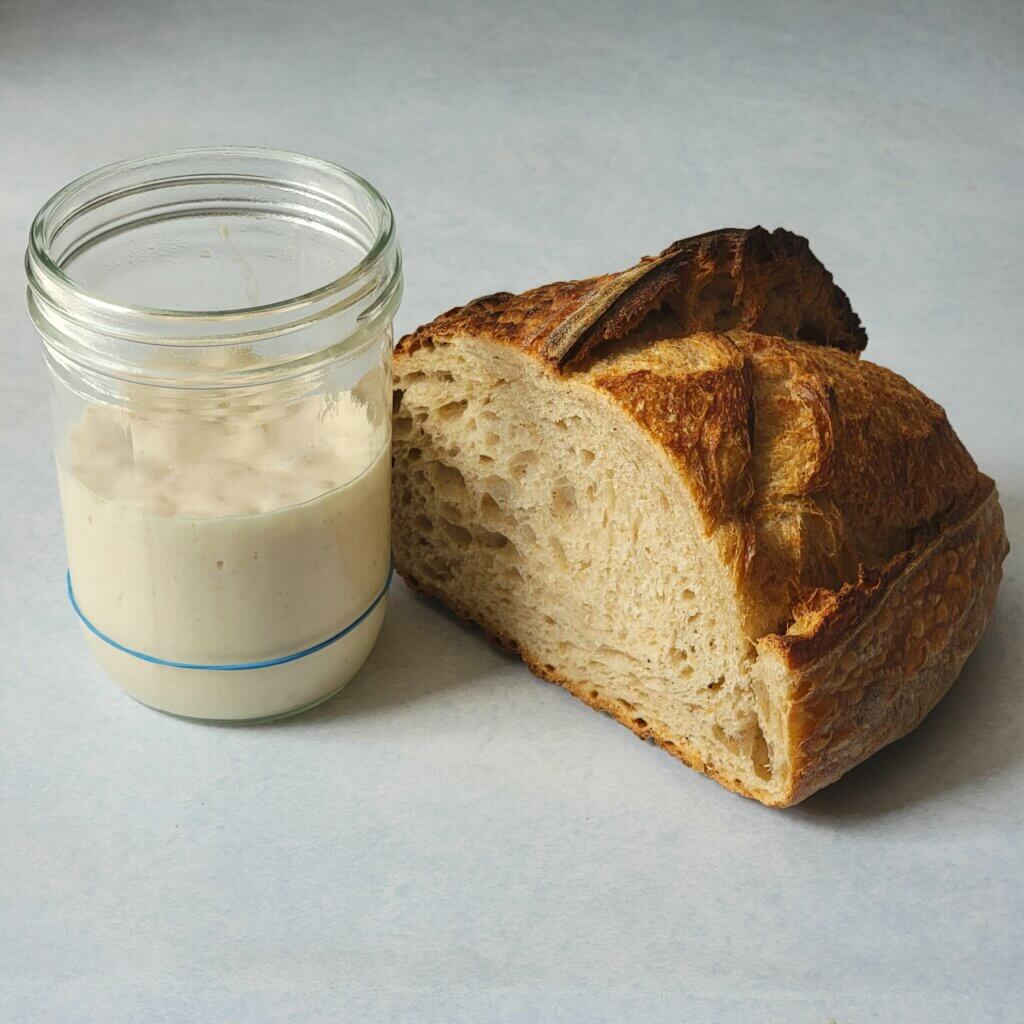
Quarantine Sourdough
Looking for the recipe? Find it here: Quarantine Sourdough Recipe
I cultivated my first sourdough starter sometime in 2016.
After baking a loaf a week for about a month, then baking a loaf once every other week, and at some point forgetting to feed the starter in the fridge, it eventually dried out. Those first few loaves were a magical but often frustrating experience. After all, I had conjured a substance that makes bread rise and taste good from nothing but flour and water and Time!
However, making a decent loaf still requires good technique, and YouTube videos can only get you so far. I was gaining experience with every loaf but week after week of “feeding” something that may just sit in my fridge began to feel wasteful. I did dabble a bit with using the starter to make things besides bread, such as waffles and biscuits, but I hadn’t really figured out how to incorporate sourdough into my life*. And, time and time again, I ran into the same kinds of issues—only working with a sourdough once a week or less without logging each step and result (as I began to do with other things in 2018) meant that I wasn’t retaining the right kind of experience to get better at it.
Now, in 2020, the COVID-19 pandemic and stay-at-home orders gave me ample time to cultivate a new starter, a chance to start fresh without assumptions or learned bad habits. I’d like to say that I dove in with good research and did everything right this time around, but it turns out that this was an inadvertent “two steps forward, one step back” approach. I’d like to share my successes and failings here for you to learn from my experience if you, too, are starting a sourdough or wondering what went wrong with your flat loaf.
On March 20th, a little while after my state’s stay-at-home order began, I decided on a whim to livestream cooking dinner for friends and family on Facebook. This turned into a weekly thing, and I’m still doing it two months later. Anyways, on April 1st, I made pizza dough with one of my last packets of active dry yeast. During the livestream the next day, I wanted to show how to prepare the dough, and with a bit of TV magic have the first one ready to bake with. As an offhand comment, I mentioned that you can seed the next dough with some from a previous batch in order to stretch your yeast, and proceeded to pinch off a glob of dough and mix it in with the new batch.
Of course, I had not tested this yet, and looking back I believe there are ways to make this work, but the way I did it is not one of them. I faithfully updated my Facebook with photos of the second dough and had to admit that it wasn’t quite the success I was hoping for. Nevertheless, I did an impromptu stream 2 days later and attempted to cook the dough like focaccia.
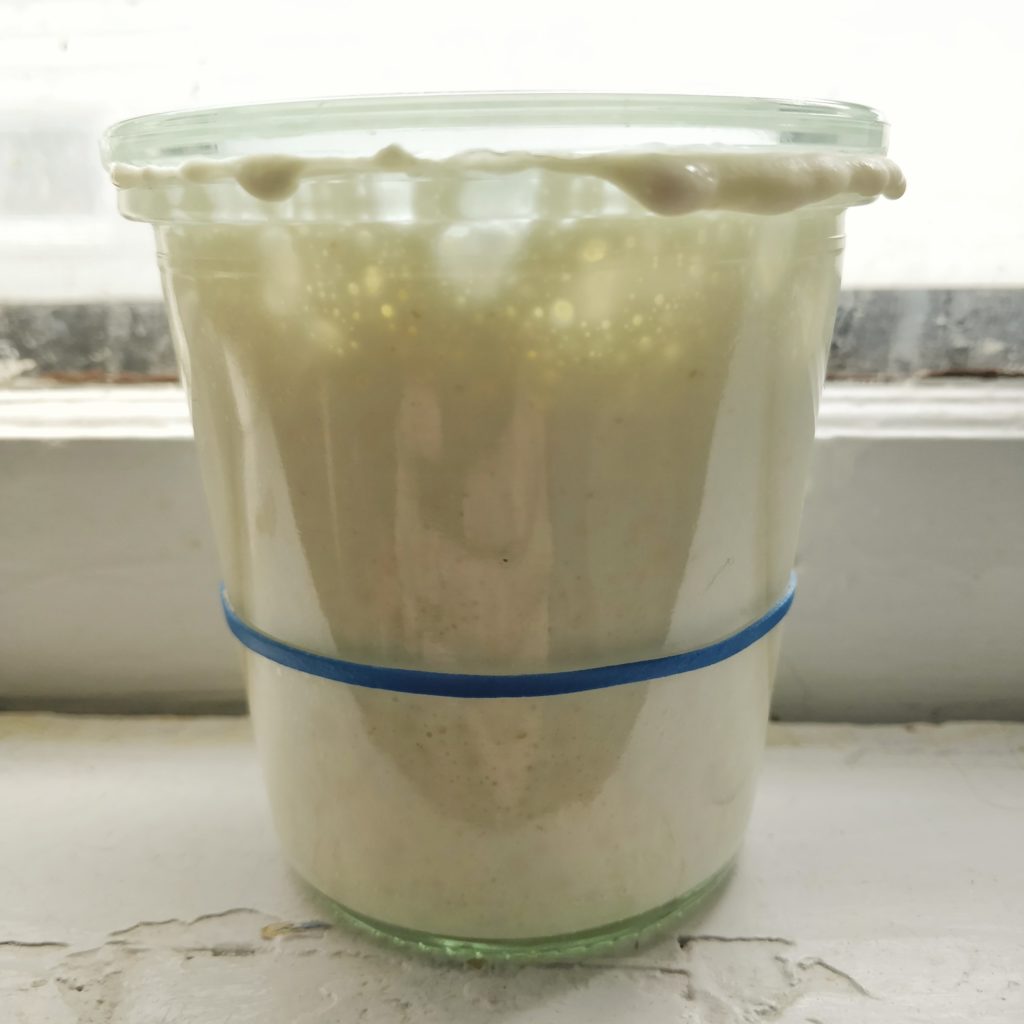
Before baking it, I rescued a pinch and threw it into my old sourdough Weck jar with equal parts flour and water to bring it up to 100g and began a roundabout journey back to sourdough. A day later the starter had risen nearly double, and I immediately fell back into my old feeding habit: discard half, replace with equal parts flour and water (for those keeping track, that’s a 2:1:1 ratio of starter:water:flour). That was my next mistake.
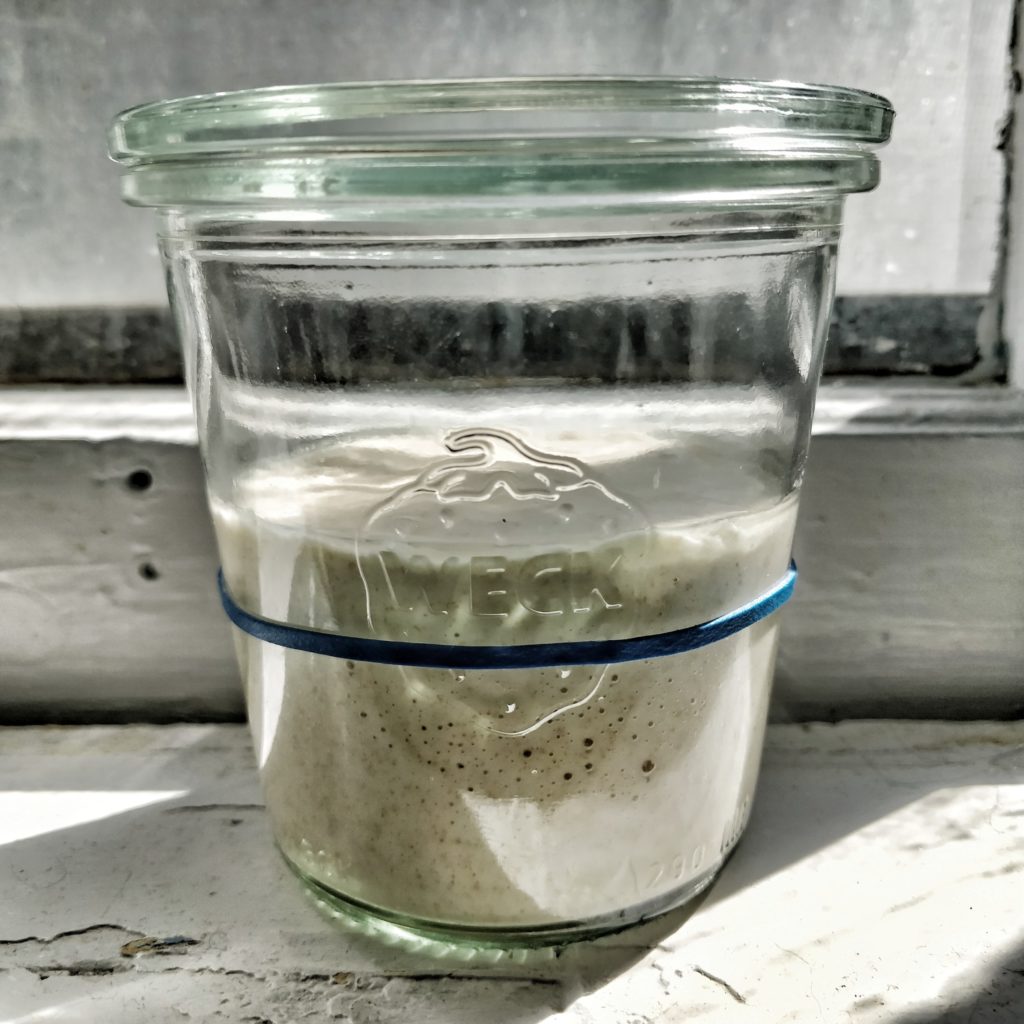
The second day showed less rise than the first. My hypothesis looking back is that the commercial yeast strain couldn’t hack it in the acidic environment created by the lactobacillus also being cultivated and basically died off, making way, finally, for the wild yeasts. Either way, I probably should have treated this like the initial days of any other sourdough starter, only adding flour & water and not discarding.*
Eventually, it rose consistently enough by 2x that I was confident enough to bake with it. I threw caution to the wind and tried to “simplify” my old recipe, mainly because I didn’t want to lose interest again and having an easy recipe would maybe help.
The things I initially removed:
- Autolyse
- Stretch & folds
- Preshaping
The autolyse step is maybe the one that has the least impact on the final dough, but that isn’t the point of the autolyse. The point is that it speeds up the process, which is really valuable when working with sourdough. It begins the process of gluten development before your starter has even made contact with the rest of the dough, which means that less time is needed during bulk fermentation.
Stretch & folds supposedly help “redistribute the yeast”, but as far as I can tell, the largest benefit is in the way that you are aligning the strands of gluten to better hold the shape of a loaf. Continually stretching the dough and then folding it into itself, and then allowing some time for it to “relax” before folding again, turns a messy web of gluten into something more akin to a ball of rubber bands. I recommend doing stretch & folds every 30 minutes over the course of 2 hours, and using the windowpane test* before moving on to bulk fermentation.
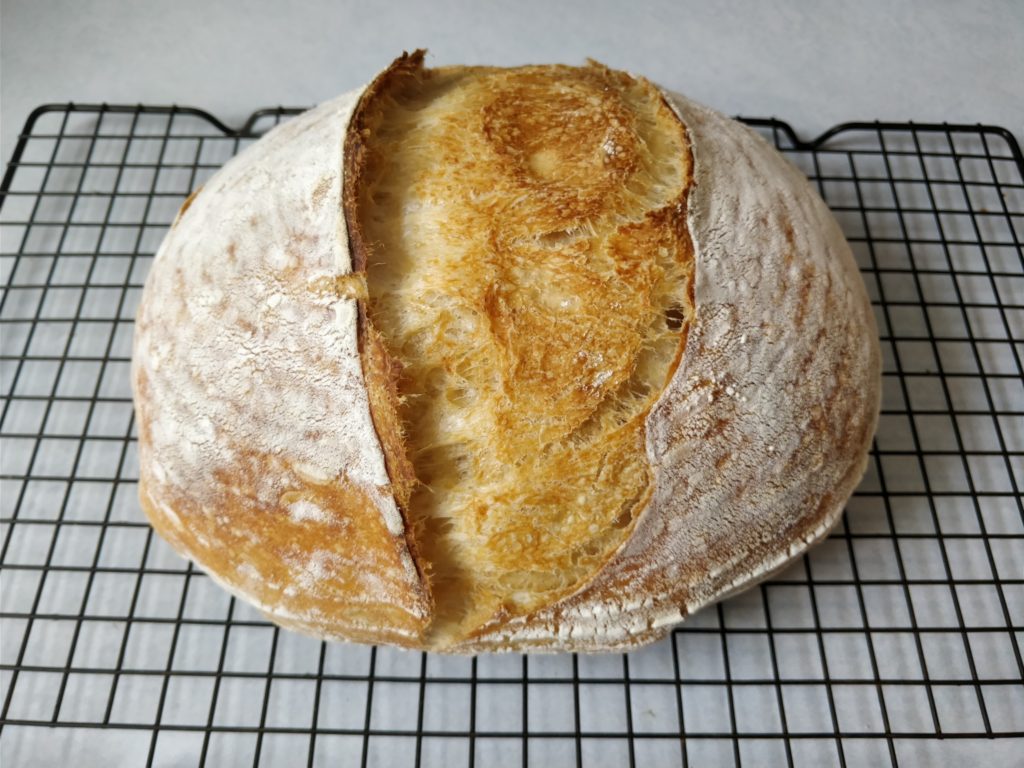
And it turns out that technique, especially shaping, has a definite effect on the final loaf’s “oven spring”. Just see this recent video below by Sune, the “Foodgeek” where he compares the same dough 3 ways: not shaped, only final shaped, and both pre-shaped and final shaped. You can of course get away with doing the bare minimum, but that small extra step is worth it.
However… after some more research (AKA more YouTube videos) I began to realize something. Just about every video and webpage about beginner sourdough will stress that sourdough needs much more time to rise than the usual commercial yeast recipe. I had internalized this from the very beginning, but I had taken that advice way too seriously. Most of those videos and websites manage to prepare their loaf within a single day, and generally bake it the next, but my loaves were taking way longer to rise… or so I thought.
I had missed a key little aside that many of these experienced bakers tend not to dwell on: the bulk rise does not need to (and should not!) rise by 2x or more! This may seem obvious, but I had somehow missed the fact that my bulk rise only needs to increase the volume by 1/4–1/2x to be ready for shaping. Do NOT do what I did and let the dough rise for a full 48 hours before trying to bake it, just because it hasn’t expanded to 2x*!
I also feel like I have a totally different relationship with my starter this time around. Last time I always fed 2:1:1 and stored it in the fridge, pulling it out to feed it once before making a dough the day after. This time, I have been feeding it every day in the morning after waking up, which has given me a better sense of how it behaves. I now “feed” it at a ratio most appropriate for the situation, which at this point is generally 1:4:4. I don’t think feeding is a great term for this, as it can lead to the misconception that you always need to use at least 50% existing starter, which is not true at all and potentially detrimental to the starter’s full potential. You’re really inoculating a new batch each time, and if you get the ratio right you can time it so that it’s ready to feed only once per day (and even then you could let it sit on the counter for another day or so and it would be fine next time you fed it). I highly recommend anyone just starting out to feed every day to become attuned to your starter’s lifecycle.
And with all that, I’m happy to finally have a simple and (hopefully) straightforward recipe for baking sourdough bread while quarantined during a global pandemic. I may have missed the boat with my timeline, but this is also a recipe that I think is decent under any circumstance, especially for beginners, as it goes through all of the things I found were necessary to bake a decent loaf without requiring bread flour and other professional “tools of the trade”.
Click the link below to get the recipe, or go to page 2 for the transcribed logbook.