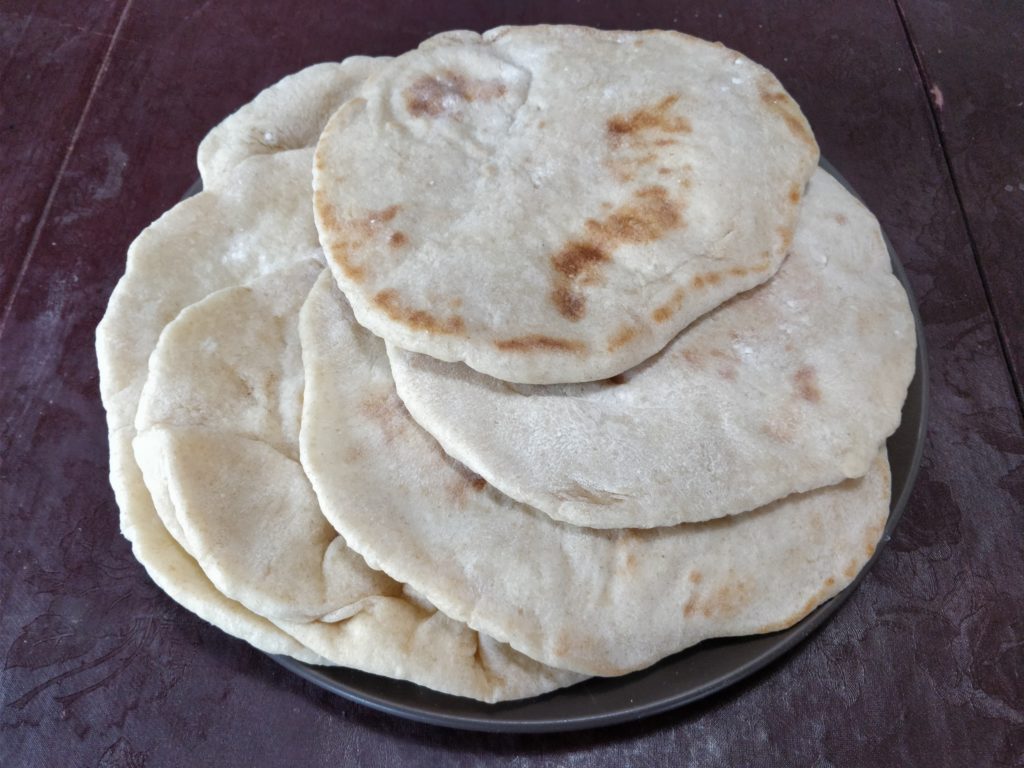
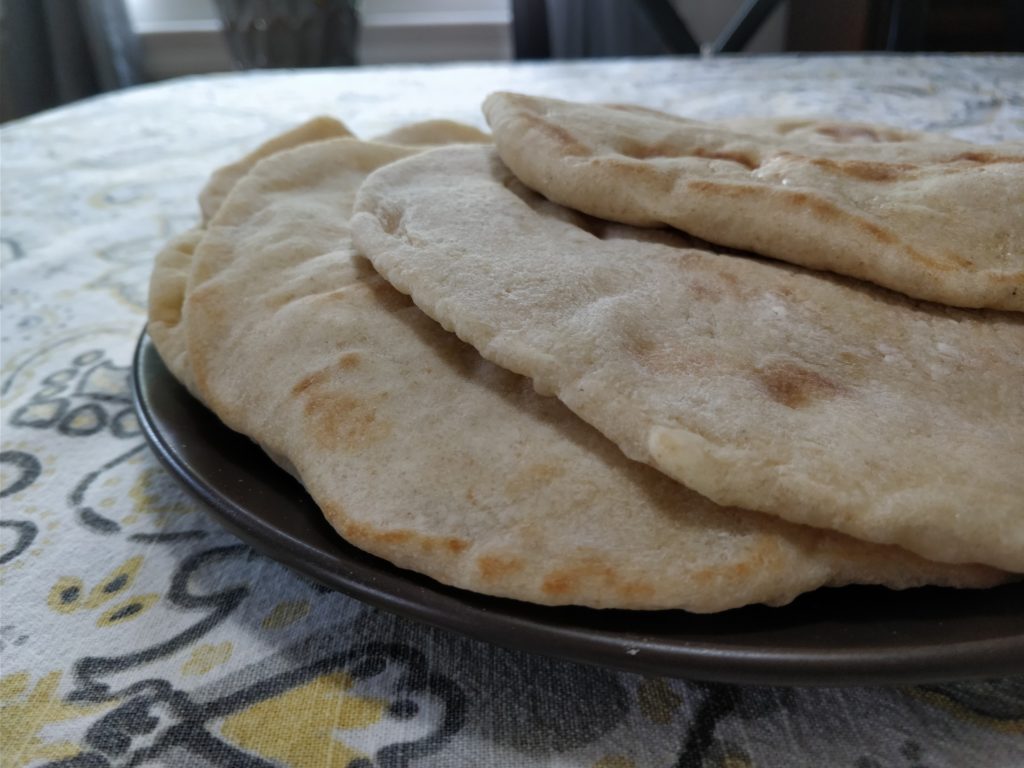
Sourdough Pita Bread
Sometimes I feel like yelling from a rooftop, “Sourdough is just dough!” Sourdough is the original leavened dough, why does it need a clarifying compound word? What if we called dough with instant yeast “plaindough”? Is “lazydough” too harsh?
But I get it, sourdough seems hard. You have to commit to it, build a relationship with it, write blog posts about it, right? No! It’s just bread! Bread you can make with just flour and water and Time!
All I’m getting at is that, when pita was “invented”, it wasn’t made with active dry yeast. Someone had to cultivate wild yeast and probably keep it going to make bread often, maybe daily for a family. When flour is one of the few staple foods you rely on every day to get by (as opposed to having an international foods warehouse down the street), it’s probably a pretty simple matter of always adding some old dough into today’s new dough[citation needed].
So here is a recipe for just plain old pita, probably using methods more similar to how it was first made than anything you’ll get from the store or a restaurant today, even the “authentic” ones.
Sourdough Pita
Ingredients
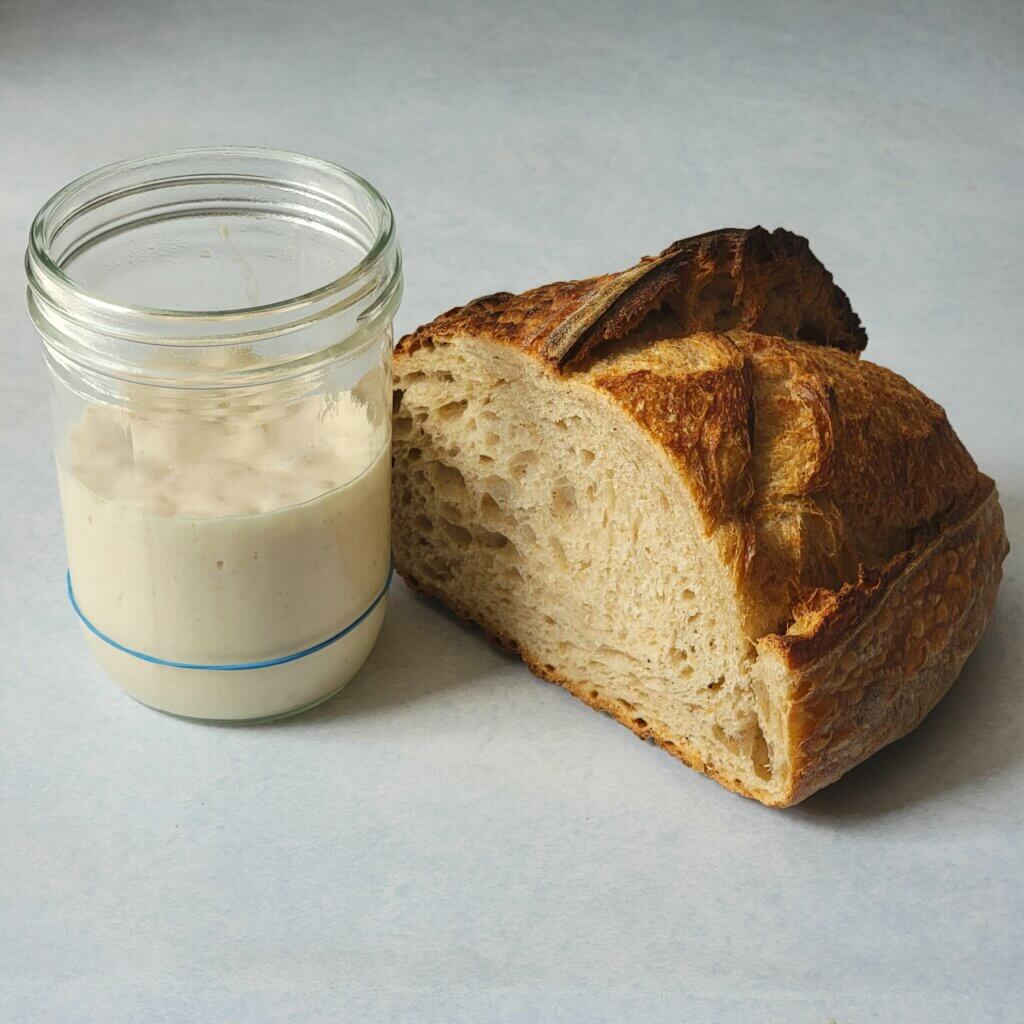
Levain
- 50g starter
- 75g water
- 75g flour
Autolyse
- 400g flour (optionally 50g whole wheat)
- 200g water
- 10g salt
- 1 Tbsp sugar
Final Dough
- 200g levain
- 560g autolysed dough
- 2 Tbsp olive oil
Procedure
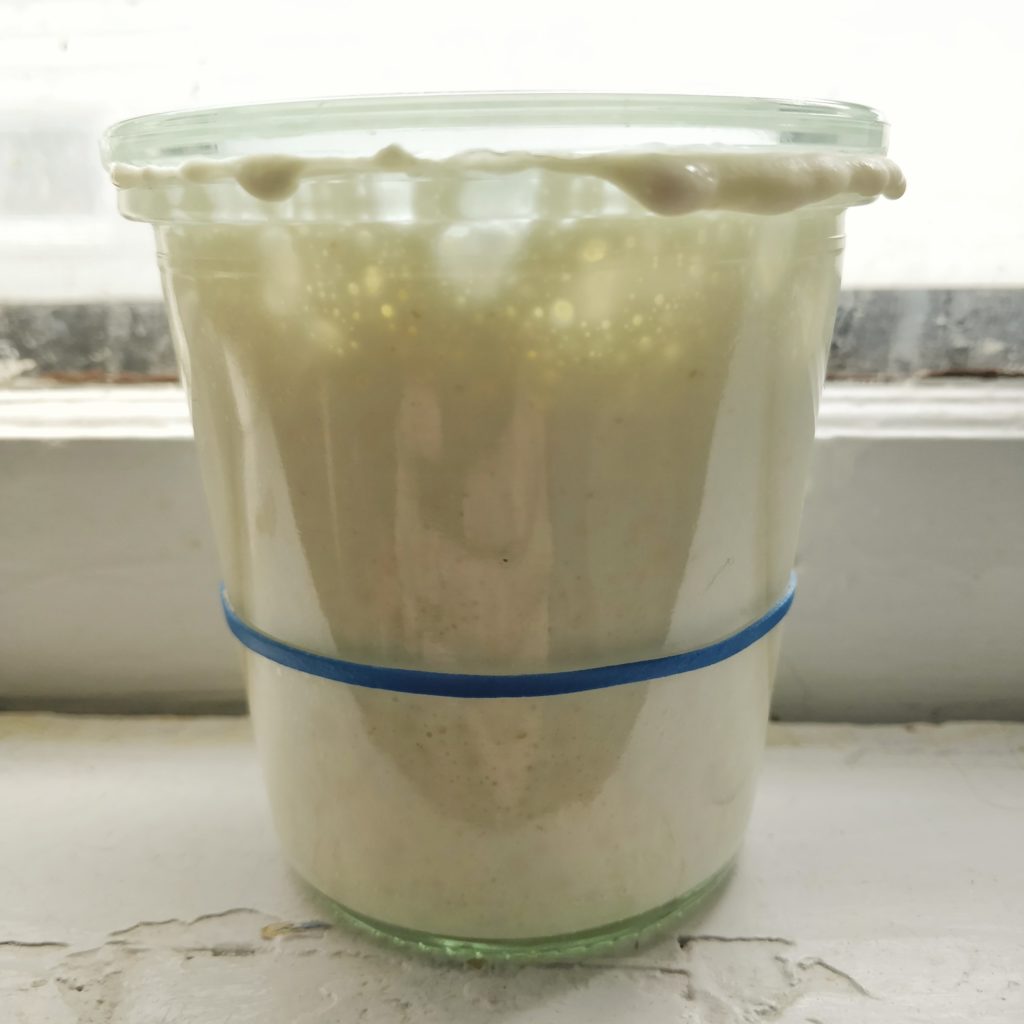
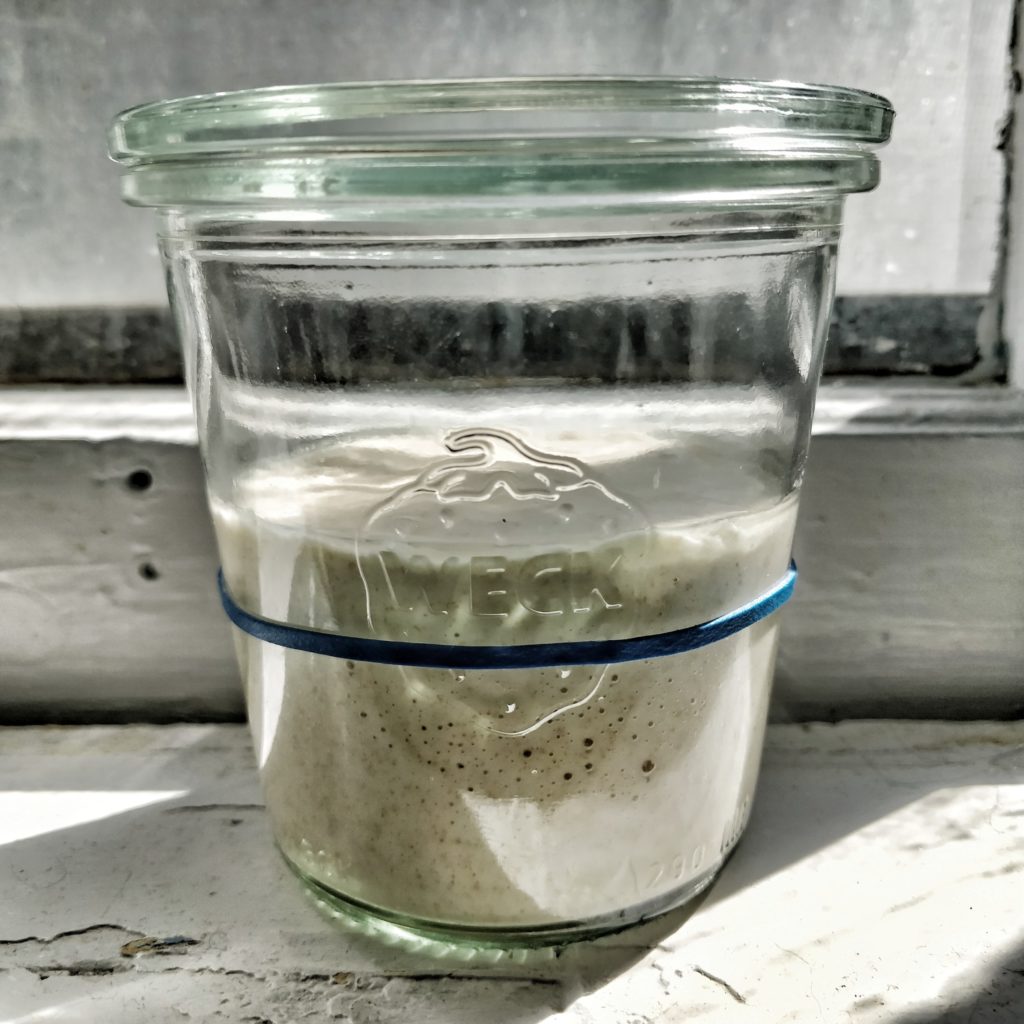
- Mix the levain in the morning. Put into a Mason jar so you can observe it’s progress. Set someplace warm.
- Once levain has doubled 3-6 hours later, mix together the ingredients for the autolyse. it should just barely come together and will be fairly stiff. Let sit for 1 hour.
- Mix together the levain, autolysed dough, and olive oil. I recommend a stand mixer for this, but I’m sure you can probably do it by hand.
- Form into a sticky ball and set into an oiled bowl, flipping to coat. Perform an initial stretch & fold, then cover with a damp towel and set someplace warm.
- Do 2-3 more stretch & folds over the course of an hour. Perform the windowpane test to see if the gluten has developed well.
- At this point you can refrigerate overnight or leave out (4-6 hours) to bake the same day. Allow to rise by 1/2x.
- Dump the dough out onto a lightly floured surface and cut into 6-8 pieces. Form into balls, then cover and bench rest for 30 minutes.
- Preheat oven and a baking steel or heavy sheet pan to 450°F.
- Roll out enough to fit on the baking steel or pan to about 1/8″. If they spring back too much, let rest for a few minutes and then continue rolling out.
- Carefully place the flat dough onto the baking steel or pan, ideally while it is still in the oven. Bake for 3 minutes, during which time the pita should fully inflate, if you rolled it thin enough.
- Carefully remove still-inflated pita to plate covered with a towel or an open gallon-sized plastic ziptop bag. We want them to steam slightly to soften up.
- Repeat steps 9–11 until all of your pita are baked. You may find that you need to adjust the thickness of the dough after the first batch, but don’t worry—any pita that don’t inflate will still be good!
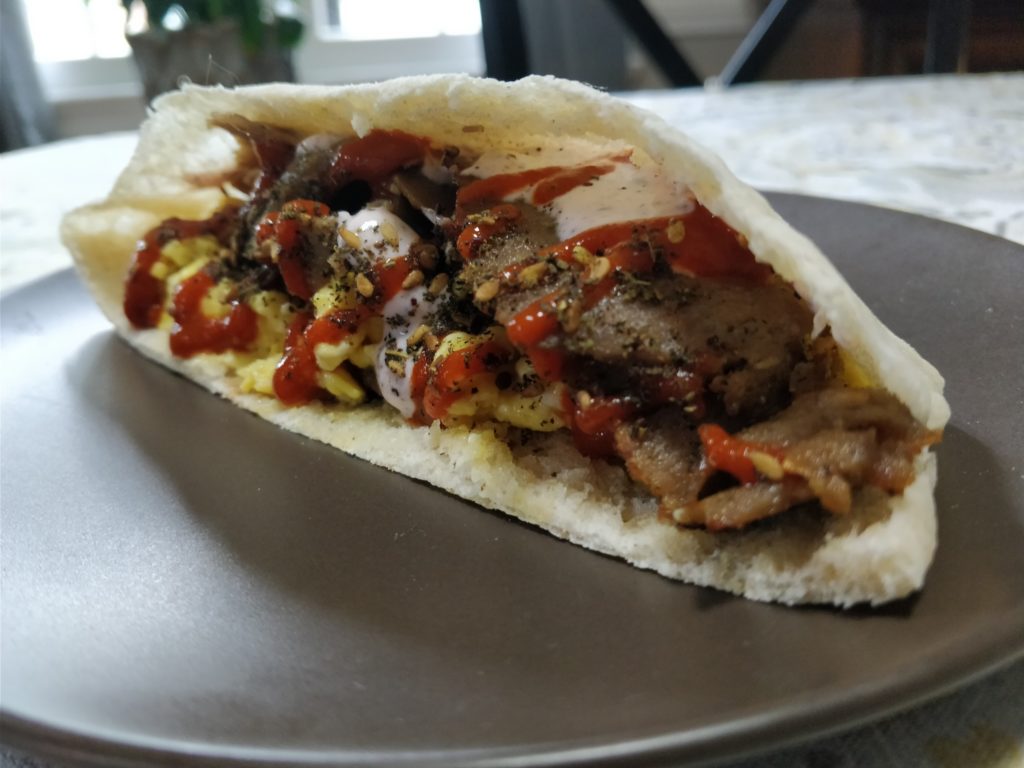
Fill the pita with whatever you want and enjoy food on-the-go, or use to dip into hummus or other saucy foods.