Toasted Rice Koji Treats
Kojicon has been an inspirational experience for me—It has me thinking about all sorts of ways to push koji-related ferments just slightly beyond the traditional stuff. In particular, I want to see what variables I can introduce into the process to jump-start the chaos engine and achieve some unexpected (and hopefully good) results. The first idea that occurred to me was to try to toast rice before growing koji on it.
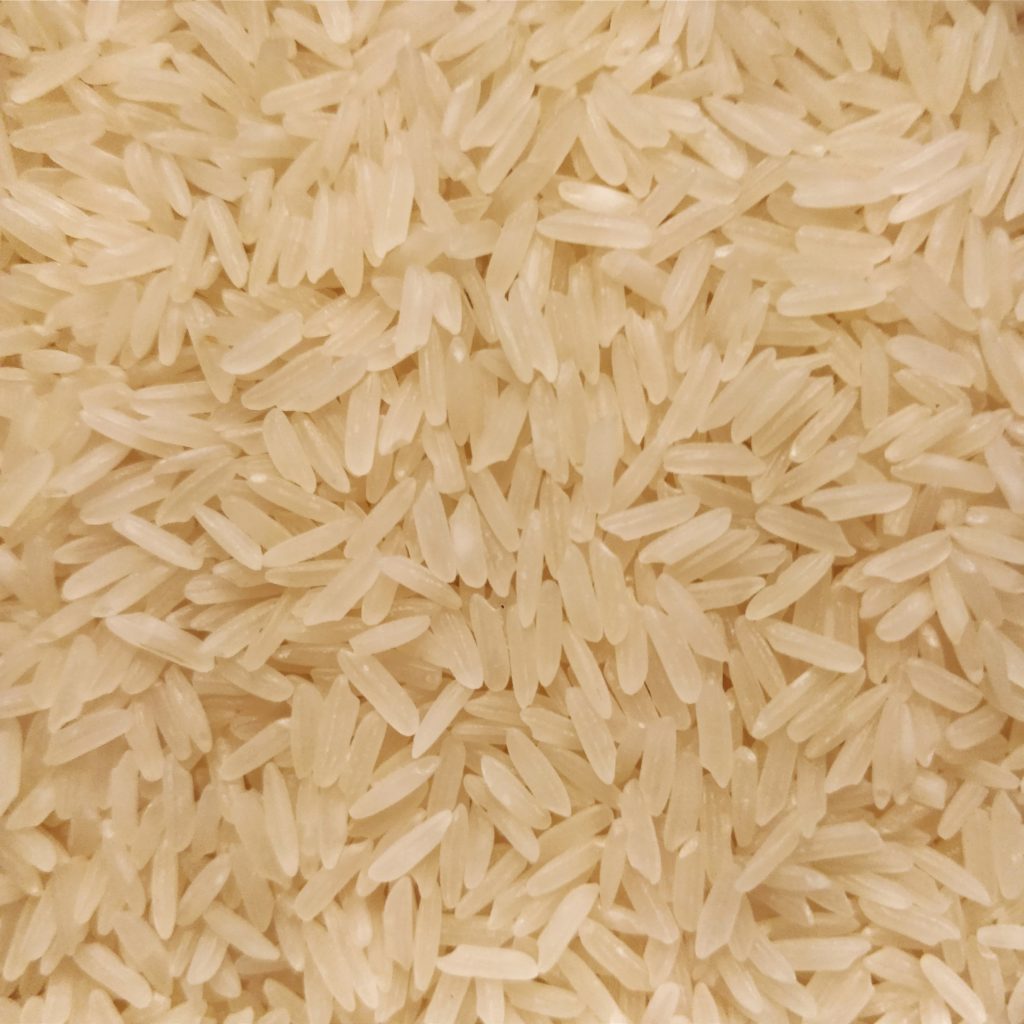
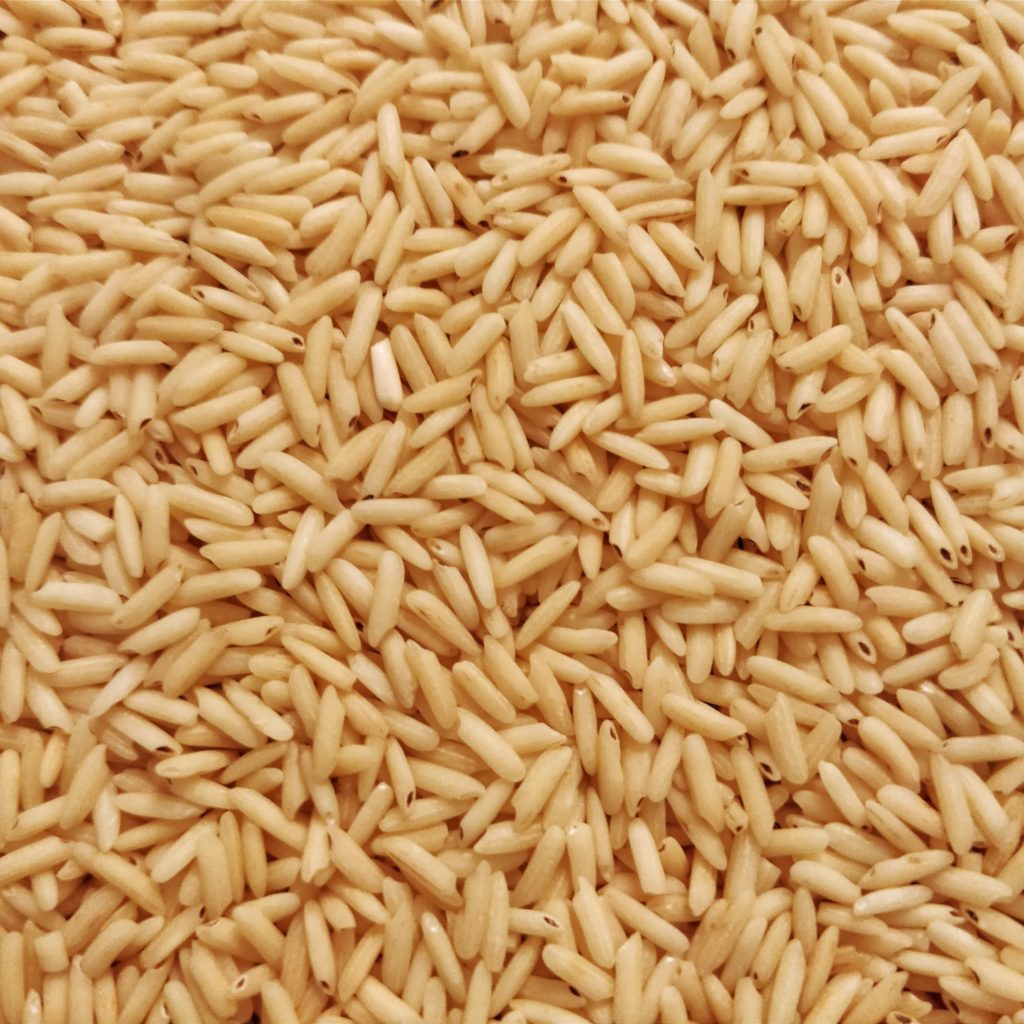
I added 1kg of unwashed jasmine rice to a dry sheet pan and roasted it in the oven at 350°F for 2 hours. Yes, 2 hours! I didn’t expect it to take that long but I wanted it to be really toasty. There was 120g of water loss during toasting, so I was left with 880g toasted rice.
I then attempted to steam the rice. I say “attempted” because it failed miserably—after 40 minutes, the rice was still completely crunchy, as if it hadn’t been steaming for 40 minutes at all.
Change of plans. I’ve cooked “Spanish rice” many times, which similarly toasts/fries the dry rice first, so I know that toasted rice can be cooked. The volume of toasted rice was about 4.5 cups, so to a large pot I added 4.5 cups of water plus an additional cup, 5.5 cups of water total. I added the rice to the water before turning the heat to high and bringing it to a boil… at which point the rice suddenly soaked it all up!
I thought at first that maybe I should have added more water, but I’m glad I didn’t, because the rice ended up on the moist side. I tasted a spoonful of the cooked rice and it had a texture similar to cous-cous. It was definitely wet enough, and I took it off the heat. The rice on the bottom had lost most of its form and turned to mush, but the majority of it was still intact, though fairly fragile.
Koji Time
I dusted the cooled cooked rice with 10g of dispersed spores in sterilized rice flour, which contains about 1g of spores total. This is the standard amount I use for all of my 1kg batches of koji rice.
This batch of toasted rice went into the incubator with another batch of standard koji rice for a real-time comparison. The immersion circulator was set to 92°F initially, which for my particular incubator keeps the inside air temp around 86°F.
At 20 hours in, the temperature of the rice had increased to 90°F. I reduced the temperature on the circulator to 86°F and cracked the lid open. I could already see some growth on the control batch, but not on the toasted rice.
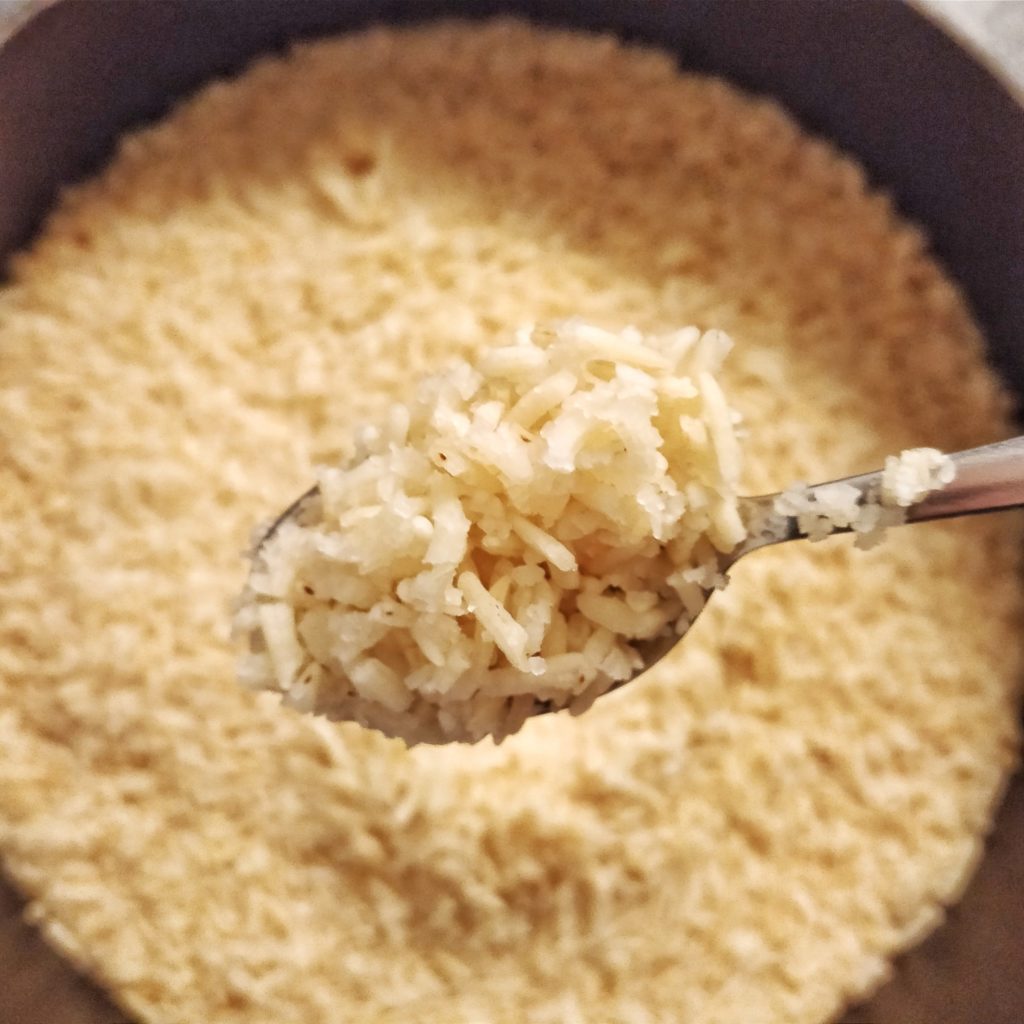
At 24 hours the temperature of the rice had reduced to 86°F (where I usually keep my rice koji). I could finally see some growth on the toasted rice, whereas at this point the control batch was already looking fuzzy.
At 34 hours the temperature had risen back up to 90°F, and both the toasted and control batch looked well covered in koji growth.
At 36 hours the final temperature was 84°F, which told me that the intense growth period was over. The coverage on the toasted rice, while not as excellent as the control batch, was definitely serviceable. Both batches went into the fridge uncovered to cool and dry out a bit overnight.
The next day, the toasted rice koji was still pretty moist. It was hard to tell if it was well matted from koji hyphae or just compacted mush. The taste though… the taste! It is sweet, as per usual, but also caramely, like malt syrup. The texture is still fairly delicate in the mouth with a kinda chalky consistency.
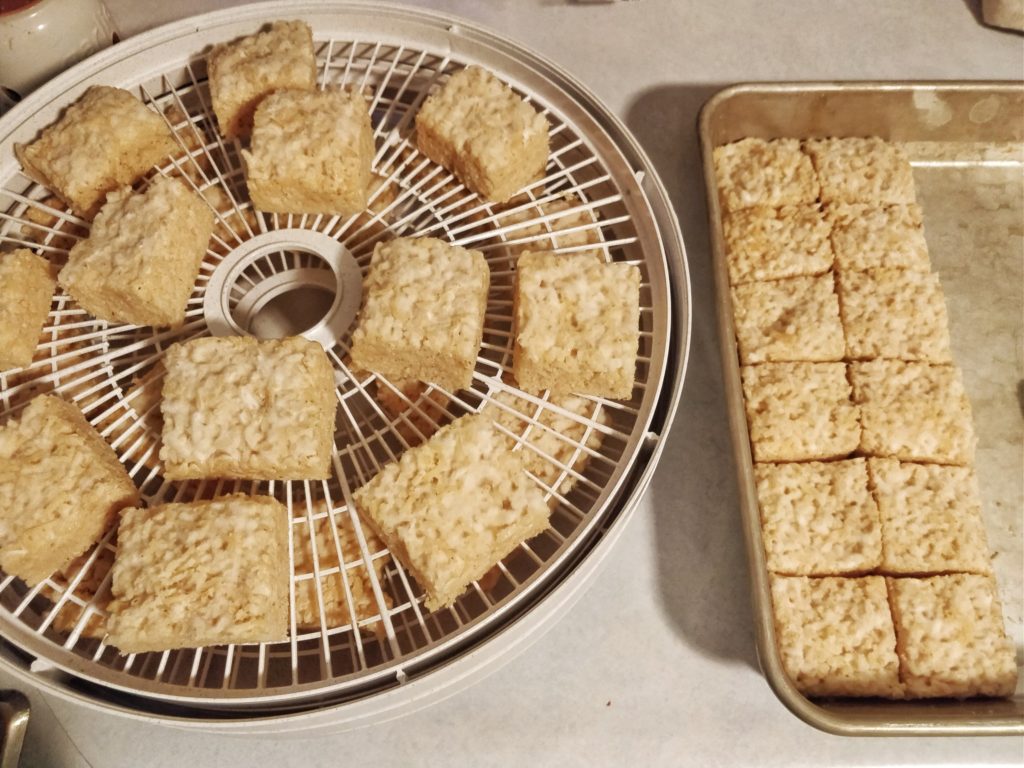
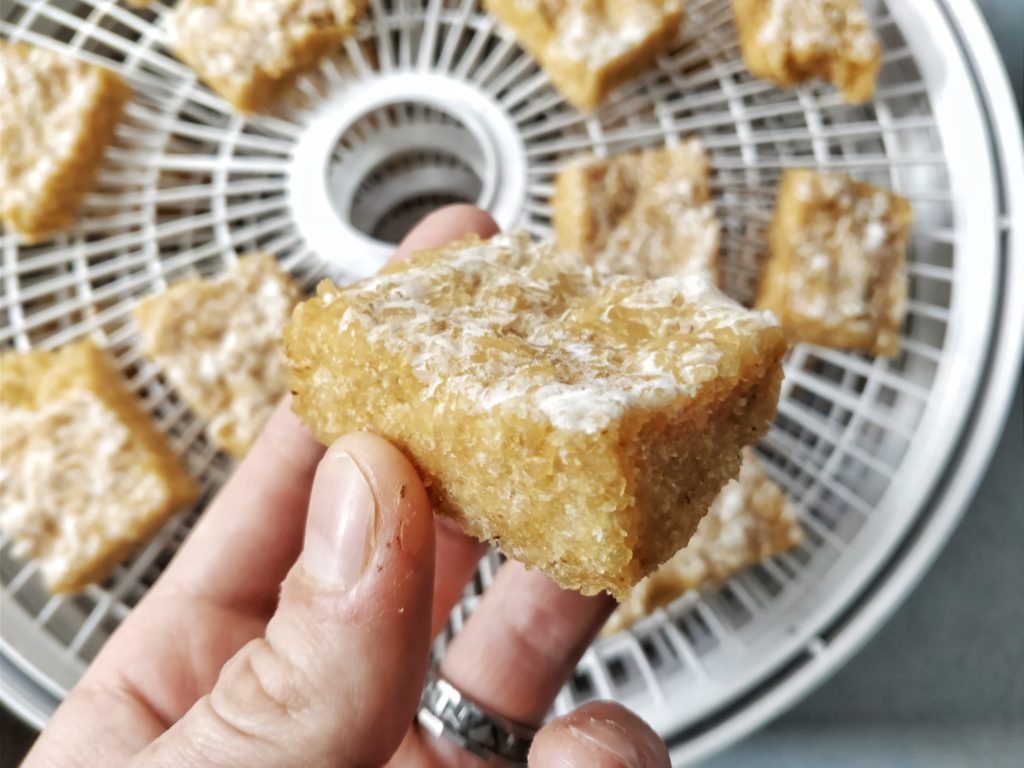
The weight of the toasted rice koji, after drying out overnight, was 1940g, nearly double the dry weight! Note that the control batch weighed in at 1256g. This would not last with this much water, so I’d need to dehydrate it if I wanted to keep it around for any length of time before I figure out what to do with it. I cut it in to 2 inch squares and dehydrated at 110°F overnight (12 hours). After dehydrating, the final weight came in around 1200g, a loss of about 740g of water. Also, after drying you can see the strands of hyphae on the bottom, so that mystery is solved!
And thus, by accident, the Rice Koji Treat was born. Already cut into neat squares, sweet and sticky and made of toasted rice, you can definitely eat one of these as-is and enjoy it! The texture is perfectly serviceable for eating straight—unlike most of the standard rice koji I make, which ends up with somewhat hard grains, these fully-cooked rice kernels that have been dehydrated make for a chewy consistency. It tastes of sweet caramel with an underlying complexity that I can only compare to a sherry.
1 Month Later
Remember: I post my mistakes here so that you have a chance to learn from them, and maybe I’ll remember for next time!
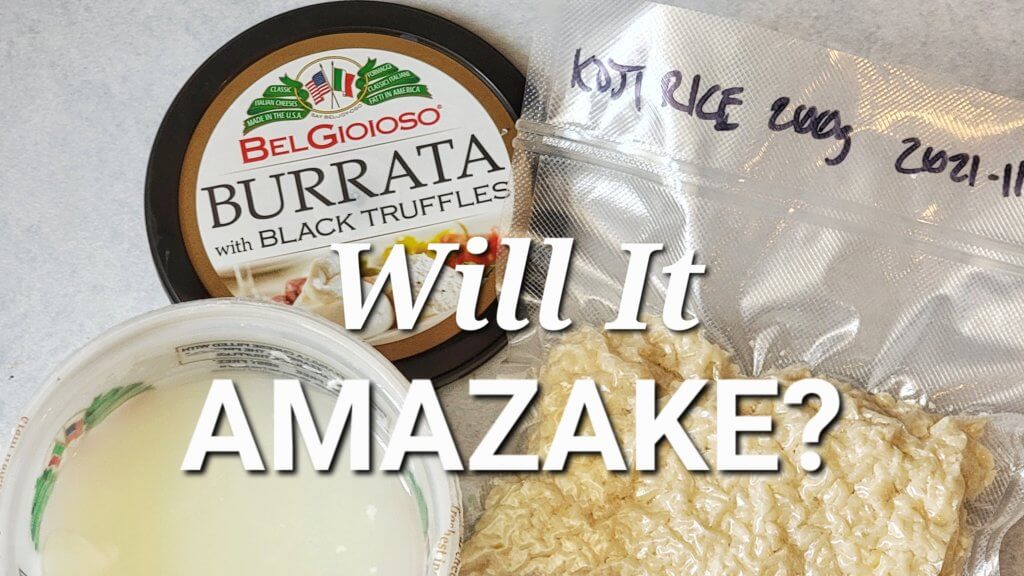
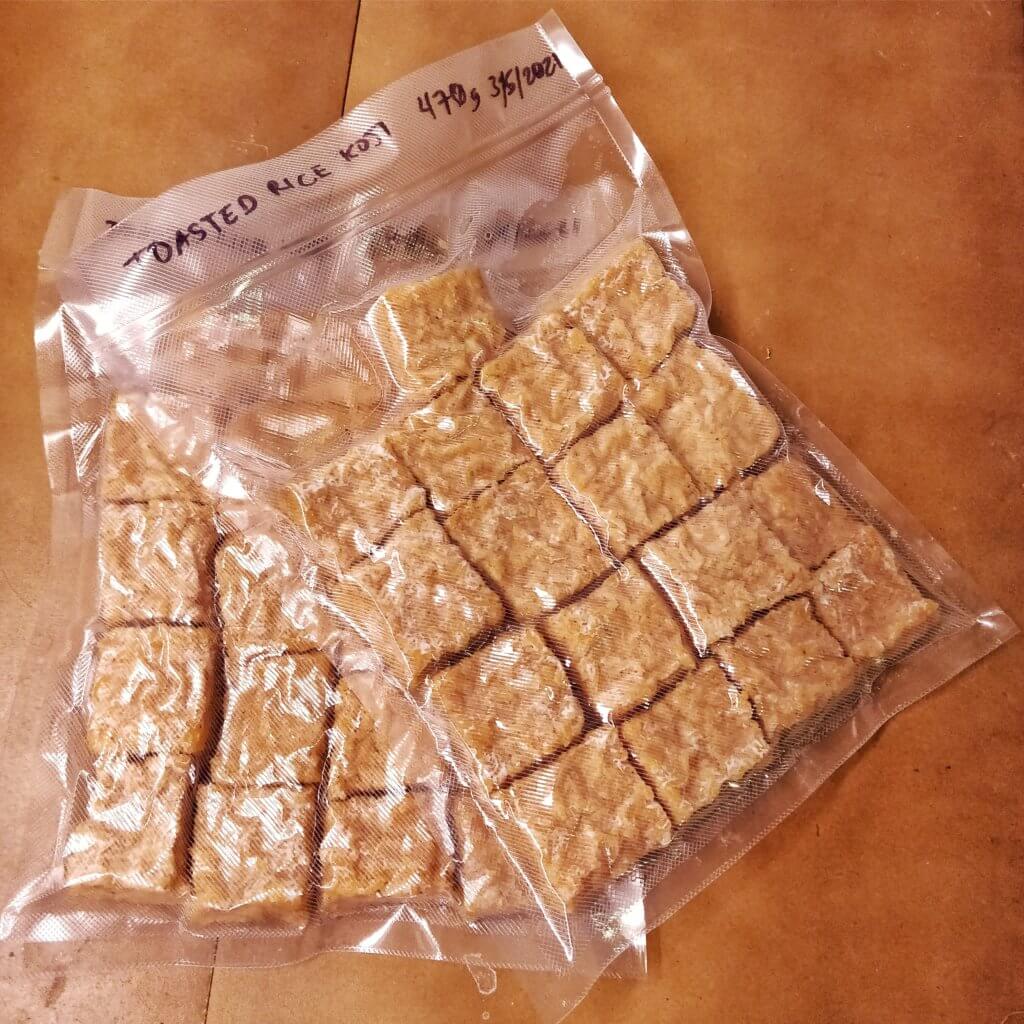
I vacuum sealed the toasted koji squares that I did not use immediately for shio koji. I usually do this with standard rice koji, and then store in the freezer for when I need it. This time, because I thought I’d come up with all sorts of projects to use these with, I put them in the fridge.
I was wrong about having removed enough moisture for these to be stable. The bags are no longer tight, meaning that there has been some bacterial activity inside giving off CO2.
I’m not concerned that these are completely lost, but my options have become somewhat limited. I won’t be able to use this in something like sake due to the contamination of lactic bacteria, however amazake is still an option. Whatever acid has already built up won’t go away, but holding at 140°F for 10-12 hours will kill off the bacteria and generate plenty of sugars.