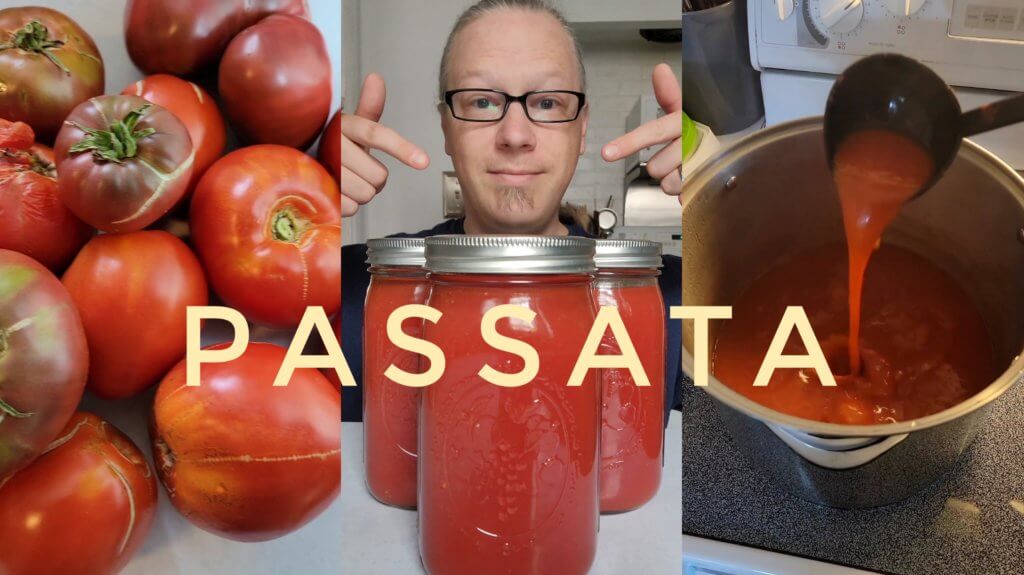
Passata
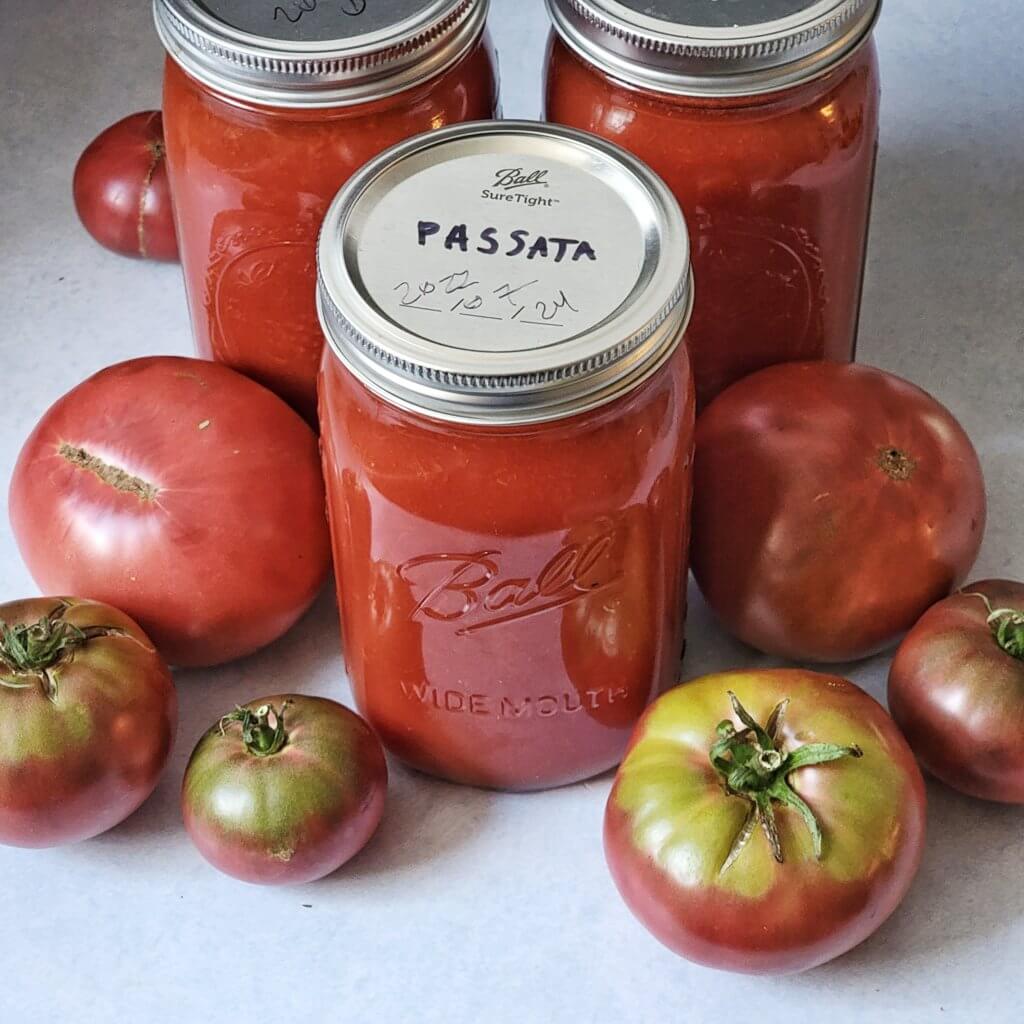
The situation: you have too many ripe tomatoes all at once and you already made all the caprese salad, fresh pasta sauce, and salsa that you can stand, and you’re also out of all other produce. What do you do?
Make passata!
Passata is simply tomato puree, skins and seeds removed, that you jar for long-term storage. It is rarely flavored, sometimes just with a single basil leaf—not because we’re being uncreative, but because it is safer to preserve the tomato on its own to hit the required acidity/pH level. This blank slate can then be turned into whatever kind of sauce, soup, or salsa you desire when there aren’t any decent tomatoes available.
See the video below for an overview of the process, or scroll down for the details.
You will need:
-
Ripe tomatoes
And I do mean ripe. If you have any doubt—too firm, hints of green, bad vibes—keep it for something else.
-
Citric acid or bottled lemon juice (not fresh-squeezed)
For long term storage at room temperature, you need to acidify the tomatoes. I recommend getting some citric acid if you don’t have any, you’ll often find it near the canning equipment at the store. Bottled lemon juice can be used instead—fresh lemon might not be acidic enough.
-
Clean glass mason jars and 2-piece lids with unused seals
Make sure the glass is not cracked, the lids are not dented, scratched, or rusty, and the sealing compound is uniform. Wash them before use.
-
Food mill
You can use a manually-cranked food mill to remove the skin and seeds, but I highly recommend getting a machine for this. I use an attachment for my stand mixer and it works great for the handful of quarts of this I make each year.
-
Bowls, pots, and a ladle
You’ll need at least 2 bowls, one to catch the juice and one to catch the skin & seeds. You’ll also need 2 pots, one for boiling/reducing the sauce and one for sterilizing or a boiling-water-bath. It’s also nice to have a canning funnel for filling the jars.
Step 1: Prepare the Tomatoes
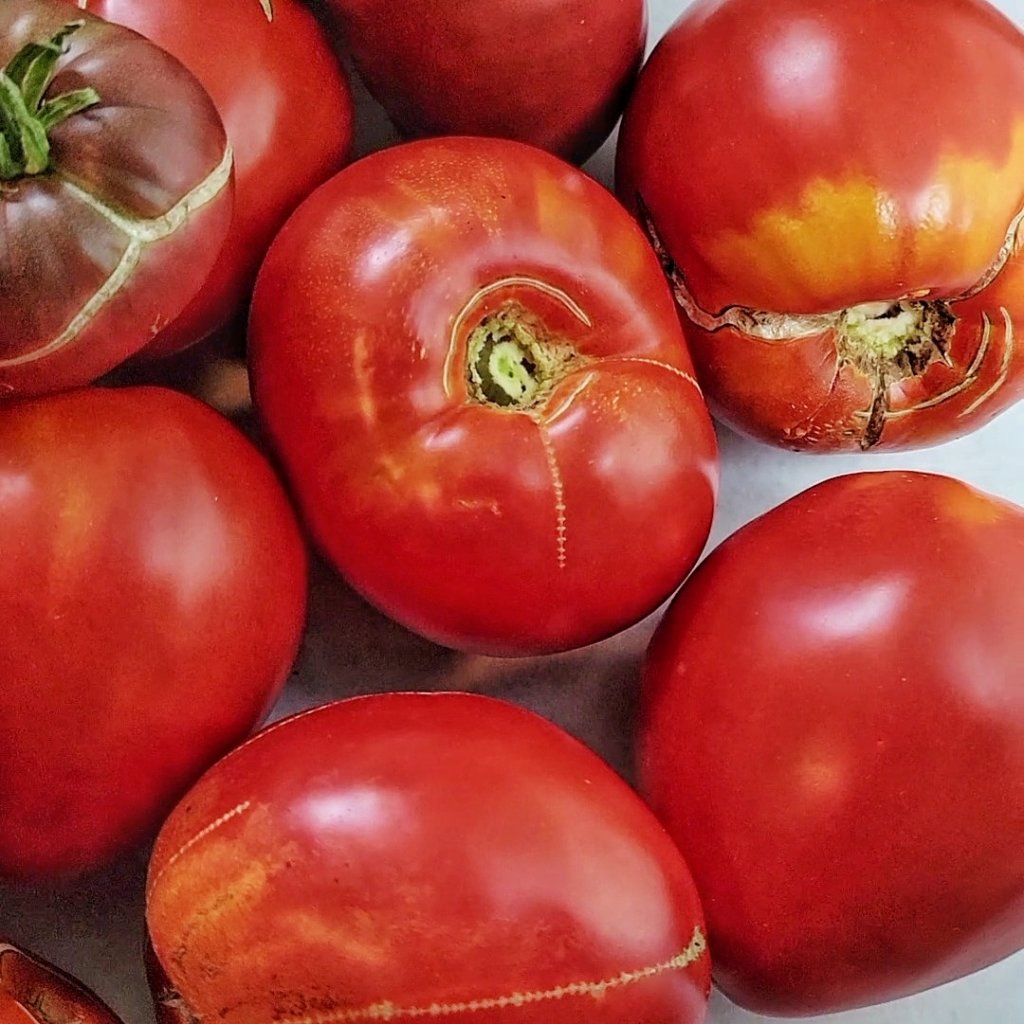
Ensure your tomatoes ripe, of good quality, and are washed and free of dirt. This does not mean that you can only use picture-perfect grocery store tomatoes—those are fine, but you’re probably making passata because you are growing them yourself, in which case you already know that some of the uglier tomatoes are the most delicious!
Remove the stems. Don’t forget to compost them! If you’re going to cook the tomatoes directly, chop them into quarters.
Step 2: Cook the Tomatoes
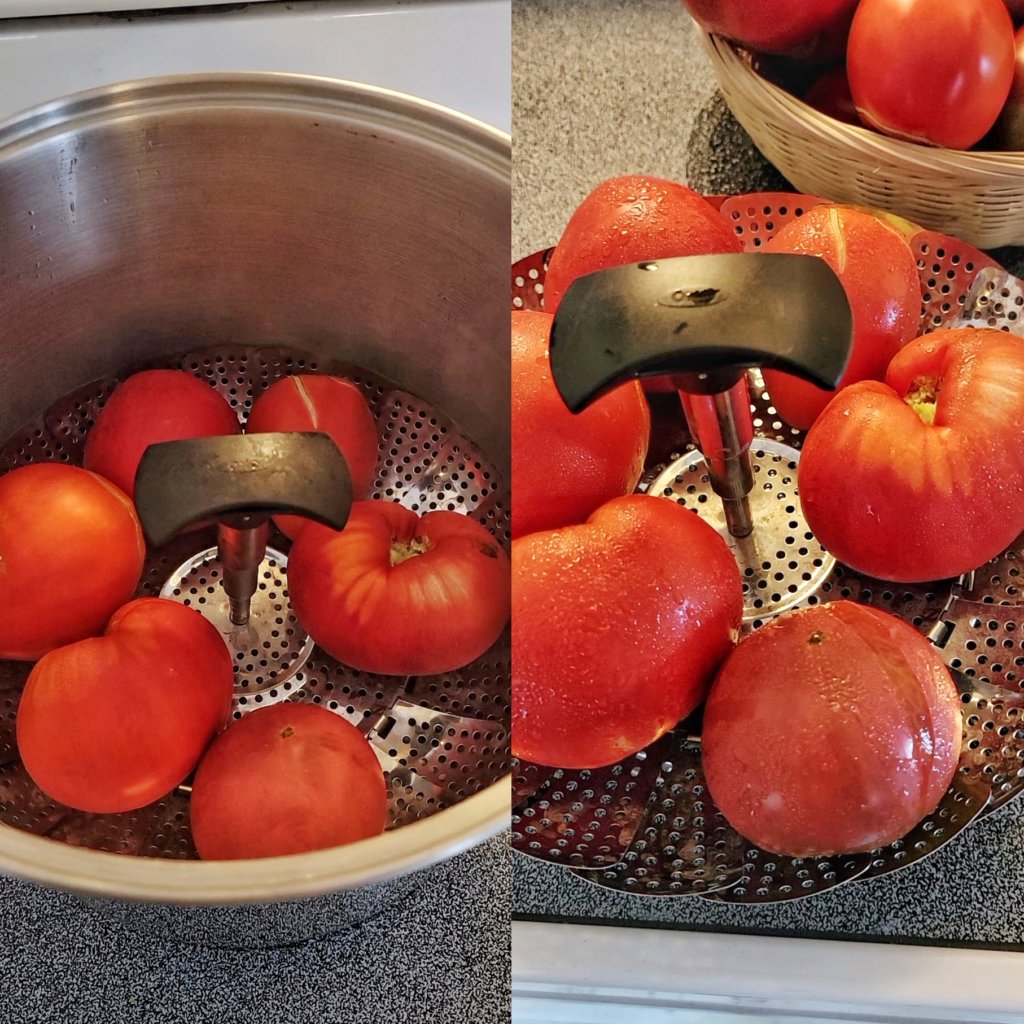
Boil or steam the tomatoes in small batches for 3-5 minutes until the skins start to split open. You can also opt to just throw them all into a large enough pot to fit and cook them until they break down into a ladle-able liquid. Honestly, cooking them down a bit will give you more flavor too, since the gel around the seeds (which is where most of the flavor is) gets broken down
Step 3: Mill the Tomatoes
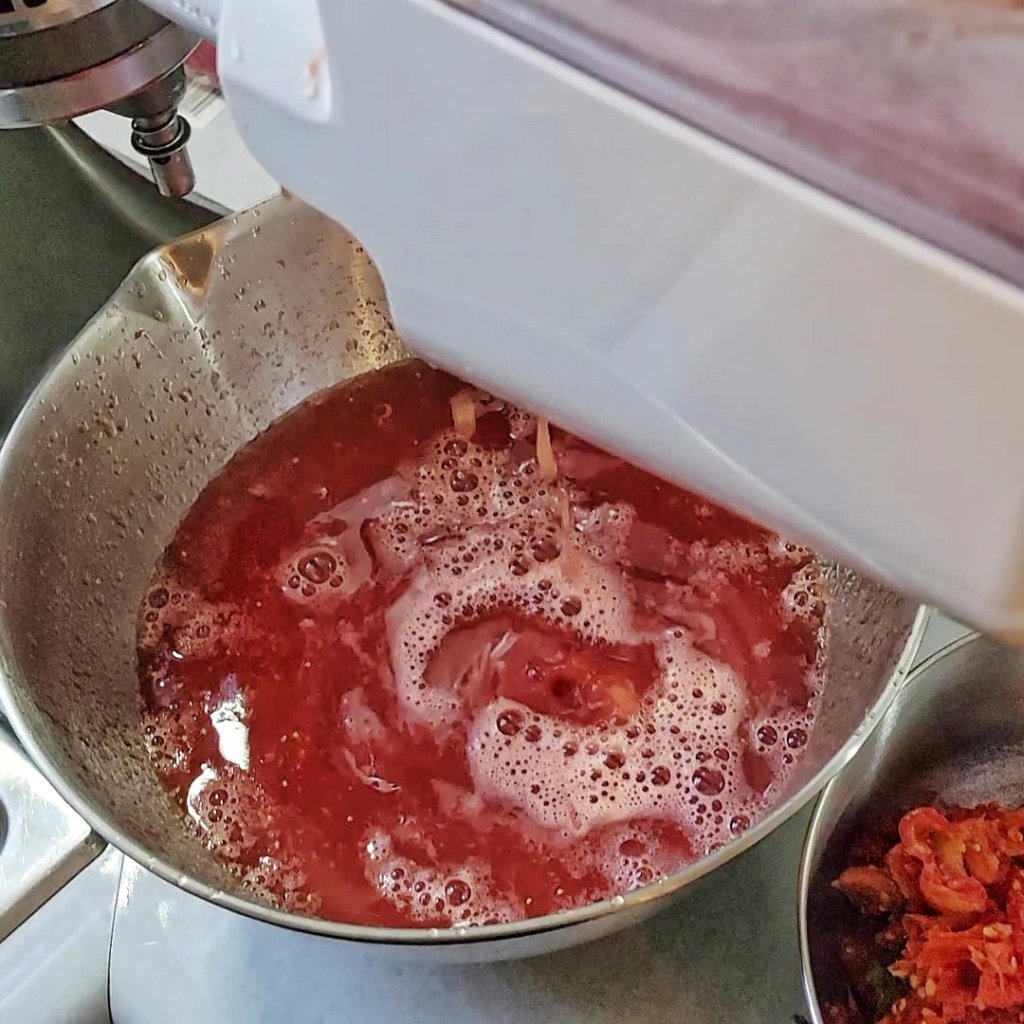
Put the cooked tomatoes through a food mill to separate the juice and pulp from the skin and seeds. This is honestly easier if you’ve cooked the tomatoes down so you can ladle it in, otherwise you need to chop the tomatoes now to fit in your mill.
Step 4: Jar the Sauce
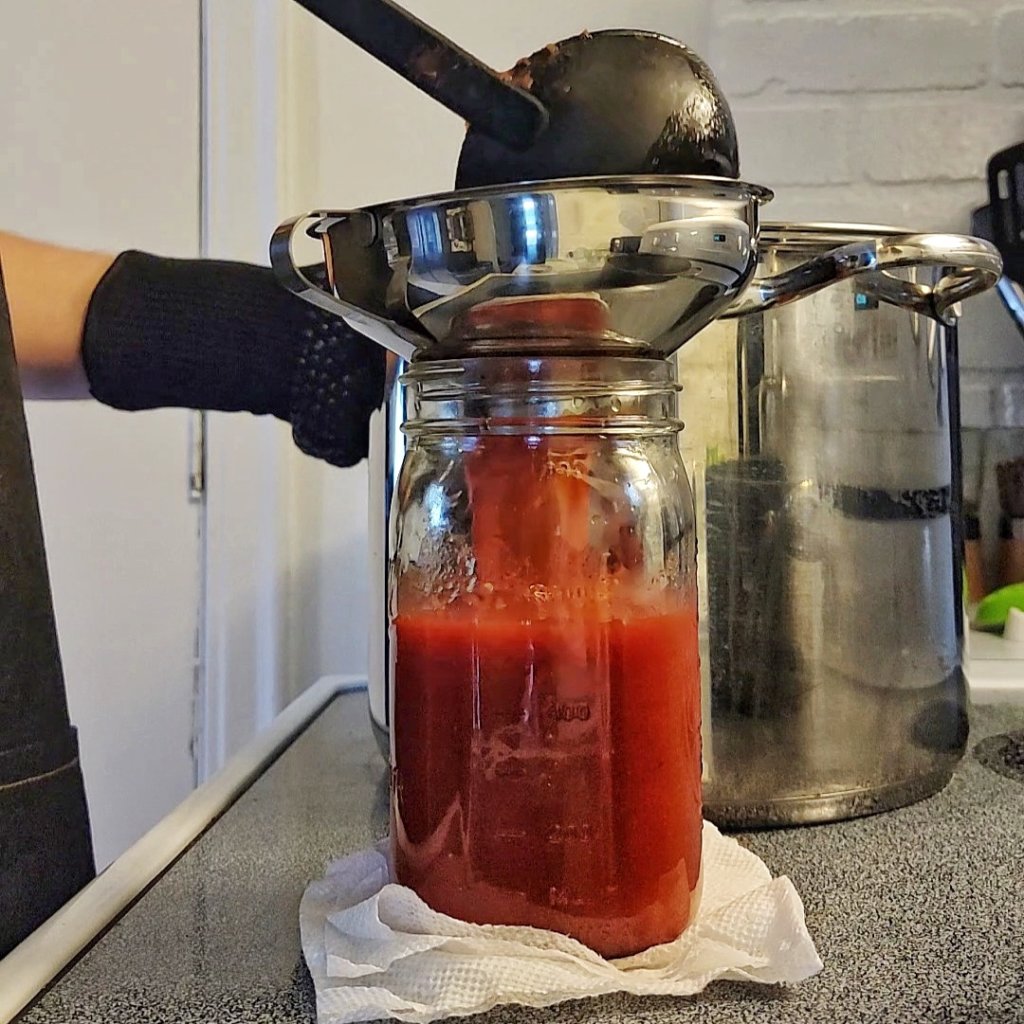
Cook the tomato juice again. It will likely be a little thin, we want it to be a bit thinner than tomato soup since you’ll be using it to cook with again and it will likely be reduced further. I generally have 4 quarts of juice and reduce down to 3 quarts of sauce before canning. Regardless, the sauce must be boiling hot when we put it in the jar, whether you put it in a boiling water bath or not.
Sterilize jars and lids* in boiling water. Set the lids and jars upside-down in 1 inch of simmering water and keep them there while you reduce the sauce (at least 10 minutes).
Add citric acid to the jar. Use 1/4 teaspoon for a pint/500mL or 1/2 teaspoon for a quart/1L. If using bottled lemon juice, use 1 Tablespoon per pint or 2 Tablespoons per quart.
Fill jars using sterile equipment and seal. Ladle the simmering sauce carefully into the hot jar, leaving 1/2 inch (13mm) of headspace. Use a magnet on a stick to fish the lid out of the water and set it centered on the jar opening. Screw on the band “fingertip-tight”, or use one of those canning lid tighteners to get it just right—too loose and it won’t seal, too tight and you can push right through the sealing compound, rendering it no longer sealable.
Wrap hot jars together in a towel or blanket and let cool overnight. This step is meant to keep the temperature above the pasteurization temp long enough to make it safe for long-term storage at room temperature. It is not fool-proof, and if you do a lot of home canning it would be wise to invest in some equipment for boiling water bath canning.
Refer to the National Center for Home Food Preservation’s website for instructions about boiling-water-bath canning and length of time by altitude.
Step 5: Check, Date, & Label your Jars
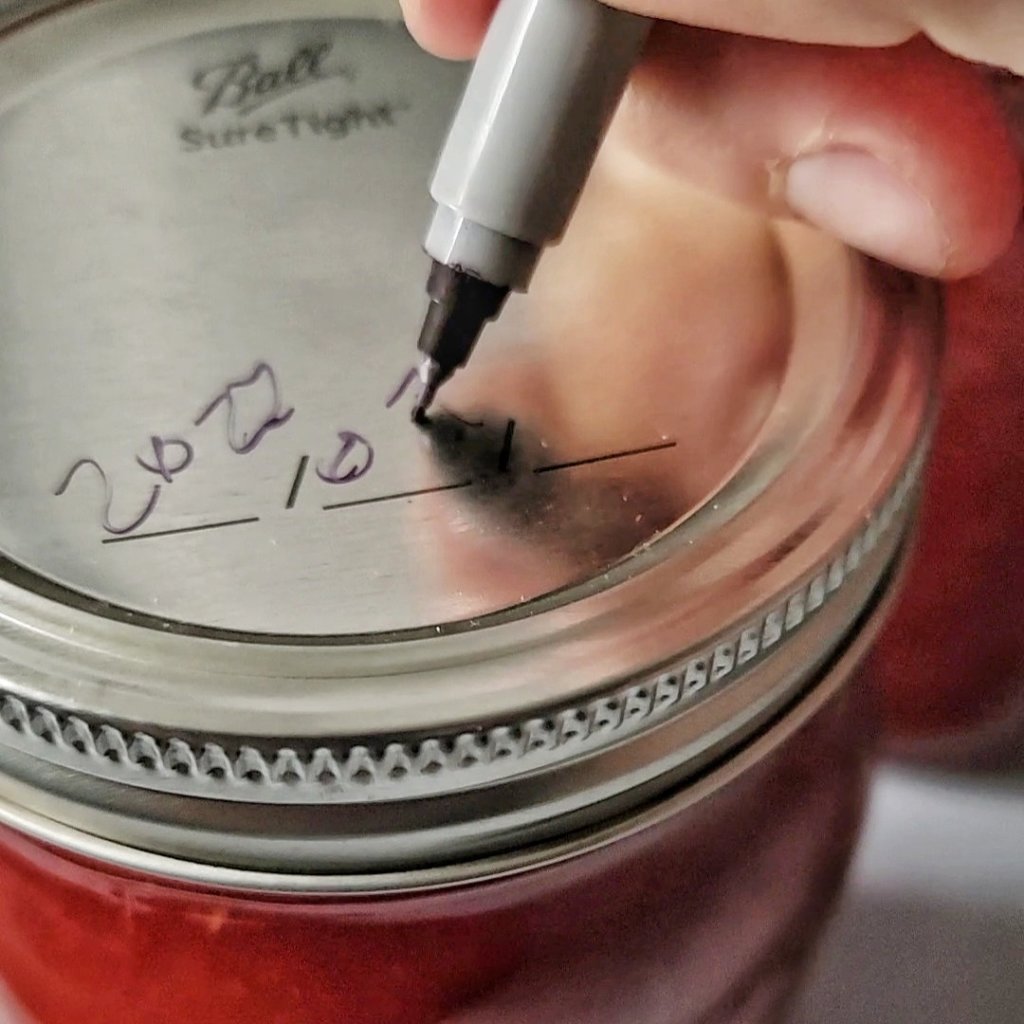
The next morning, check that all of the lids have sealed. The lid should be pushed in, and you may have heard them popping after an hour or two tucked under the towel. You should be able to remove the bands and lift the jar slightly with your fingertips just gripping the lid. If the lid comes off, just refrigerate and use it within a week.
Date and label the lid. The lids are not meant to be reusable, so write the date directly on them at minimum. If you jar other things you’ll probably want to label these “passata” as well so that you and your family know what’s inside after a few months have passed.
Store in a cool, dry place, ideally out of sunlight. It’s recommended that you use it within one year, but you’ll be making more passata next year anyways after you get a taste of this stuff.
Stay tuned for recipes utilizing passata! To hold you over, here is one of my favorites, Nduja Pasta by Sasha Marx at Serious Eats.
