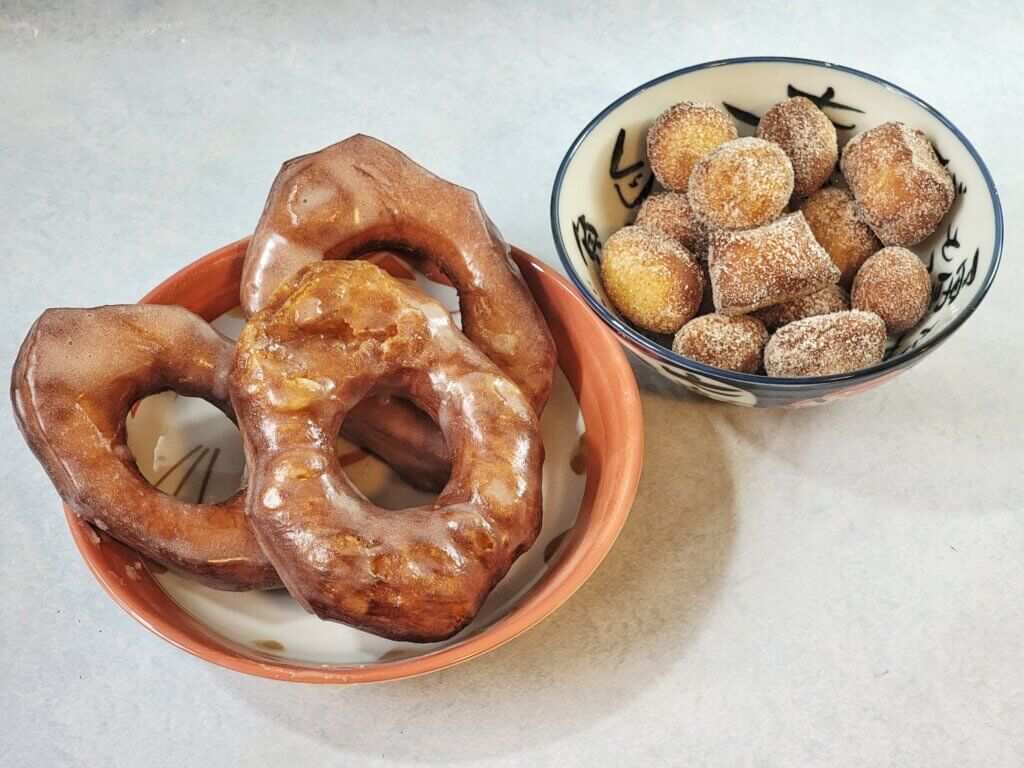
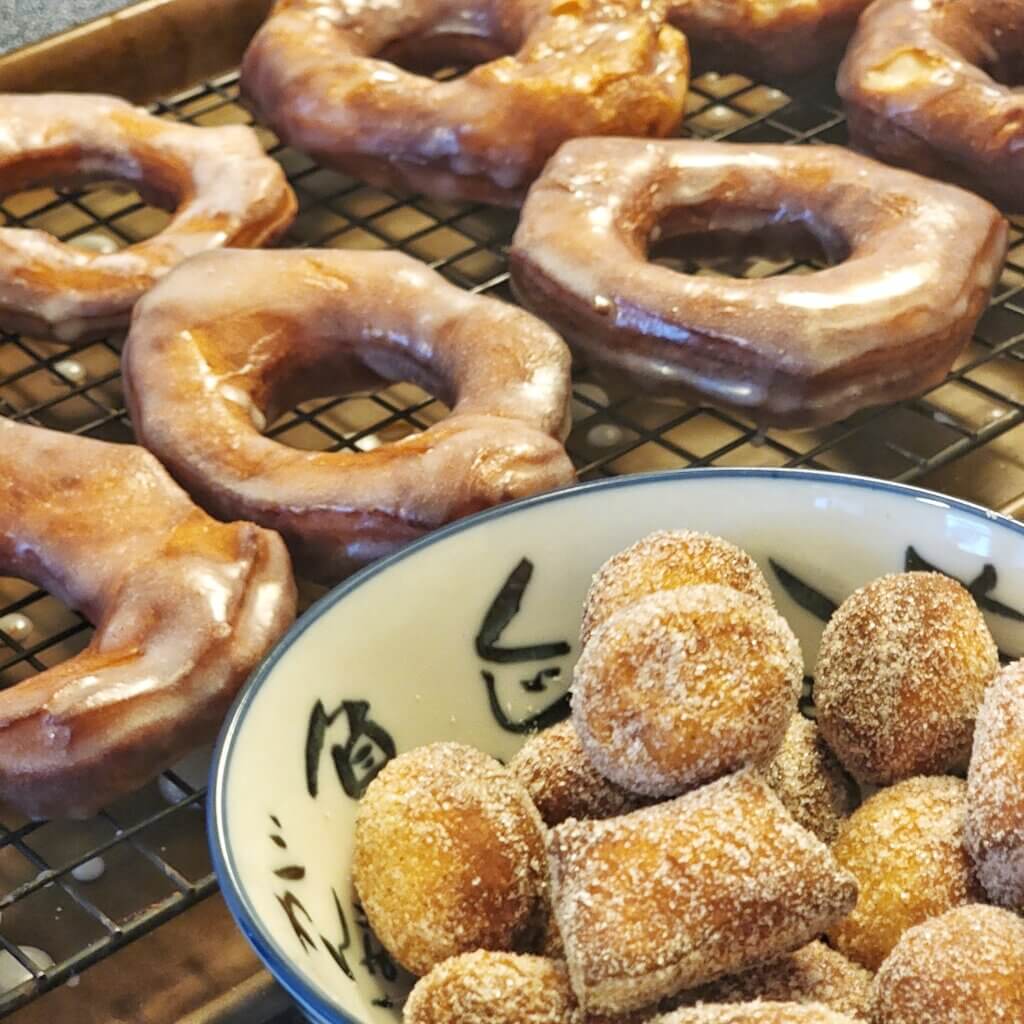
Sourdough Donuts
In preparation for my surprise appearance on Jack Watson’s April Fools Day design stream (making stickers for Crock of Time), I had to make something that would bring our two interests together: sourdough and donuts!
If you do a search for sourdough donuts, you’re likely to get the same dozen recycled recipes. Even the ones that purport to be in metric weight measurements are obviously just converted directly from another recipe’s volumetric amounts. Even more obvious that these aren’t sourdough recipes developed in earnest is the directive to put the dough directly into the fridge after mixing—a dough with butter in it will harden in the fridge and mess up your rise of you do it right away, unless you’re also including commercial yeast like many of them do.
I have applied several years of successful sourdough loaves to this recipe, including one of the most important things I learned: let the dough rise to 125% only before shaping and retarding in the fridge. The yeast needs time to propagate and start rising before you slow it to a halt, otherwise they may not rise at all and your final donuts will be very uneven, with big bubbles and dense parts.
This is a sourdough recipe, which means you should expect it to take 2 days: make the dough on day 1, fry on day 2. You can do it in a single day if your starter is strong enough and you want to eat donuts in the evening.
I recommend a stand mixer for this recipe, as it involves working butter into the dough like a brioche. Feel free to do it by hand if you know what you’re getting into.
Sourdough Donuts Recipe
Makes roughly 8 4in/10cm donuts and a handful of donut holes.
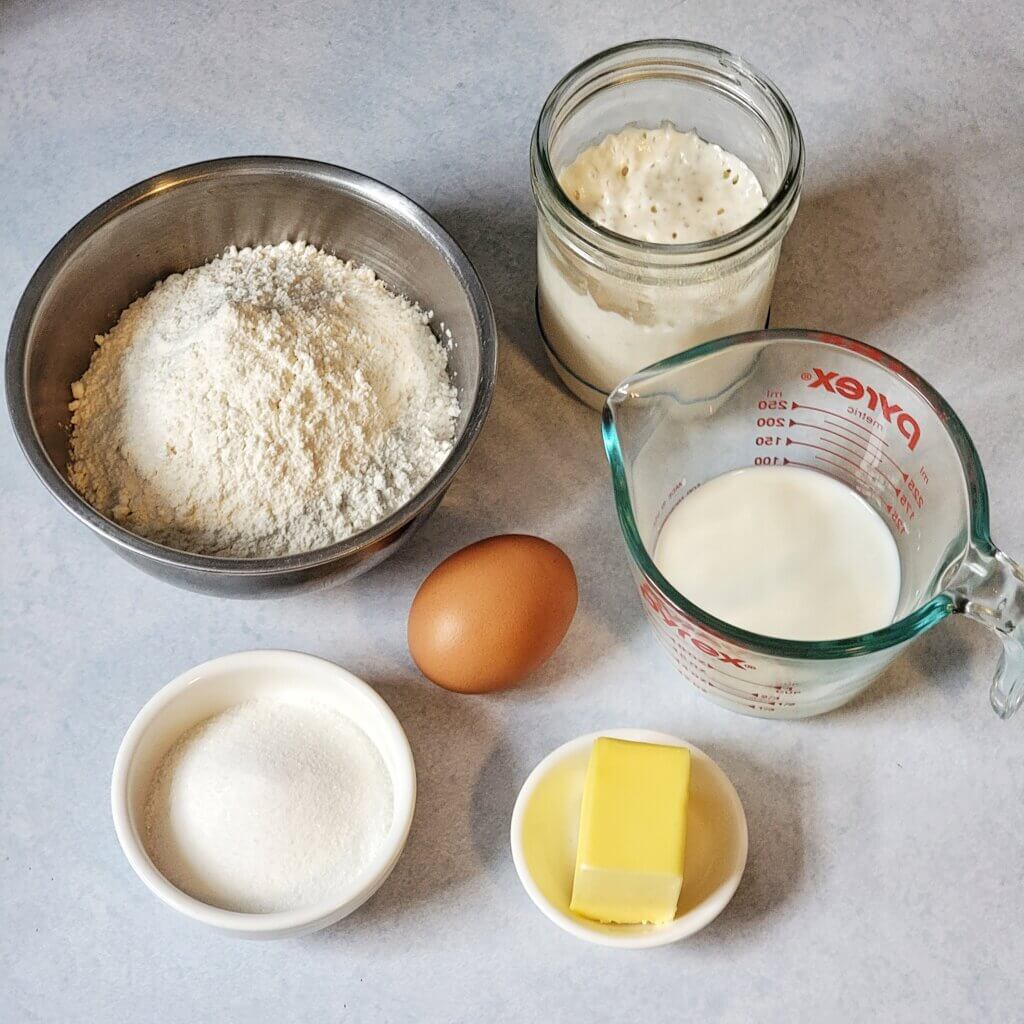
Dough ingredients
| Amount | Ingredient | Bakers % |
|---|---|---|
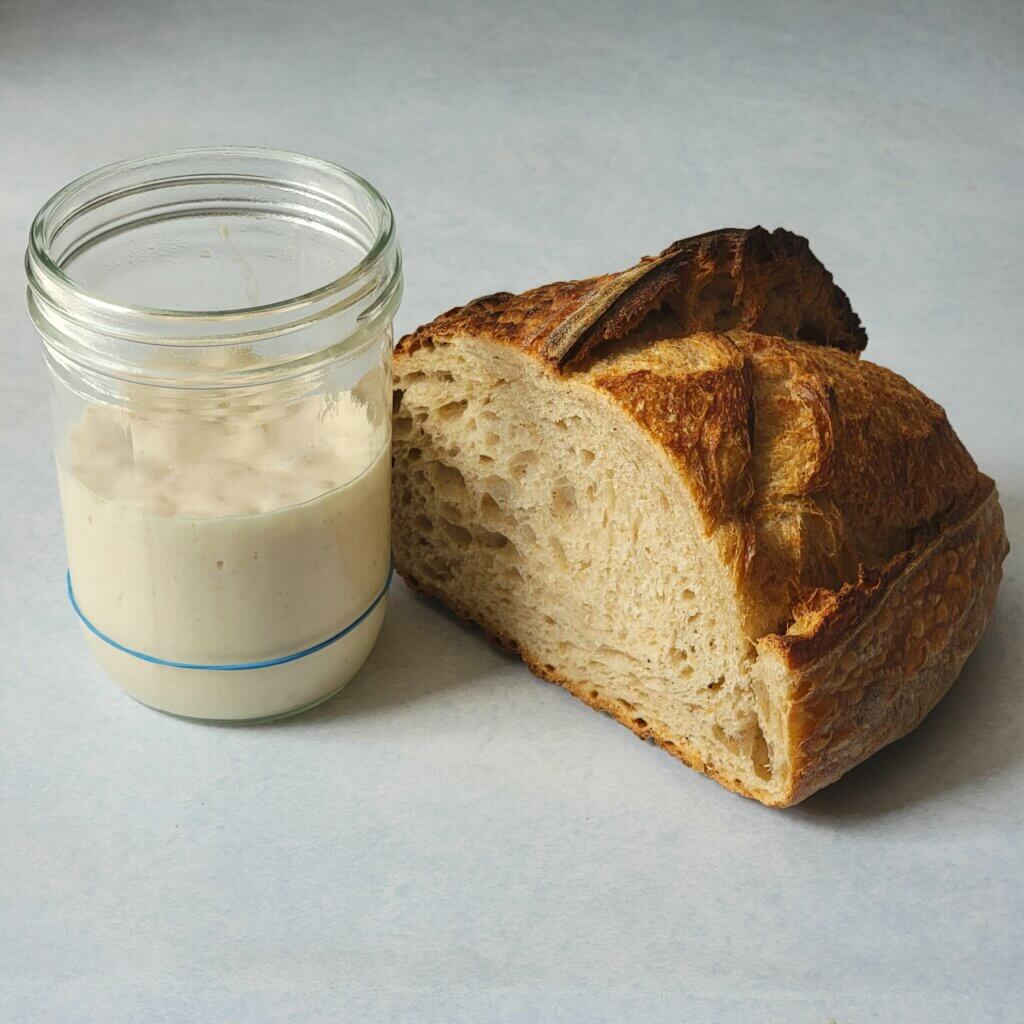
| 100g | active sourdough starter | 45% |
| 100mL | milk (whole preferably) | 45% |
| 220g | flour (all-purpose, or whatever you like) | 100% |
| 50g | sugar | 23% |
| 1 (18g) | egg yolk | 8% |
| 5g | salt | 2% |
| 3g | vanilla paste | 1% |
| 44g | butter, unsalted (room temp) | 20% |
Icing ingredients
- 120g powdered/icing sugar
- 40g milk
- 3g vanilla paste
Make the donuts
- Add everything except the butter to the stand mixer bowl and mix with dough hook on “stir” for 5 minutes.
- Increase speed to 4 (medium) and add room-temp butter one tablespoon at a time until incorporated. Continue mixing until dough comes back together and pulls away from the bottom, about 15 minutes.
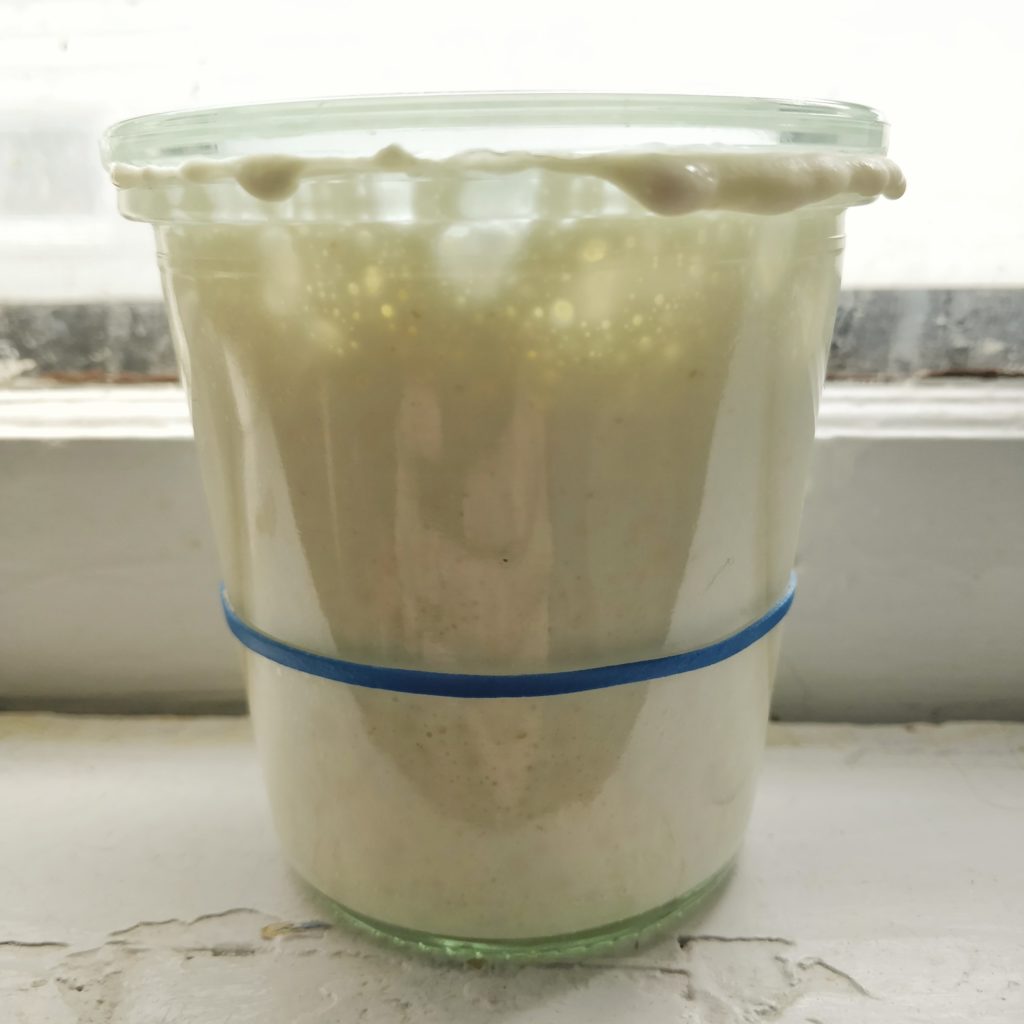
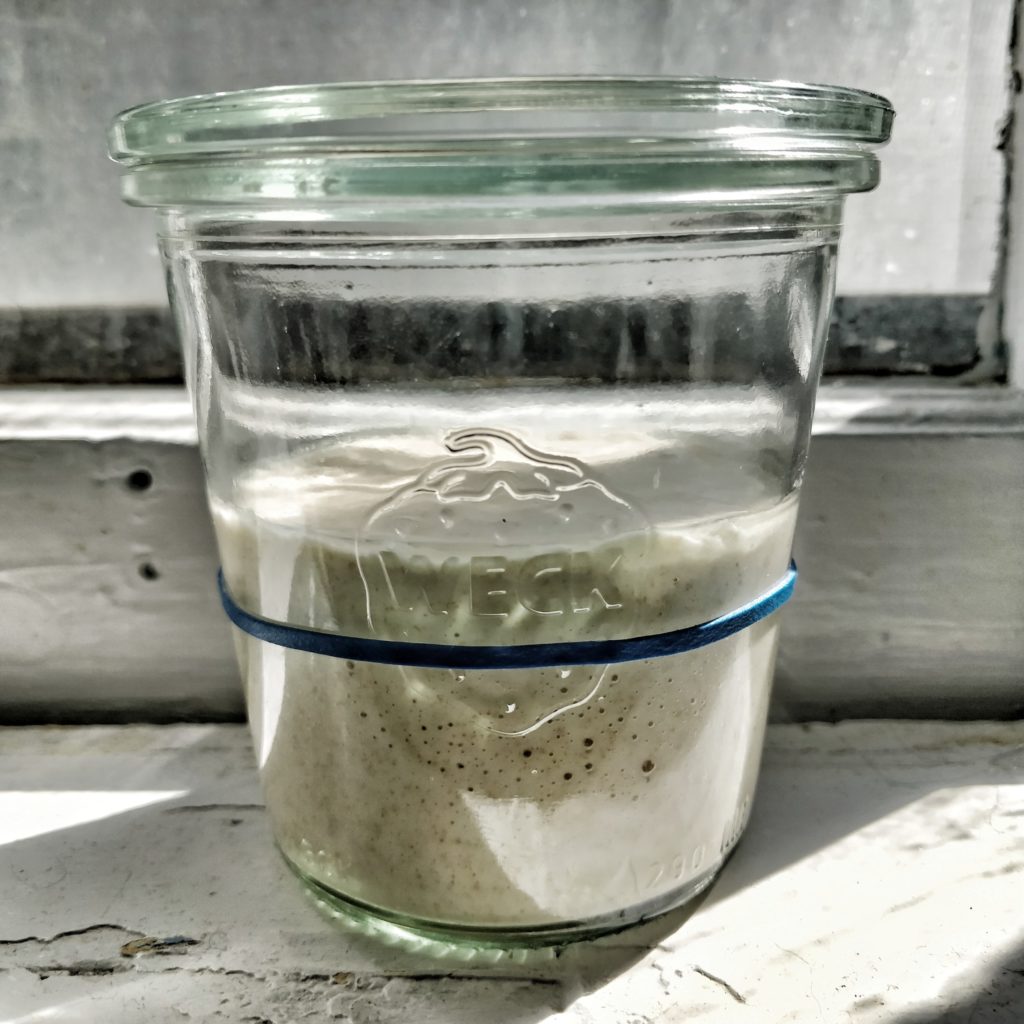
- Shape into a ball by folding over itself and pinching the seam closed. Place into a see-through container, preferably one you can use a dry erase marker on. Gently press until the top of the dough is evenly flat, and mark where the top of the dough is. Put a second mark where 125% would be. Cover container.
- Set covered container in a warm place (80-90°F like your oven with the light on) until it rises to the second mark, usually 3 hours for me.
- Turn dough out onto a clean surface very lightly dusted with flour. Stretch out into a rectangle and fold in half, pinching the seams closed. Repeat, again folding and pinching, shaping into a rectangle. Allow to rest for 20 minutes under plastic wrap or a large bowl.
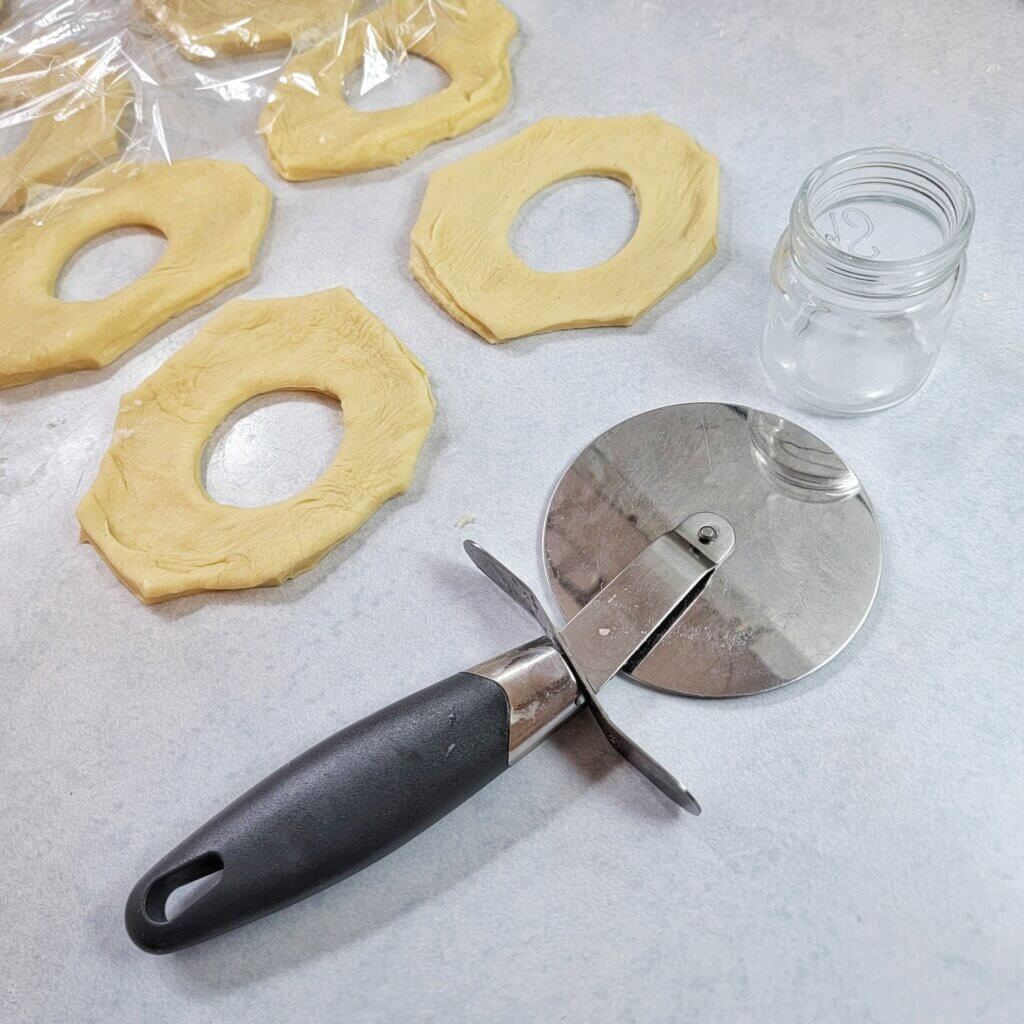
- Roll out dough to 1/2″ thickness into a rectangle about 12in/30cm x 9in/22cm, lightly dusting with flour as needed. Cut out 6 donut shapes, either with donut-sized round cutters or with a pizza cutter, making octagonal shapes. You can cut out the hole with a shot glass if you don’t have a small-enough cutter. Cutting the dough is important for it to rise properly! Reroll the scrap to 9in/22cm x 4in/10cm to get at least 2 more donuts.
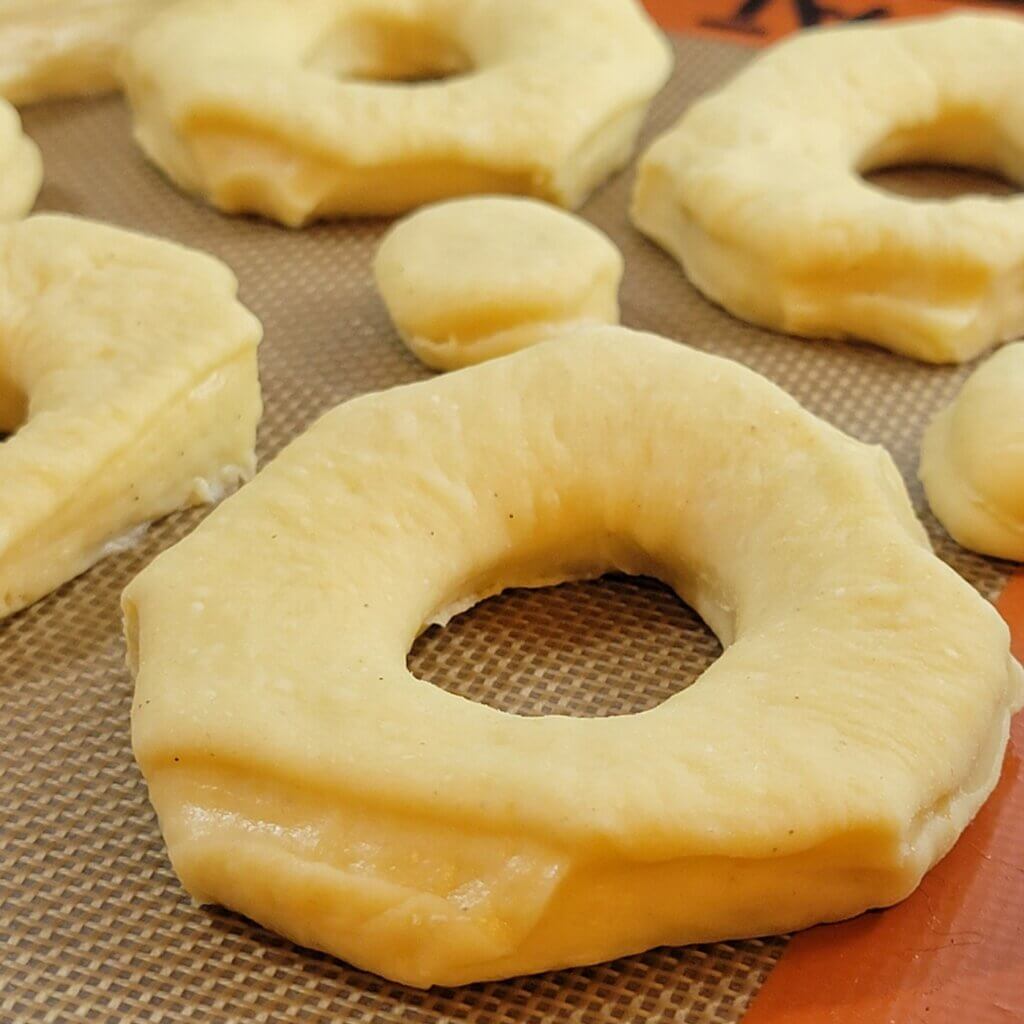
- Place cut shapes onto a baking sheet lined with parchment paper or silpat, cover with plastic wrap, and allow to rise roughly 125% the original size, just a little puffy looking. You could fry these now, but they’ll be much better refrigerated overnight. Put entire baking sheet into the fridge, covered. Be sure to take out of the fridge to come to room temperature for at least 30 minutes before frying (otherwise the temp of the oil will drop significantly).
- Before you fry, while heating the oil in the next step, whisk together the icing ingredients. Set aside.
- Heat 2in/5cm of neutral oil to 375°F/190°C in a wide, heavy pot with lots of headroom. Fry only as many as will fit side-by-side with room in-between at a time. Drop one-by-one after the dangling part touches the oil, while moving your hand away from yourself, like you’re laying them on a surface—this makes the splash minimal and pointed away from you. Fry until golden brown or a little darker on the bottom and then flip over and fry to the same color on the other side.
- Remove fried donuts to a baking sheet lined with paper towels to absorb excess oil. Once somewhat cool but still warm, dip both top and bottom of each donut in icing and set on a wire rack over a baking sheet. There should just barely be enough to cover 8 donuts.
- I recommend tossing the donut holes in sugar, optionally with cinnamon or cardamom added.