Doubanjiang
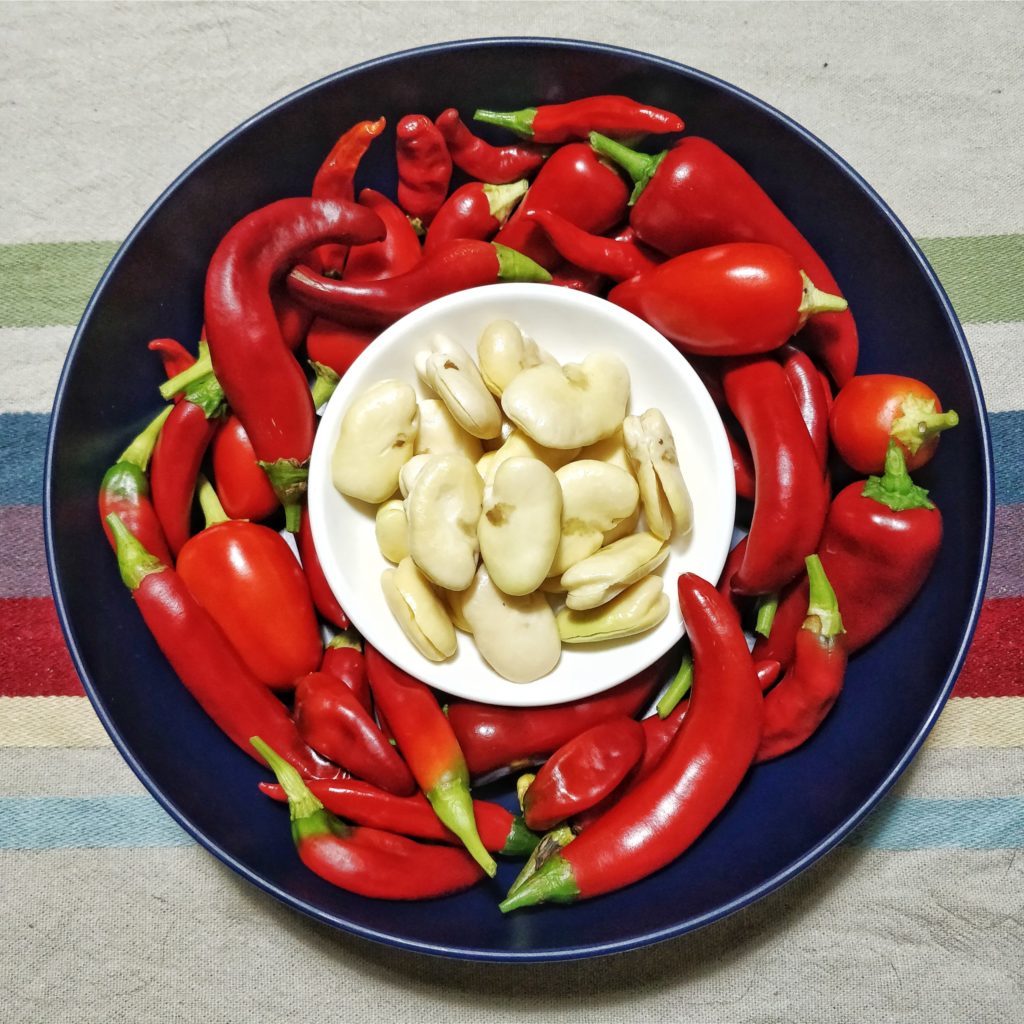
Information about making doubanjiang, the titular fermented spicy bean paste of the Szechuan region of China, is sparse—at least in English. My first glimpse of the process was from People’s Republic of Fermentation, Episode 3 from a YouTube series by Sandor Katz and Mara King. From that video in a Pixian doubanjiang factory, they are explicitly fermenting the “broad beans” and the chilies separately, and then mixing them together near the end.
On the Wikipedia page for Doubanjiang, these un-cited steps are listed, apparently from the Pixian Doubanjiang quality assessment standards (2005):
- Soaking and de-shelling of selected broadbeans, the making of the Qu starter culture, and its fermentation into sweet broadbeans for more than 6 months.
- Salting and crushing of the Erjingtiao chili and its fermentation.
- Mixing of the broadbean culture with the Erjingtiao chilli culture in a particular ratio, and sundrying the mixture to allow for a further fermentation of 3 months.
- Then the mature Pixian Doubanjiang product is yielded.
Pixian brand doubanjiang is the gold standard, and while the taste is unrivaled, I’m honestly not a fan of the texture. To be fair, many recipes will instruct you to chop up the doubanjiang before using, but it’s a mess and a bit of a hassle. I also do not have much confidence in my ability to ferment both beans and chilies in the open air for 6 months—in the video linked above, they have a high-humidity environment with large greenhouse-like structures and a very regimented mixing process.
For my doubanjiang, I’d like to try a miso- or gochujang-style approach. This means a blended paste, salted, packed in a crock, and weighed down. Very little maintenance required, just time. I’m still figuring out the sunlight part, which contributes to the darkening of these pastes, but my crocks are all stored in the basement. Still, the first miso I made is definitely taking on a nice red hue and tastes great.
Day 1
Starting with:
- 607g fava beans (skinless, Red Mill) rinsed & soaked for 24 hours
- 15g “Hatcho” Soybean koji-kin from GEM cultures
- 150g rice flour
Of course, I’m not using that much koji-kin. It’s a new pack of spores that need to be dispersed in rice flour in a 1:10 ratio. The flour was first toasted on a skillet on medium for several minutes until the temperature was well past 200°F, then cooled to room temperature. Then the spores were carefully poured into a jar with the flour, capped, and shaken up until well mixed. I’ll only be using a tablespoon or so of this mixture, which yields approximately 1 gram of spores and 10g flour.
After soaking the beans overnight, they weigh in at 1280g (213%), which is pretty consistent with other beans I’ve worked with. I’ve never cooked fava beans before, but they are the backbone of this particular bean paste. It took me a while to find them in the store, as pretty much all dry beans were sold out during the first month or two of the lockdowns.
After straining and rinsing, I put them in a pot covered with water by about 2 inches and set it to simmer for about 45 minutes.
This was a mistake.
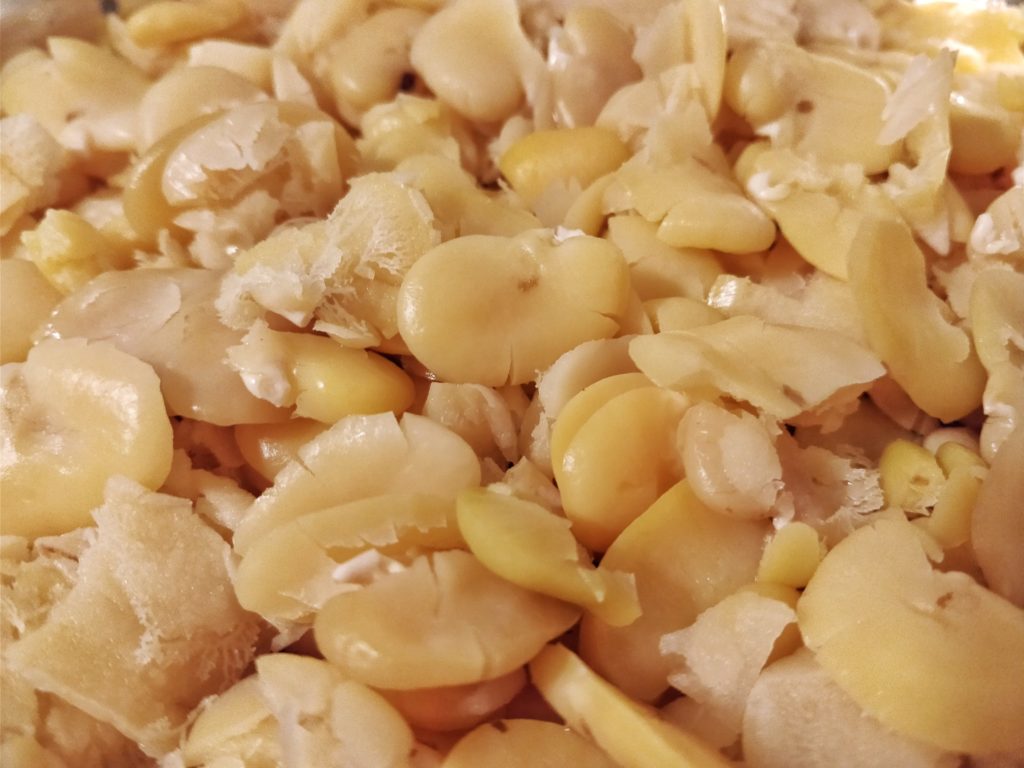
I should have steamed them. Why didn’t I steam them?!
After about 40 minutes I stopped the simmer early because, well, the beans were so soft they were beginning to fall apart. This is not ideal for the next step: growing koji directly on the beans. However, we shall forge ahead, because I don’t have any more fava beans, and I’d rather give it a shot before giving up.
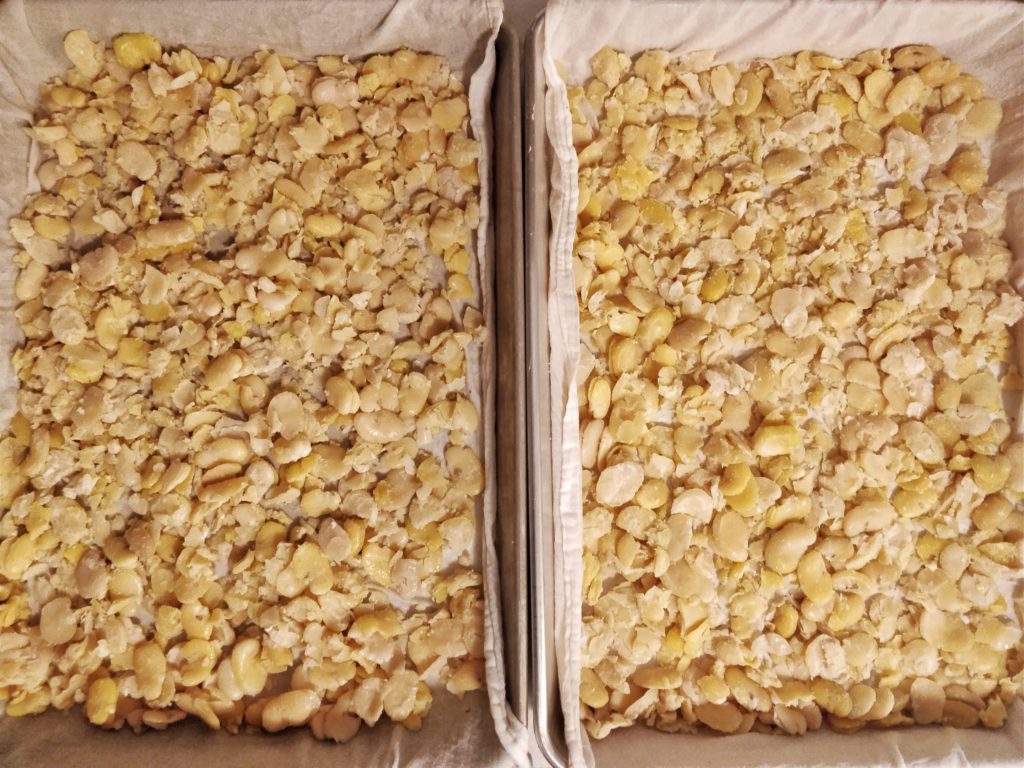
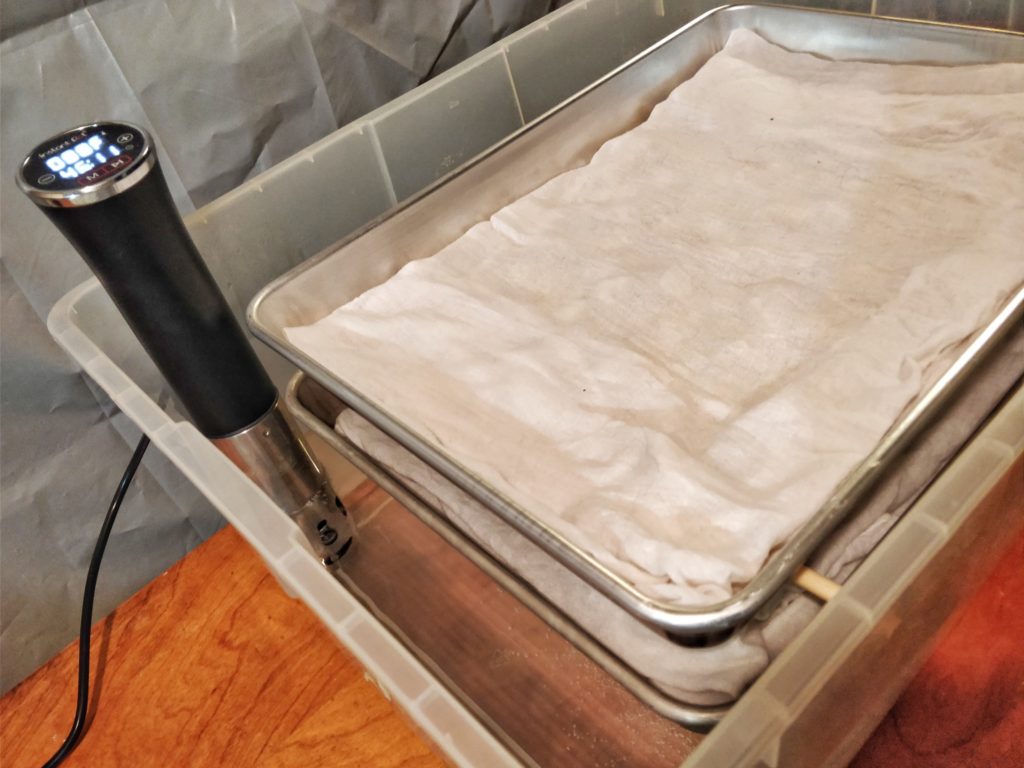
I spread the beans out on two trays lined with cotton cloth to maximize surface area. After they cooled to below 100°F, I used 1 tablespoon of the dispersed spore mixture for each tray, and then placed them, stacked, into my sous vide incubator set to 88° at 9pm.
Day 2
9pm—After 24 hours, the temperature of the beans in the incubator is at 92°F! This is a bit too high, so I’ve mixed the beans up and turned the immersion circulator down to 84°F.
Day 3
9am—After 36 hours, temp is at… 97°F?! What in the world? I never have temperature issues when making a full kilogram of rice koji (or soy beans, for that matter), but this is a new strain of koji-kin that I haven’t used before. I removed the towel on top of the incubator and opened the lid a bit and turned the immersion circulator down further to 82°F.
3pm—42 hours, temp has fallen pretty drastically to 77°F. This may mean that some of the koji died off early, though I don’t believe I reached sufficiently high temperatures for that to happen. Maybe I just opened the lid too much. I added the towel back on top of the incubator.
6pm—45 hours, temp is back up to 88°F. I’m pulling the trays out now, as I’m finally seeing some sporulation. Traditionally this would be allowed to sporulate completely, as the long ferment renders the off flavors out, but I don’t want to push it.
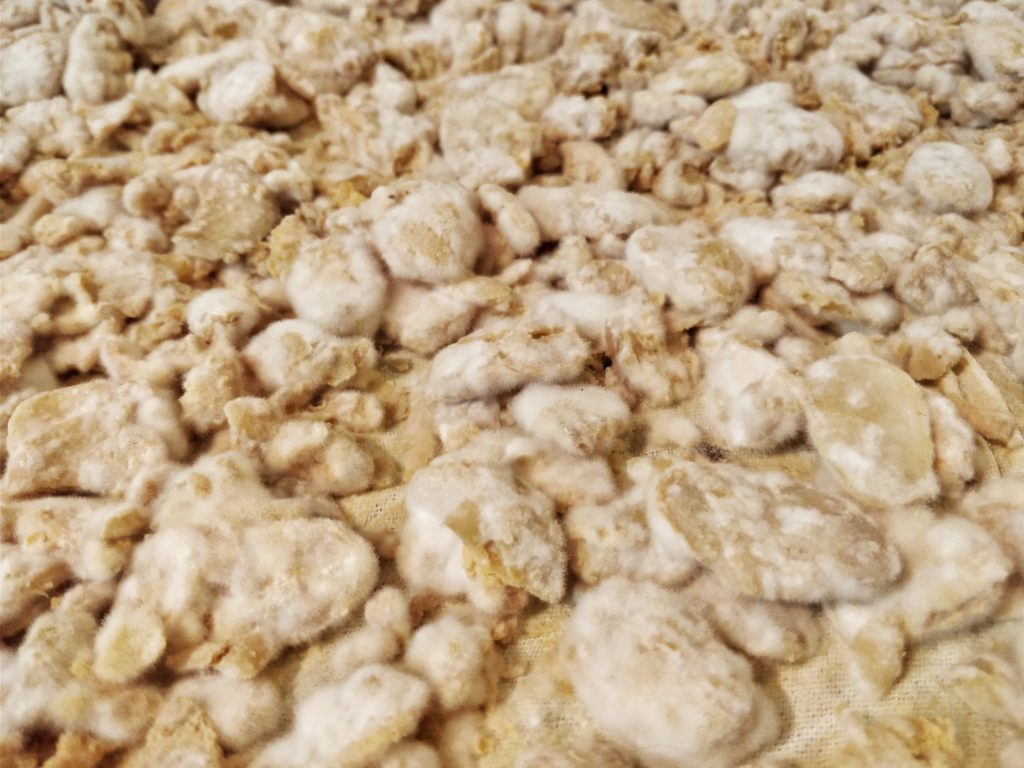
The coverage looks good, way better than I expected considering the mistakes I made. I’m refrigerating this overnight to halt the growth, we’ll finish this tomorrow.
Day 4 – 2020-10-21
- 1053g inoculated fava beans
- 425g red chilies
- 148g salt
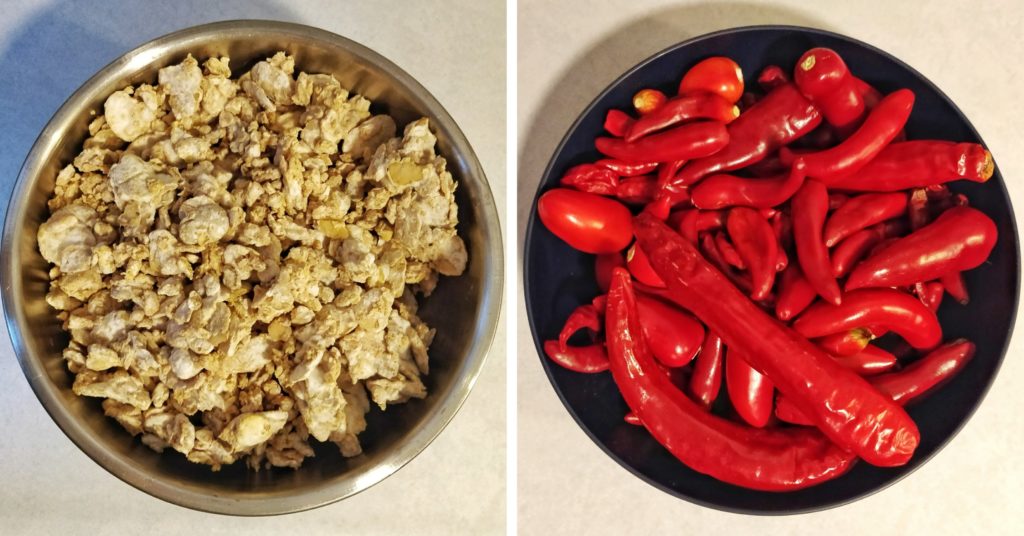
After scraping the beans off of the towels, I’m left with 1053g. Definitely lost some to the towels, but some of the loss is due to the air drying in the fridge overnight. As I want a relatively smooth paste, I’m putting this through my grinder. This could also be accomplished in a food processor, but it can be a pain with large batches. Then again, the grinder is kindof a pain too.
I’ve also got the final batch of ripe chilies from my garden here. These are a mix of Korean, Cayenne, Fresno, and Tien Tsin. I’ve rinsed and dried them, removed the stems, and chopped them fine in the food processor.
The total weight of beans and chilies is 1478g. Doing the math on the Pixian brand doubanjiang, it looks like theirs has an 8% salt content. I’m going to use 10%, so 148g.

Mixed all together with a small amount of my most mature miso (1.5 years), it just barely fits into a 1.5L jar. I’ve weighed the paste down with a bag of fine salt and set the jar inside a small tray in case of overflow. We’ll check back in a couple months!
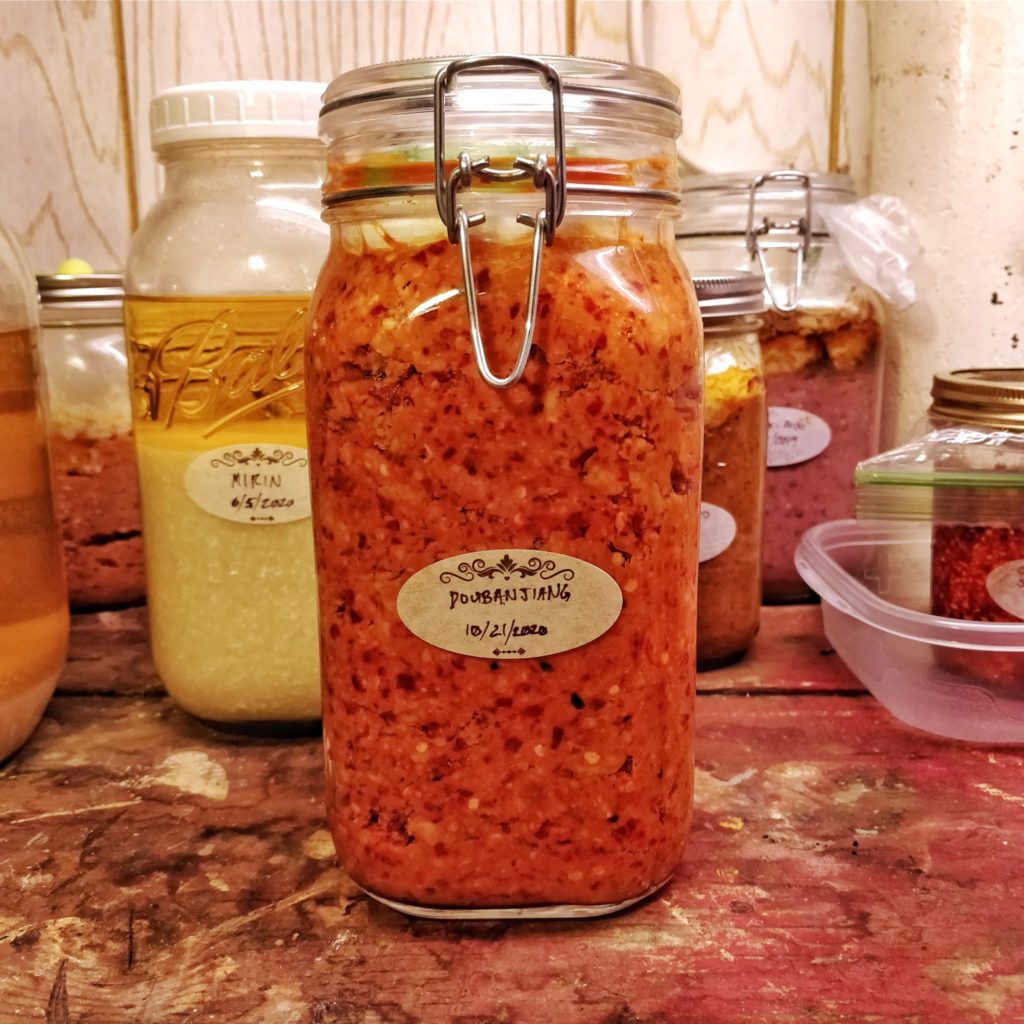
Year 4 – 2024-03-25
Almost 4 years later, I’m preparing to move. I found the doubanjiang, tucked behind some newer ferments. I had forgotten all about it. I’ll be honest, I thought it was a lost cause.
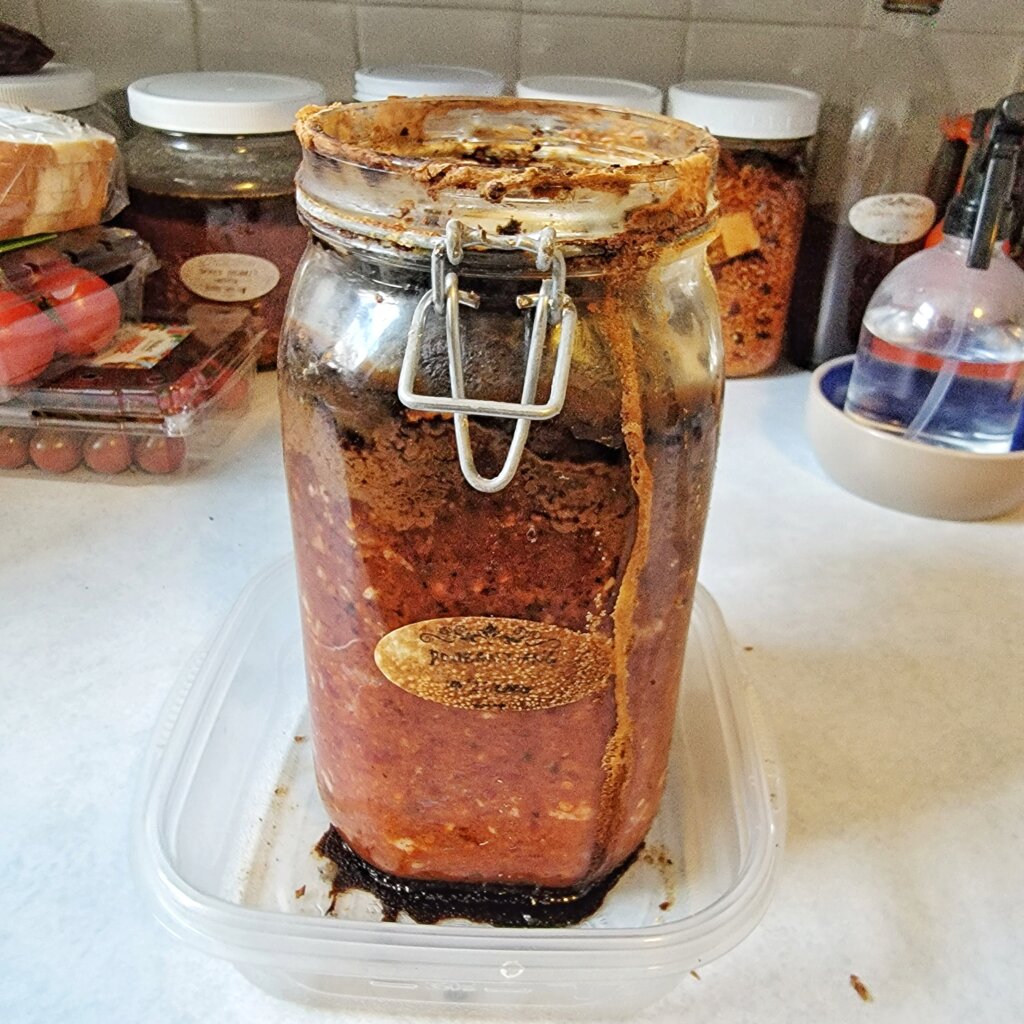
Good thing I set it in that plastic tray—since I packed the jar so full, there was nowhere for the pressure to go. I have since learned to pack containers less than 2/3rds full if possible. The bag of salt on top was not enough weight to begin with, either. The weight should be at least 1/3-1/2 the weight of the miso if possible!
A typical person concerned with sell-by dates would take one look at this and toss it in the garbage (quite possibly with rubber gloves that come up to the elbows), but after scraping away a thick layer of oxidized paste, the stuff underneath looks pretty incredible.
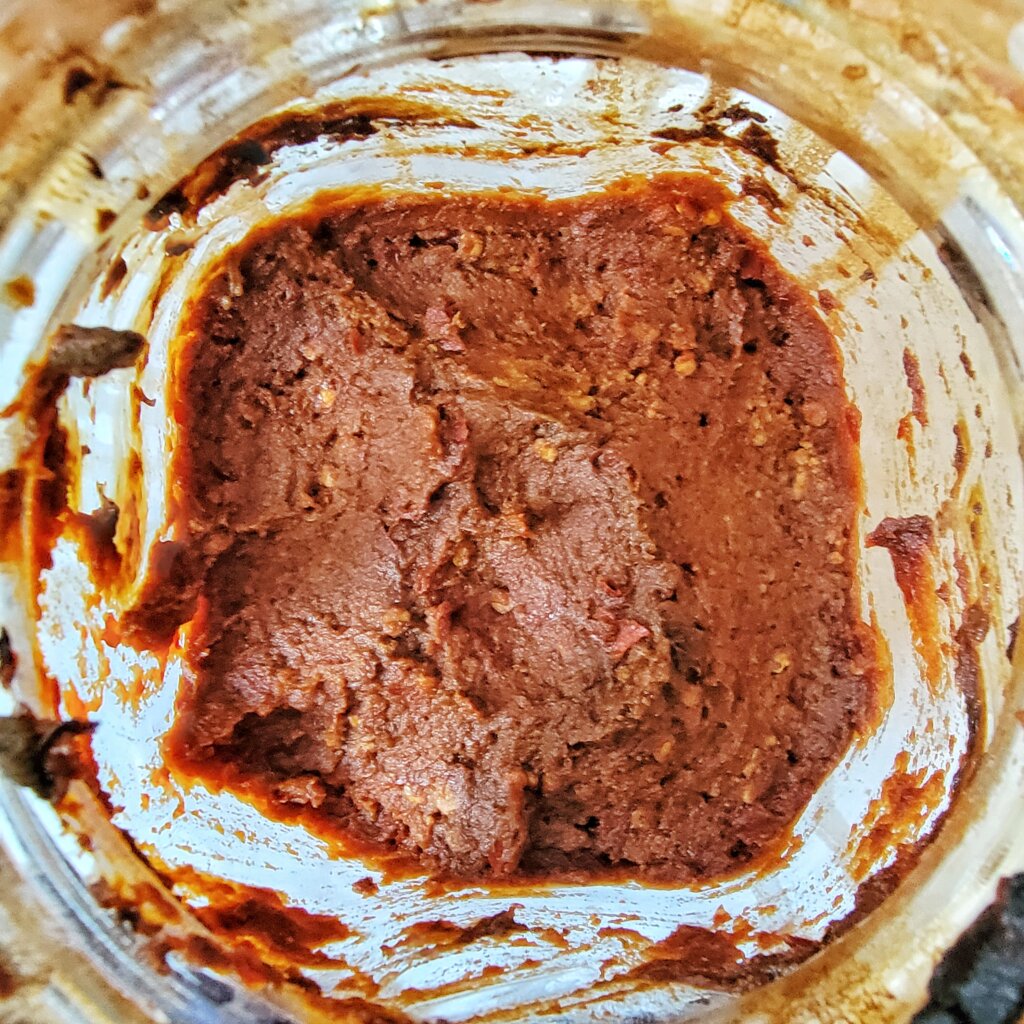
This is frankly nothing like the Pixian doubanjiang I buy at the Asian market, but remember: that was the point! While I love the Pixian paste, I don’t love the texture of whole beans and large chunks of chili. This paste here is a fairly smooth miso texture with small bits of chili and seeds. I could do without the seeds honestly, but that would be hard to accomplish depending on the type of chilies used. Still, it could be worth de-seeding if I do this again.
It’s also not oily, which could be seen as an important characteristic of doubanjiang. I suppose I could cover the top with oil, but at this point I don’t believe that would help.
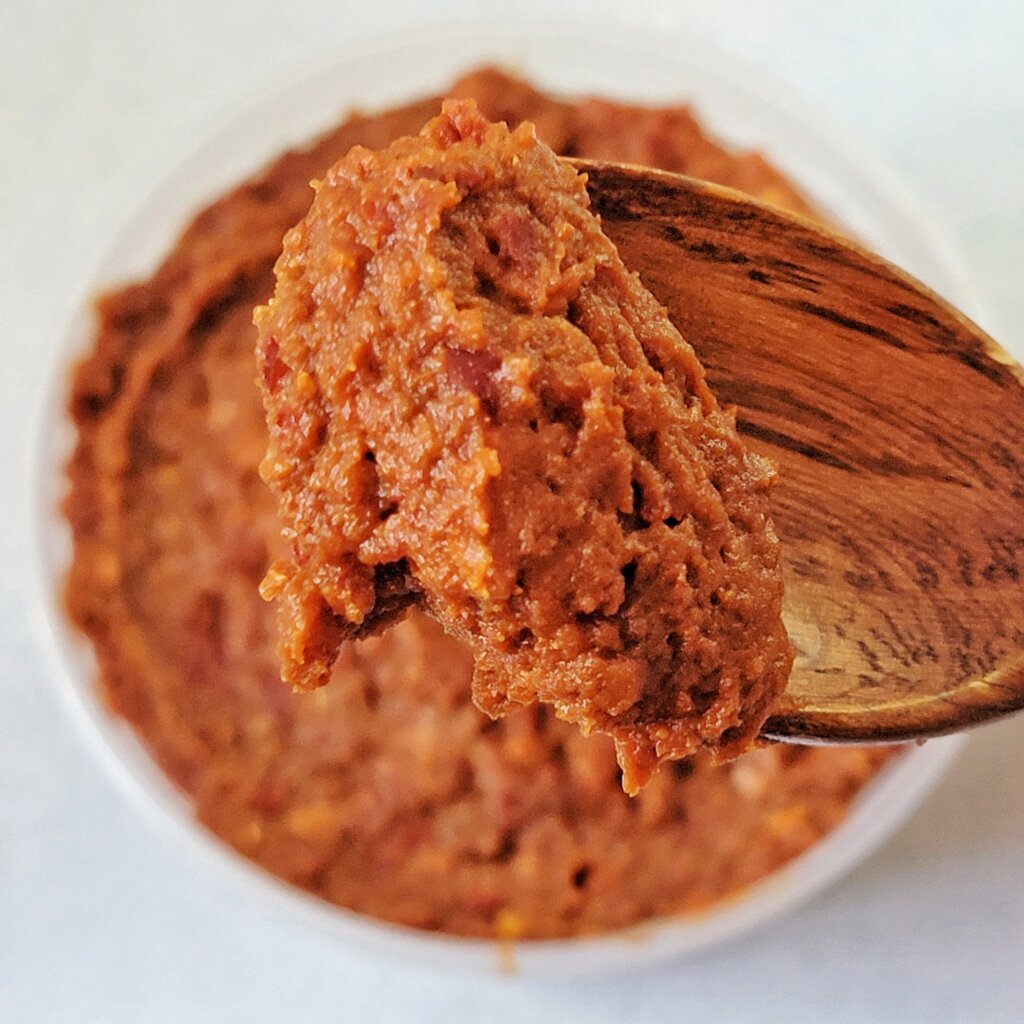
The aroma is quite enticing. It doesn’t smell particularly spicy, rather it carries the scent of soy sauce with a very slight fruity tinge.
Finally, the flavor! It is rich, complex, and quite different from a soy-based paste. While the broad bean doesn’t compare to soy in terms of protein—which limits the amount of umami produced—it makes up for it with it’s own flavor profile that I can only describe as “nutty”.
This paste is much milder than Pixian doubanjiang, on an order of magnitude. It’s not quite comparable even to a jalapeño. I think it would make an excellent base for a “miso” ramen—in fact, my Miso Tare recipe uses doubanjiang, but you wouldn’t need both miso and doubanjiang using this paste.
Time after time, when I forget about a koji-based paste ferment for multiple years, it turns out incredible. I can’t say that about any other kind of ferment I’ve ever done, and I have to now deal with those other ferments before moving…
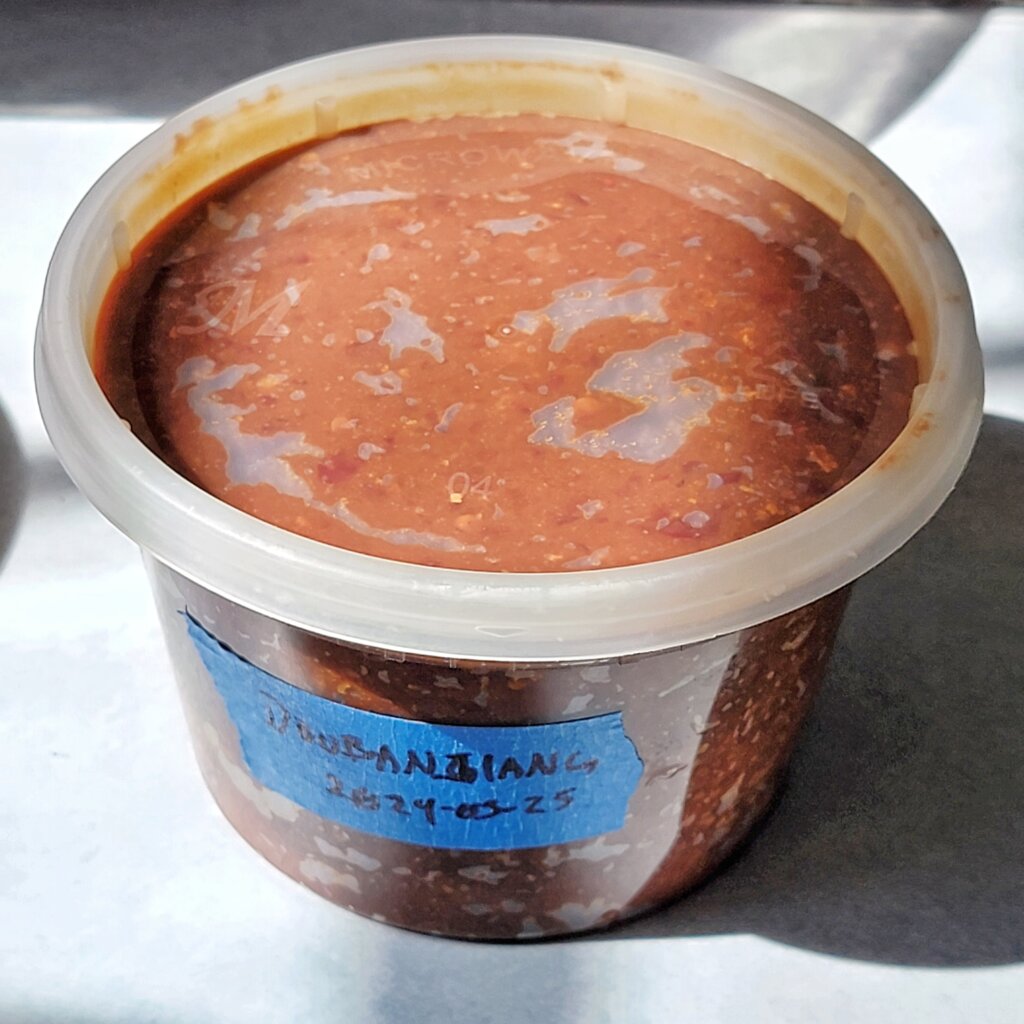
I re-homed the contents and packed half of it in a container to give away—gotta keep the move lean!

How did it go?
I’m currently making several vatches of doubanjiang using different methods, and would ideally like to have a recipe that’s this simple, so I’m excited to see if this worked for you.