Shiso Miso
Update 2023-09-28: See the results in the video below!
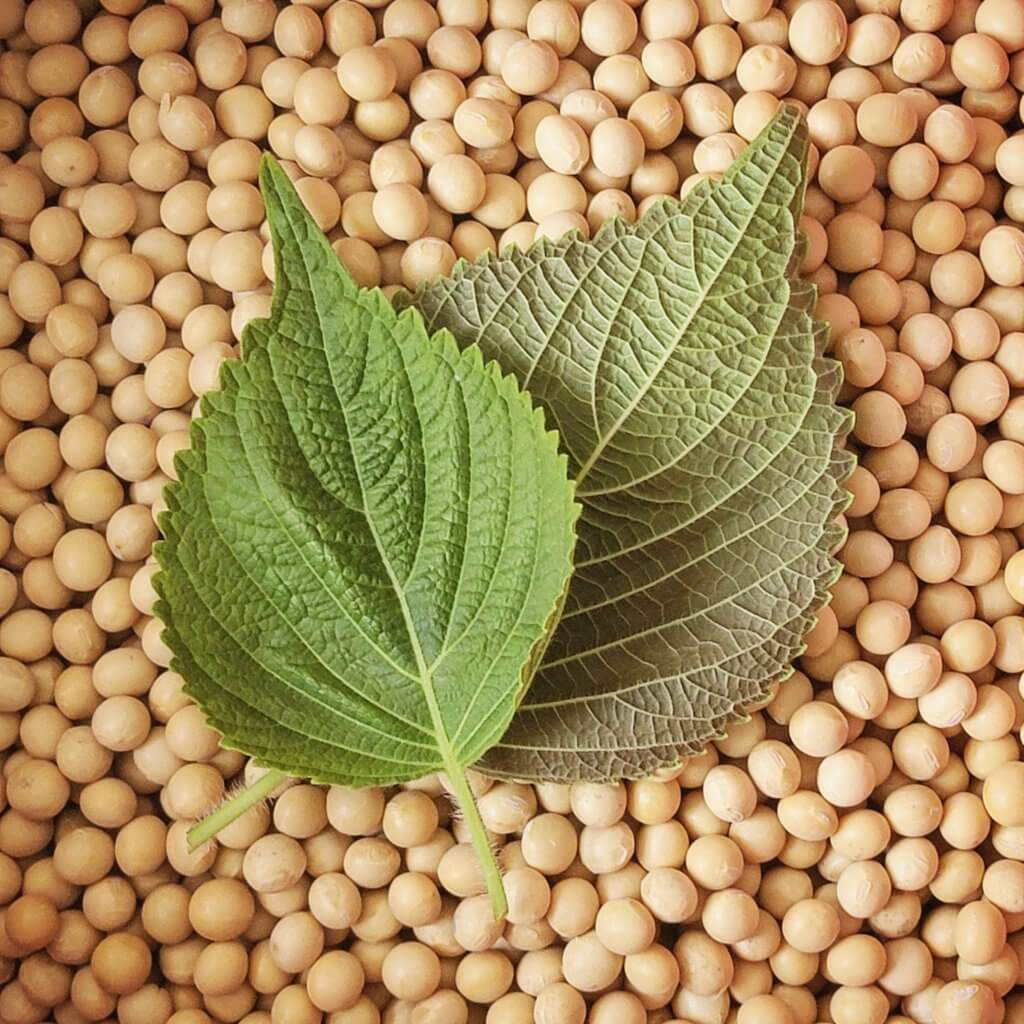
Last week during our roughly-weekly hangout session in the Crock of Time Discord on Sunday, I started a batch of koji rice. I needed that koji rice because I wanted to make this specific miso that I’ve been thinking about for a year now, ever since I added a few shiso (or as they’re known in Korea, perilla) leaves to some shio koji.
The weather is turning here and the shiso plants are no longer holding up their own weight, so it was past due that I made use of them. Will it actually be any good in miso? I have no idea! Isn’t that part of the fun of it?
This is basically my standard method of miso making with shiso thrown in. I start with 1 dry kilogram of both soybeans and rice, and after soaking/cooking each (and growing koji on the rice) the ratio ends up roughly 1:2 koji rice : cooked soybeans. This ratio coupled with 10%+ salt is ideal for a year-long (or longer*) ferment.
Day 1: 2021-10-11
- 1kg dry soybeans
In the morning around 8am, I sorted, rinsed, and set the soybeans to soak.
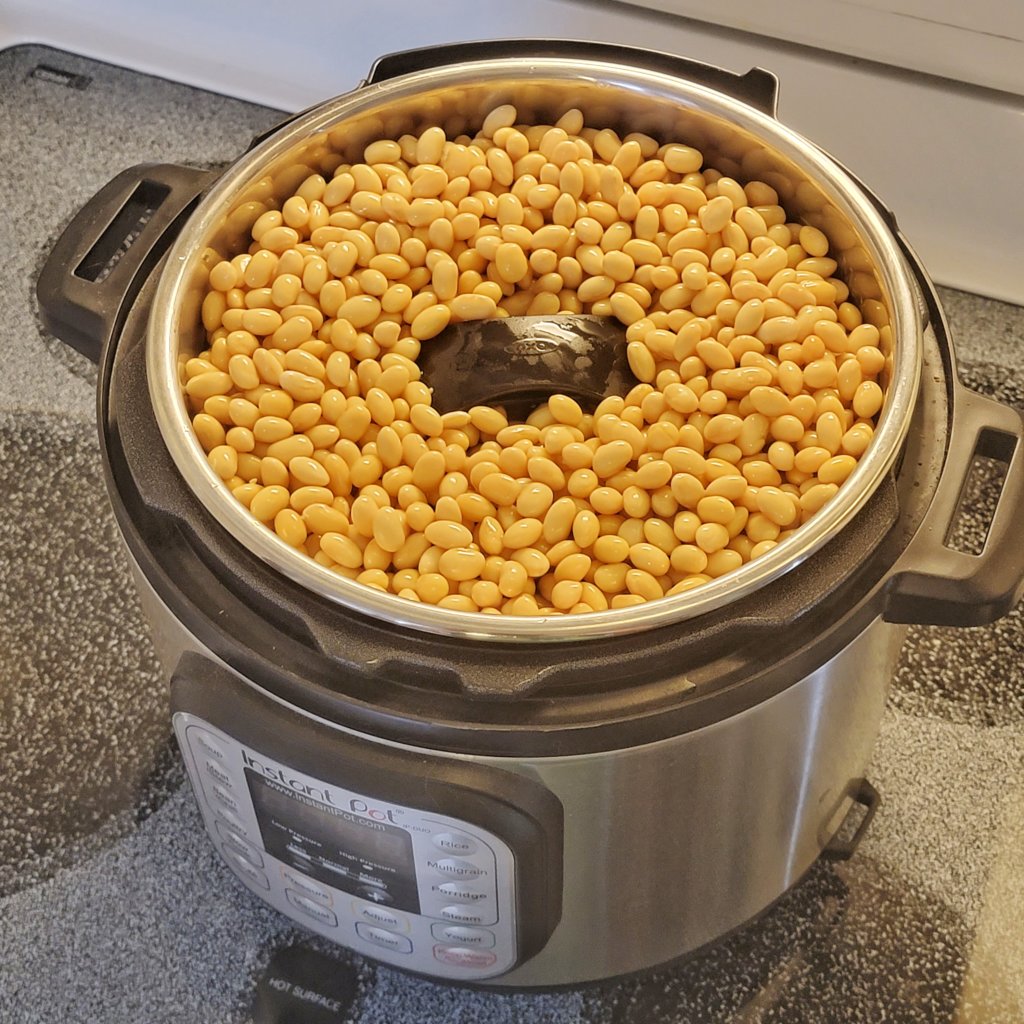
- 2,200g soybeans after soaking
By 6pm (roughly 10 hours*) the beans had doubled their weight. After draining, I cooked them by pressure steaming in my Instant Pot. With 4 cups of water in the bottom and a foldable steaming rack above the water level, I filled my 6-quart Instant Pot nearly to the top (ensuring the valve had clearance) and cooked on high pressure (10psi) for 45 minutes. With the hangout starting at 7pm I was not going to wait for natural release, so I did a quick release of pressure and the beans were perfectly cooked.
I did most of the rest during the Discord hangout and, of course, completely forgot to take pictures of the process. It’s probably for the best, since it was mostly 2 hours of me grinding and mashing stuff to mix together.
- 1,245g koji rice
- 200g shiso leaves
Koji rice was roughly ground up in the food processor, then the cooled soybeans (in 4 batches), and then the shiso leaves.
- 3655g beans + rice + shiso
- 365g salt (10%)
After mashing all of this together and adding about 10% salt, the total weight of the miso is roughly 4kg.
I did add a few splashes of the steaming liquid left in the pot to loosen the paste slightly. It was then thrown, one rolled handful at a time, into this lovely black-glazed crock from the CinSoy Foods funding campaign. Here is the result after tamping it down and salting the top.
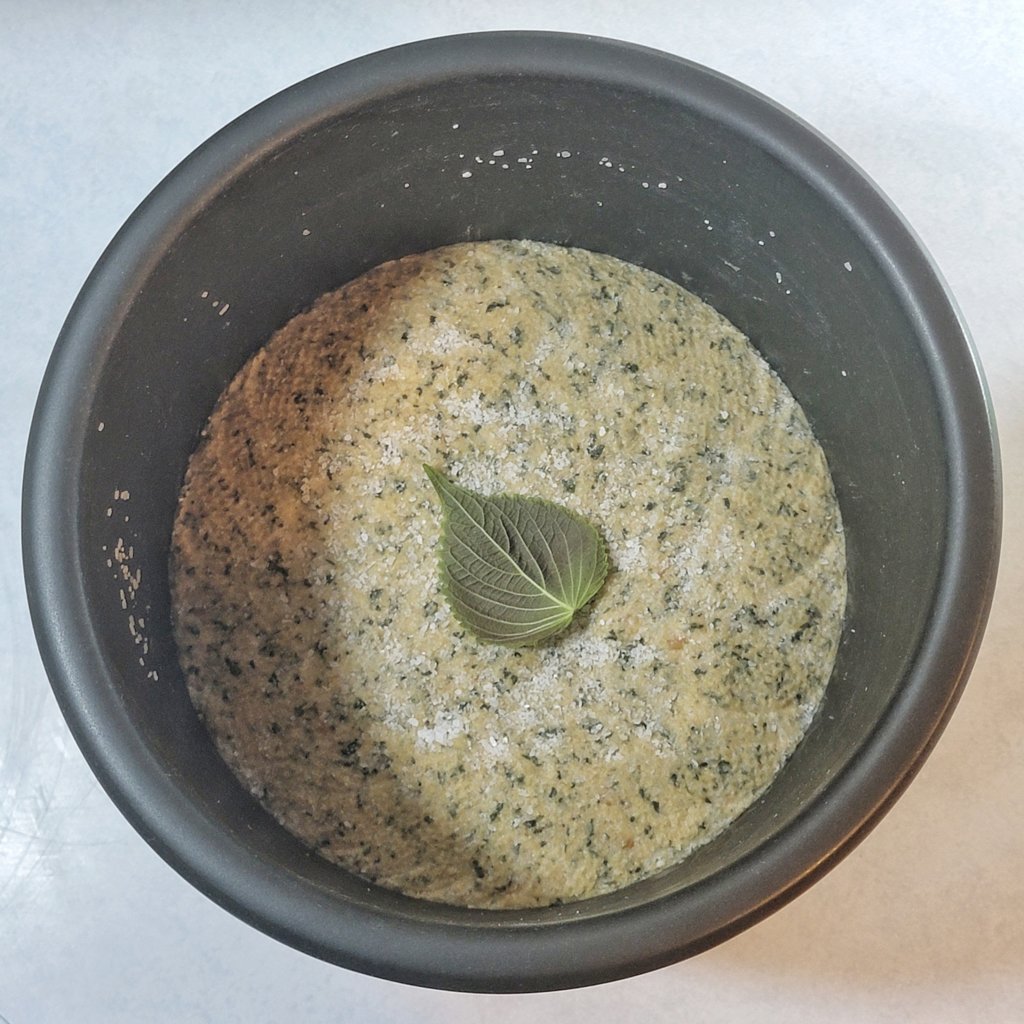
Honestly I was hoping it would be greener, but since I just used a food processor to chop up the leaves instead of taking the time to grind them into a paste with a mortar & pestle, the bespeckled look will have to do.
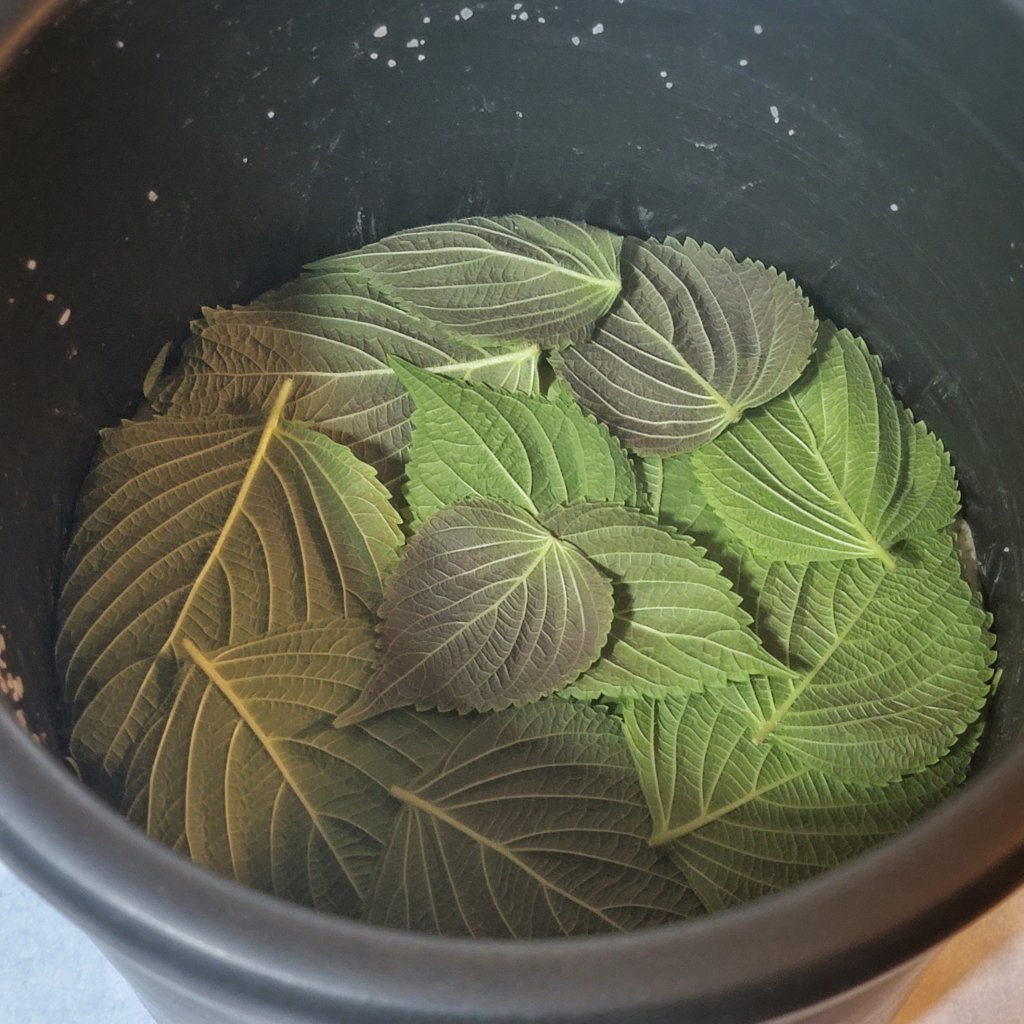
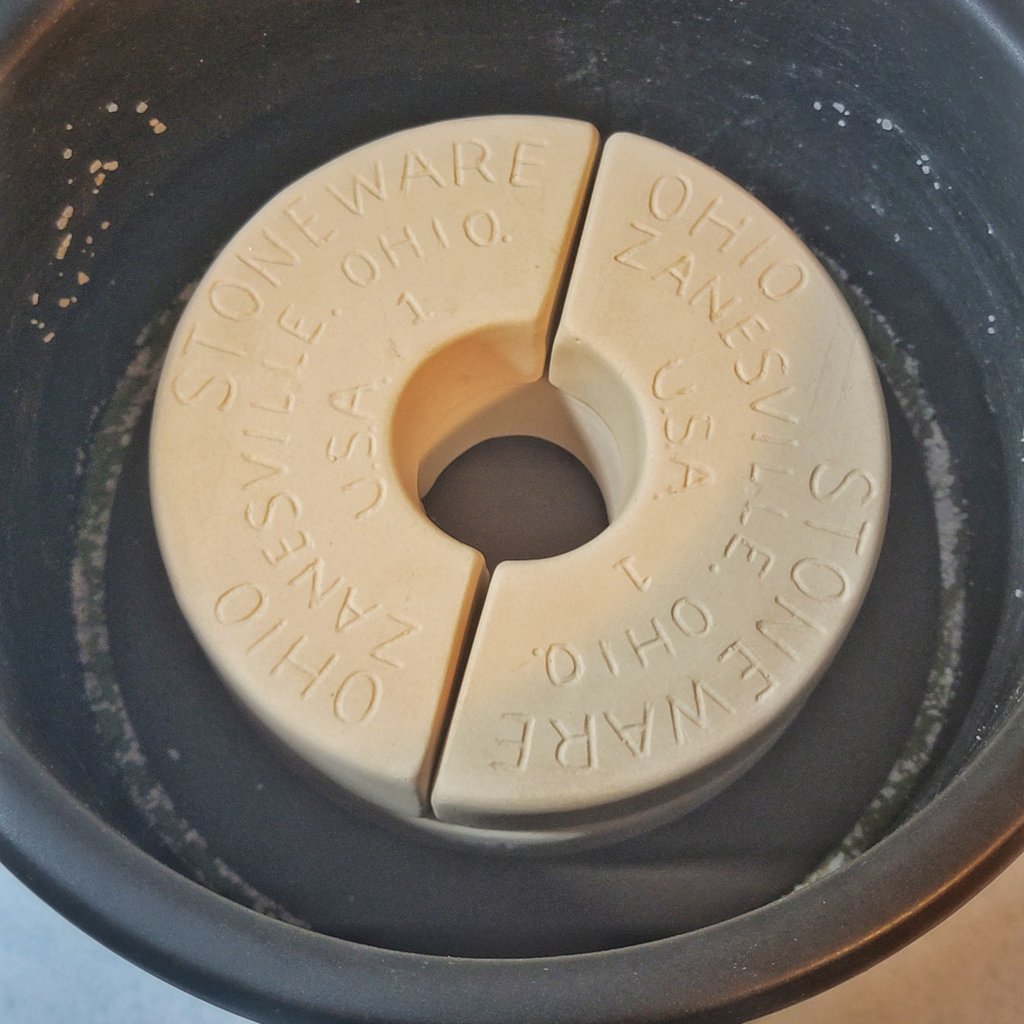
I used some extra shiso leaves as a layer on top (was this a good idea? We’ll see!) and then covered with a small stoneware side plate that I hopefully won’t need for a year. On top was placed roughly 2kg of weights, half of the weight of the miso itself.
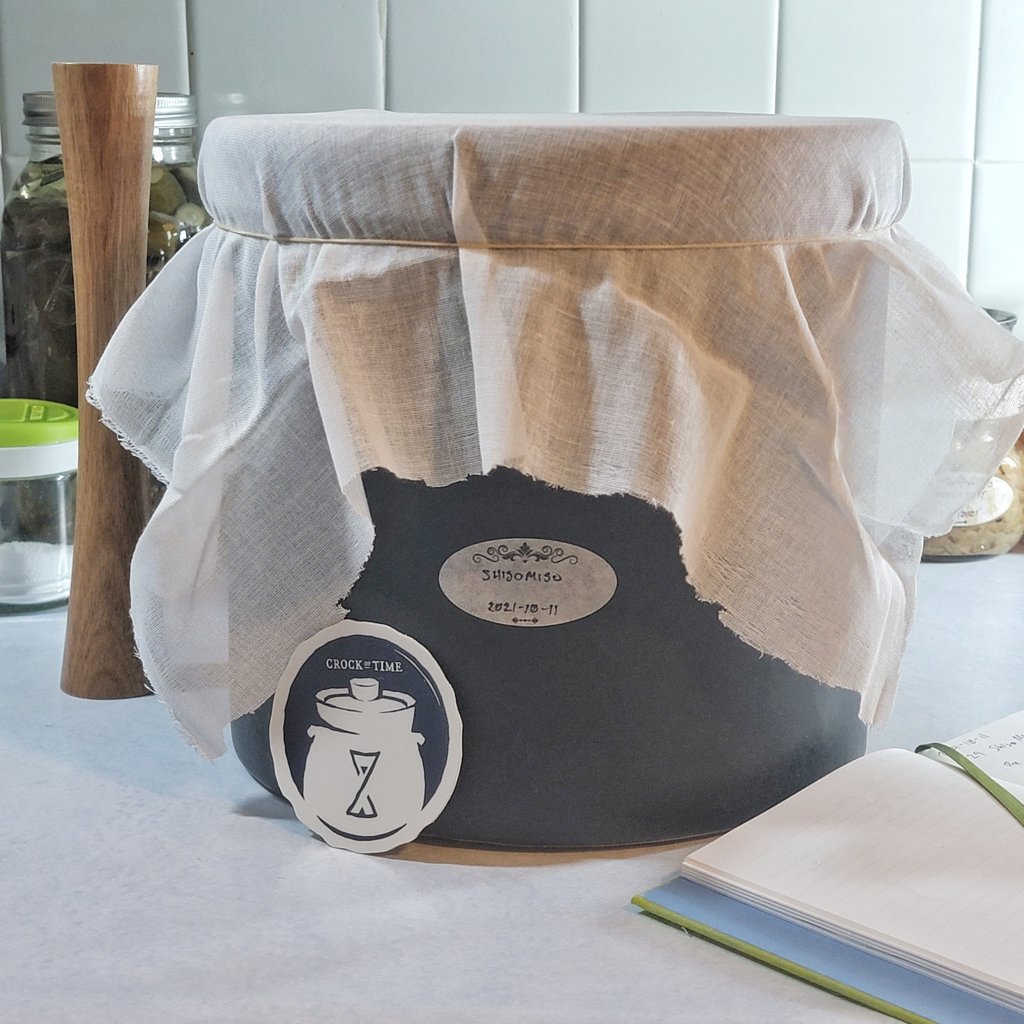
After covering with some butter muslin and securing with a large rubber band, we’re done! I managed to lug this thing down to the basement to hang out with the other misos.
It is at this point, while writing about it after the fact every time, that I remember that I forgot to add some mature miso into the mix. It’s not critical, and I could dig it all out and re-mix it, but am I going to bother?
Nope.
Day 31: 2021-11-11
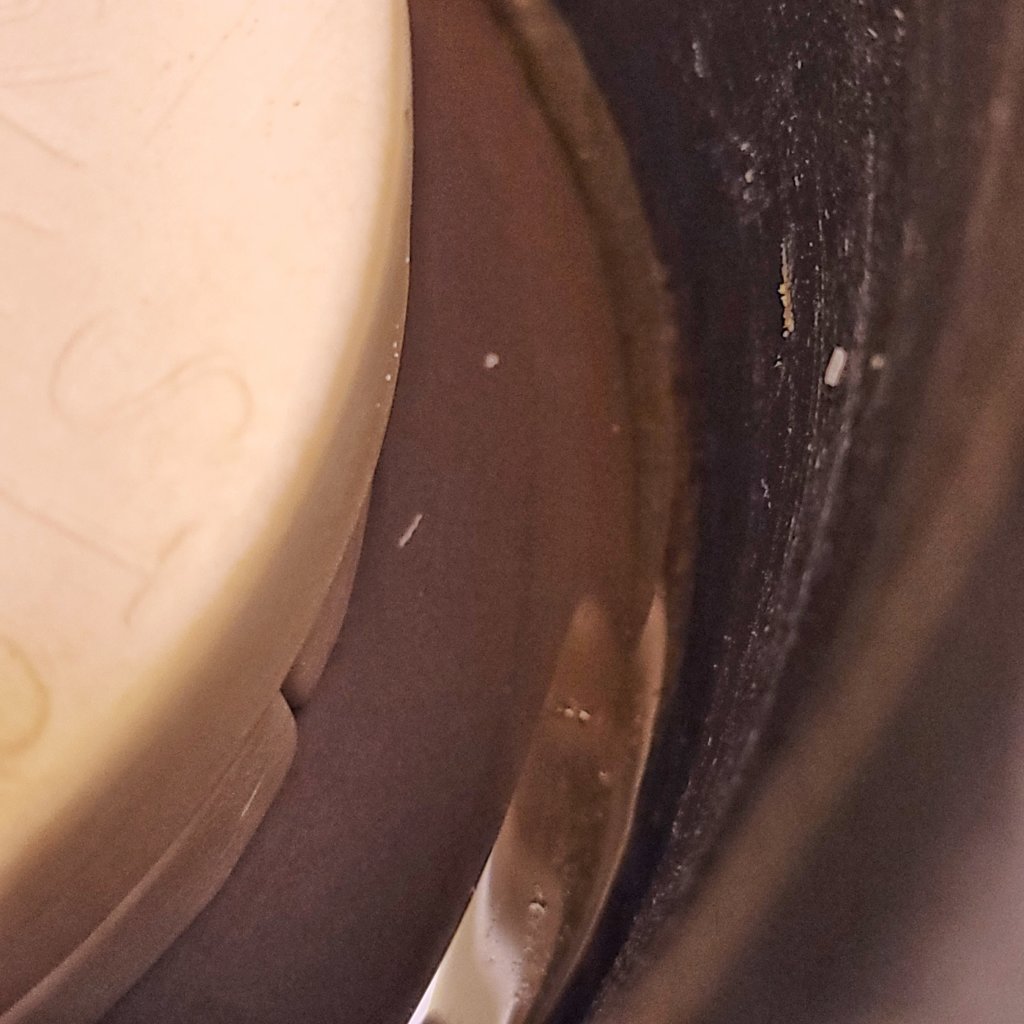
The tamari is appearing! I’m holding off trying to collect any for a little while, mainly because I’m not sure how to do this without breaking something (myself included).
Day 708: 2023-09-18
Happy Miso Day!
As per usual, I forgot about this miso twice as long as I intended to forget about it, but I’m glad I did. That’s the beauty of fermenting at home—you’re not on anyone else’s schedule but your own, and sometimes the longer you forget about something, the better it gets. At least when it comes to miso.
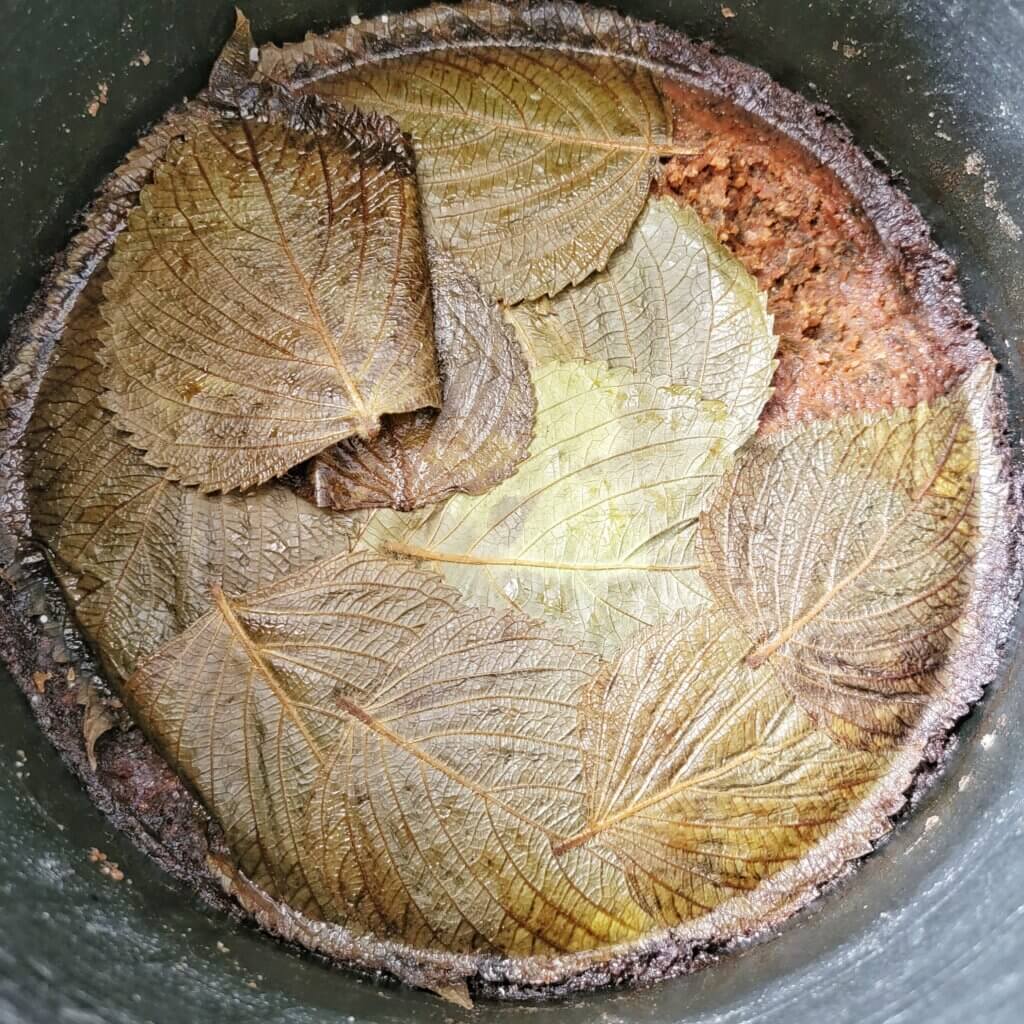
Thanks to the layer of leaves and the well-fitting plate and weights, there was no mold growth at all! Even if my next miso doesn’t have herbs added, I think I’ll still use shiso leaves to cover the top again. After all, I have plenty.
I never did harvest any tamari, not much more than what was pictured above ever materialized, and I think I’ll take that as a sign that I nailed the water ratio. I assume that evaporation and leaving a concentrated area of salt behind around the edges contributed to the protection from mold.
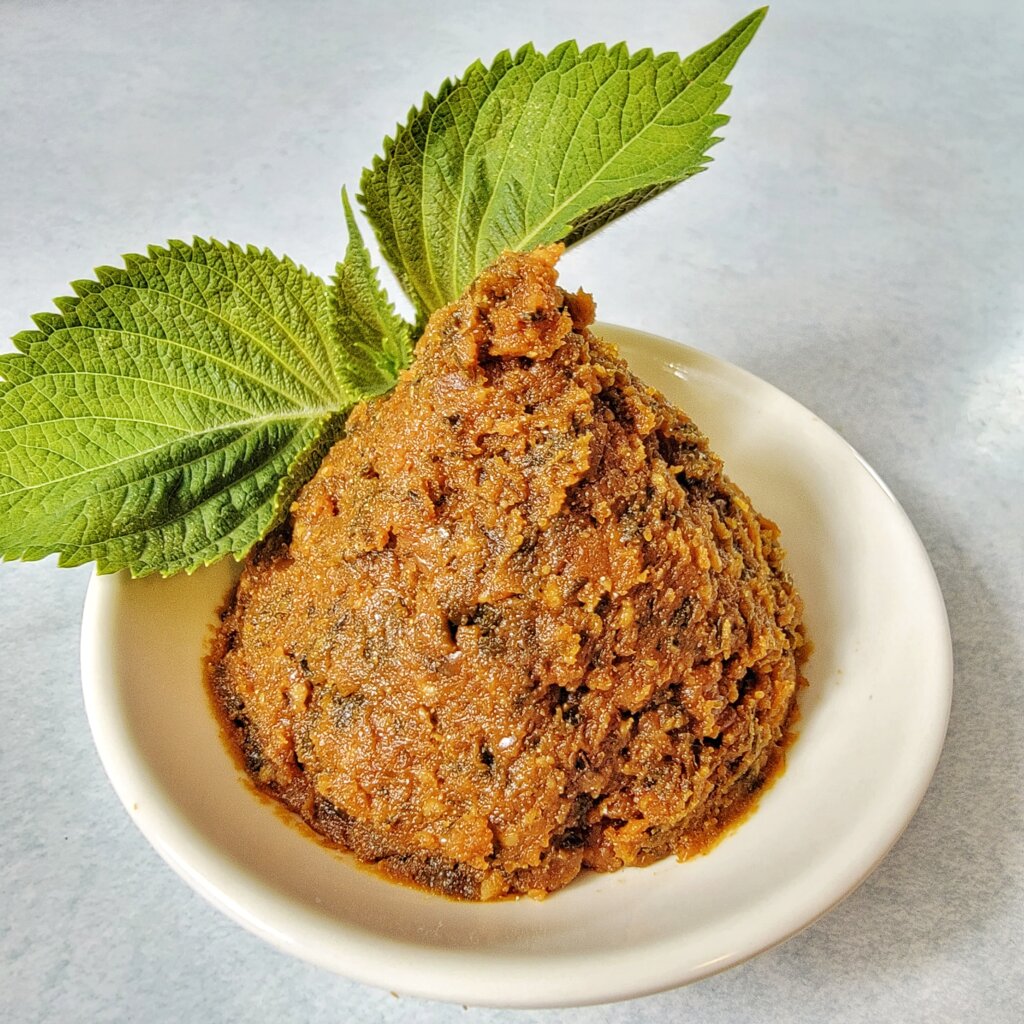
The miso underneath is a dark orange brown flecked with dull green. As per usual, the texture feels smoother on the tongue than it appears, though the bits of shiso do hang around. The flavor of the shiso, herby and a little minty, is well balanced with the earthy umami and sweetness of the miso. Roughly 5-6% herbs in this case worked well, so I would probably start with that amount when trying different herbs.
I made some very simple miso soup, just dashi stock with the shiso miso blended in with the strainer method. The taste of the shiso was a little more subtle here but it did add a freshness that would otherwise not be present.
Special Thanks to my Patrons on Patreon
Artisan Fermenters: Theresa Keane, Chris P
Fermenters: Daniel Shackelford, Fragnum Opus, Caroline Smialek, Sam Storey, Alana Blue


I’ve been wanting to make miso with my fresh makrut lime leaves— and now I definitely will have to. This looks amazing! Great job.