Wagyu Corned Beef
When you see a wagyu beef brisket at the grocery store 3 weeks before St. Patrick’s Day, what do you do? If you’re me, you buy it and corn it. Was it expensive? Yes. Was it worth it? Read on…
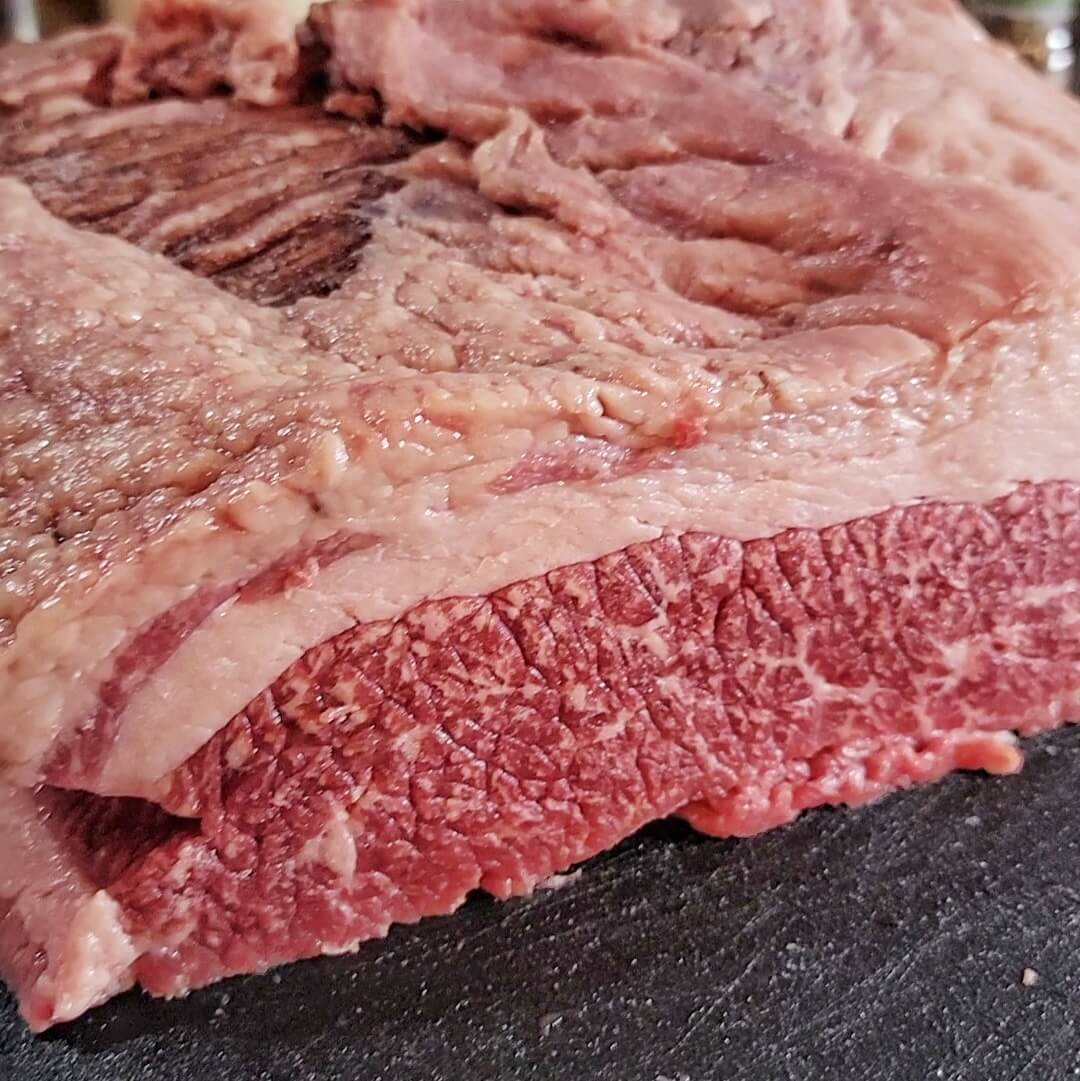
Wagyu beef, in this case American wagyu, is a cattle breed derived from native Japanese cattle. The kind I bought is Sakura American Wagyu, located in my home state of Ohio, which is Wagyu stock cross-bred with Angus. It might not be the most “authentic” wagyu, but it’s as close as I’m getting within my budget.
The Corning
2023-02-26
Let me get this out of the way: “corning” just means salting. “Corn” is an old Anglo-Saxon word for small kernels of anything, in this case salt crystals. It’s where the word “peppercorn” comes from as well, as “pepper” referred to the whole collection of peppercorns in long pepper.
The process for curing meat at home meant to be cooked can be fairly straightforward, particularly for corned beef if you have a vacuum sealer. I am a big fan of Morton’s Tender Quick* for this, since you don’t need to buy Pink Salt #1, AKA Prague Powder #1, and measure out tiny doses of the stuff since it’s already included.
Unfortunately for me, products like this, at least in the US, tend to give instructions for use in a mix of volumetric and weight measurements, and for Tender Quick it’s no different:
Use 1 tablespoon (1/2 oz.) of Tender Quick® for each pound of meat
If you’re a returning reader, you know I like to measure in weights and formulate recipes in percentages based on the weight of the primary ingredient. To calculate the percentage by weight, convert to the smallest unit (oz in this case) and divide the weight of the thing you’re adding from the weight you’re adding to, then move the decimal point right 2 digits (multiply by 100):
0.5oz ÷ 16oz = 0.03125 (3.125%)In an abundance of caution, I rounded up to 4%, but when I do this next time I’ll use 3.5%. I also add brown sugar to the cure at 1.5%.
Note that this calculation is for a dry cure, and it is calculated as an equilibrium cure, meaning we’re putting exactly as much cure on it as required. There is no extra brine to deal with, and no specific timeline for removing the cure to prevent from over-curing. The only timeline were working with is minimum time for the cure to penetrate fully, which is roughly 5 days per inch of thickness.
To calculate the cure, first we need the weight of the beef brisket (which I cut in half to do a curing experiment, more to come on that):
- 1926g wagyu beef brisket
- 4% Tender Quick: 77g
- 1.5% brown sugar: 29g
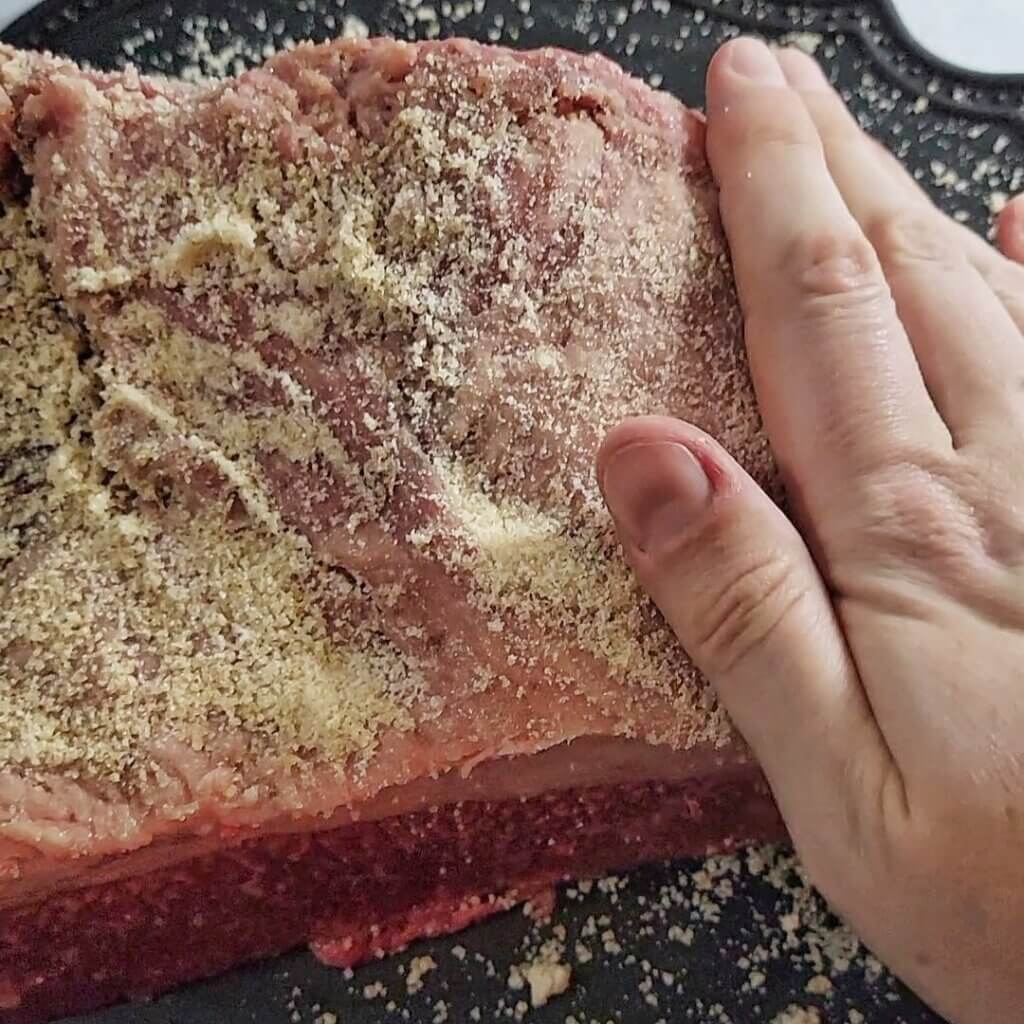
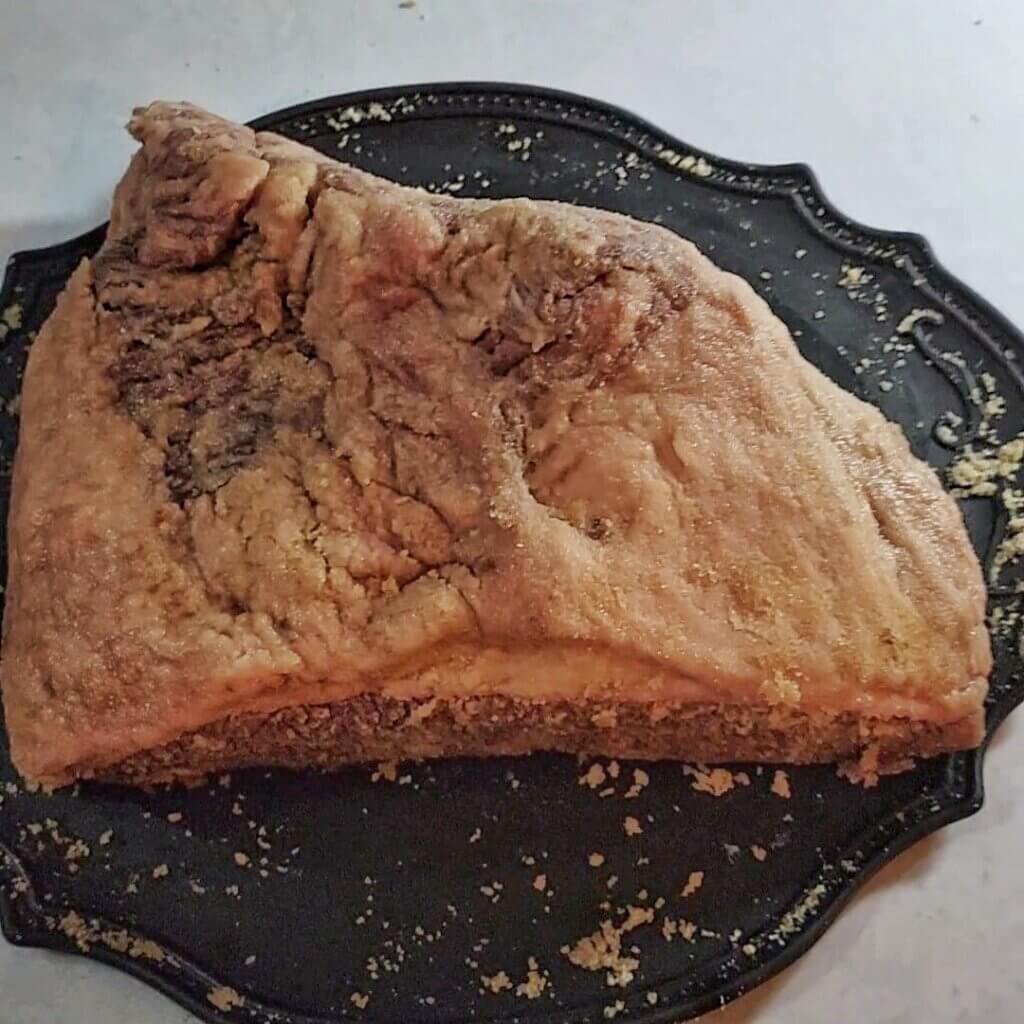
These are mixed together and thoroughly rubbed into the meat so that no extra cure remains. It’s important to get the meat into the vacuum bag quickly before the salt starts wicking moisture out so that all of the cure and all of the meat is contained.
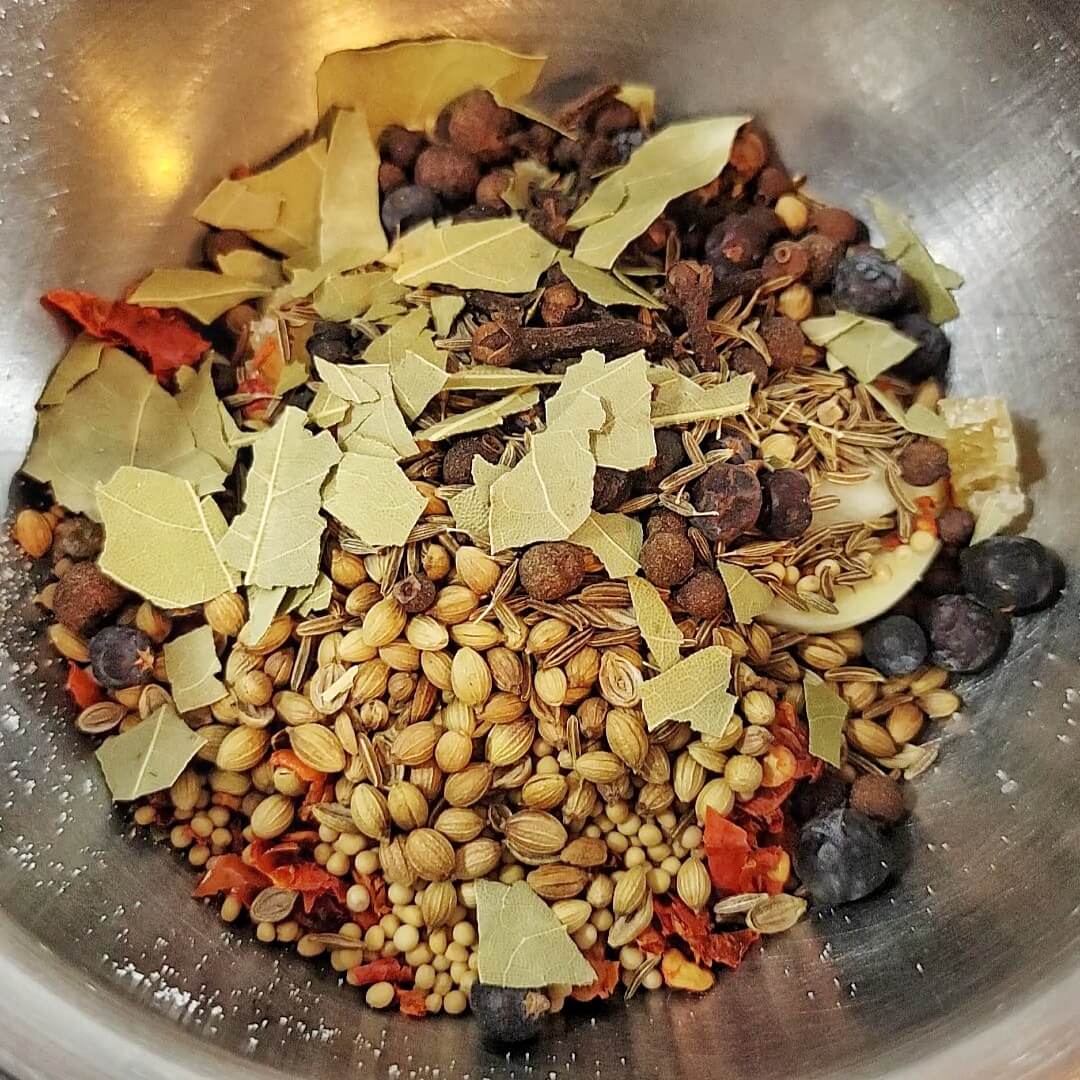
Now for the fun part: aromatics and spices! You’ll have to excuse me for going on a diatribe about volumetric vs weight measurements and then giving these in volumes, but these do not need to be as precise as the cure does. As long as you cover it well in spices it will be fine.
- 3 cloves garlic, crushed
- 2 tsp crystalized ginger, chopped (you can use fresh too)
- 1 Tbsp black peppercorns
- 2 tsp fermented dried chili flakes
- 2 tsp mustard seed
- 2 tsp corriander seed
- 1 tsp caraway seed
- 1 tsp allspice berries
- 1 tsp juniper berries
- 1/2 tsp cumin seed
- 1/2 tsp cloves, whole
- 2 bay leaves, crushed
Just like any other food preserved with salt, this is actually a ferment, and I like to add a bit of active brine from something else to kickstart things:
- 1 tsp active sauerkraut brine
And last but certainly not least, this kind of thing can only benefit from the addition of enzymes provided by our dear friend, koji, in the form of amazake. The protease enzymes in particular will help tenderize the meat. It feels appropriate to utilize a very Japanese ingredient on a Japanese-descended meat.
- 2-3 Tbsp amazake, enough to coat
And that’s it! We salted and spiced our meat, and after vacuum sealing it will sit in the fridge for about 3 weeks until Corned Beef Day—er, I mean, St. Patrick’s Day. I’ll flip it over occasionally, every 3-5 days or so, to keep things evenly coated since the purge (liquid from the meat) will take some of the salt cure with it.

The Cooking
2023-03-16
Theres only one cooking method I would trust myself with when it comes to wagyu beef: the sous vide. I almost never cool steak any other way, particularly when paired with an amazake marinade. The protease enzymes in the amazake transform proteins into amino acids, which we detect as umami, the “essence of deliciousness”. And those enzymes are more effective at the medium-rare temperature range than fridge temps, so a few hours in the water bath is hugely complementary. But I’m getting ahead of myself.
There are a few different ways you could do sous vide corned beef, primarily 1) low temp (140°F/60°C) for 24-48 hours, or 2) high temp (180°F/82°C) for 10 hours. The 180°F version is closer to what you’d expect from a tender corned beef sandwich, the 140°F version will produce something more akin to a medium-rare steak. Since I was cooking expensive wagyu beef, I decided on the latter. I tested at 180°F as well, which was good, but a significant amount of the intramuscular fat was rendered out*, and at that point why bother with wagyu?
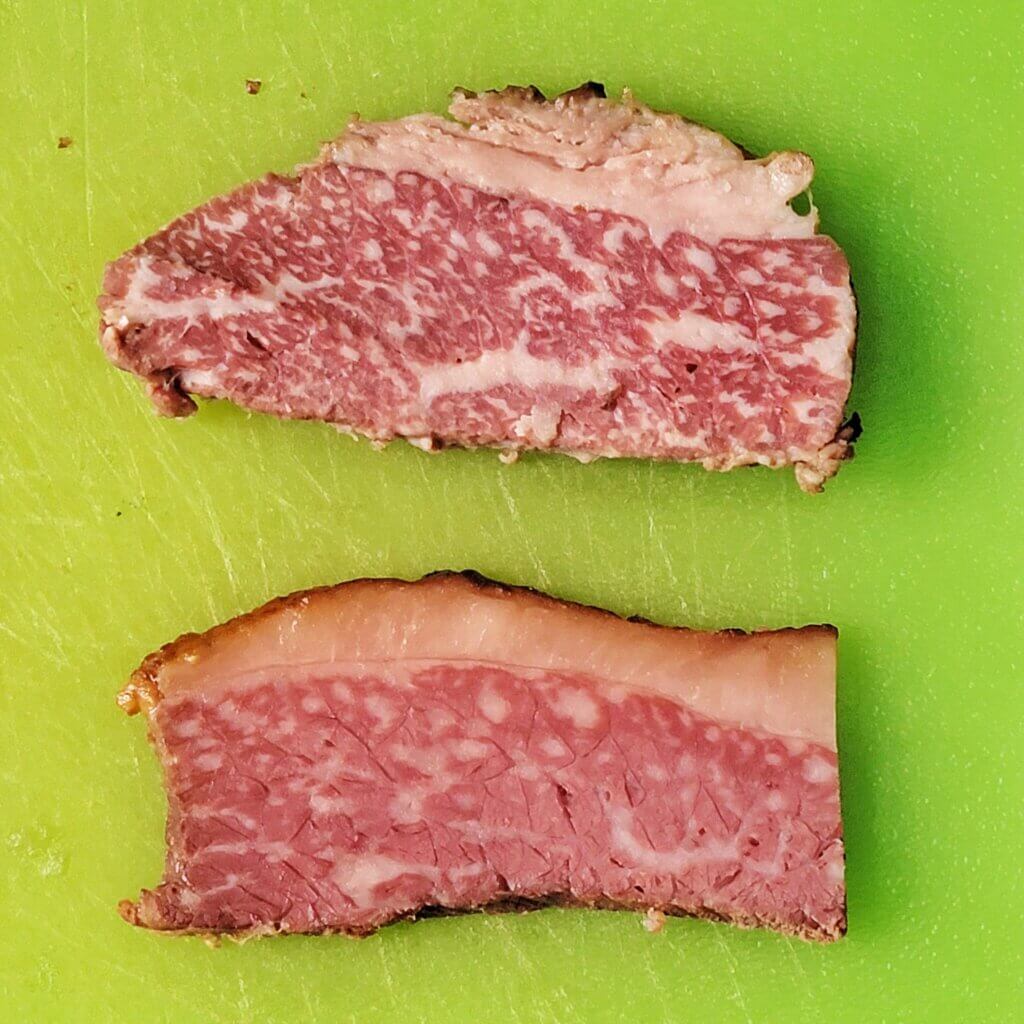
I did mine for 24 hours but in hindsight I would recommend 48 hours. I wanted it to be a bit more tender which I think another 24 hours would have helped with. Due to the enzymes in the amazake, I had assumed 48 hours might be too long, but this is still a tough cut that needs a long time to tenderize.
I rinsed off the spent corning spices and also rinsed out the vacuum bag to reuse for cooking. Make sure you set a sieve in your sink to catch the majority of the spices, or else you’d better have a pretty good sink garbage disposal.
At this point I set up my immersion circulator in a bin large enough to fit the corned beef. While it was heating up I let the beef soak in cold water to attempt to leach out some of the excess salt.
This is still corned beef, so I wasn’t going to just cook it straight-up. Along with the cleaned-up beef, I added a spice bag of some fresh spices (same kinds and amounts as the corning phase), about 2 tablespoons of amazake, and roughly 1/2 the bottle of Guinness Extra Stout. The added liquid was meant to do the same thing it would in the traditional braising technique: leach salt from the beef into the liquid to season the broth.
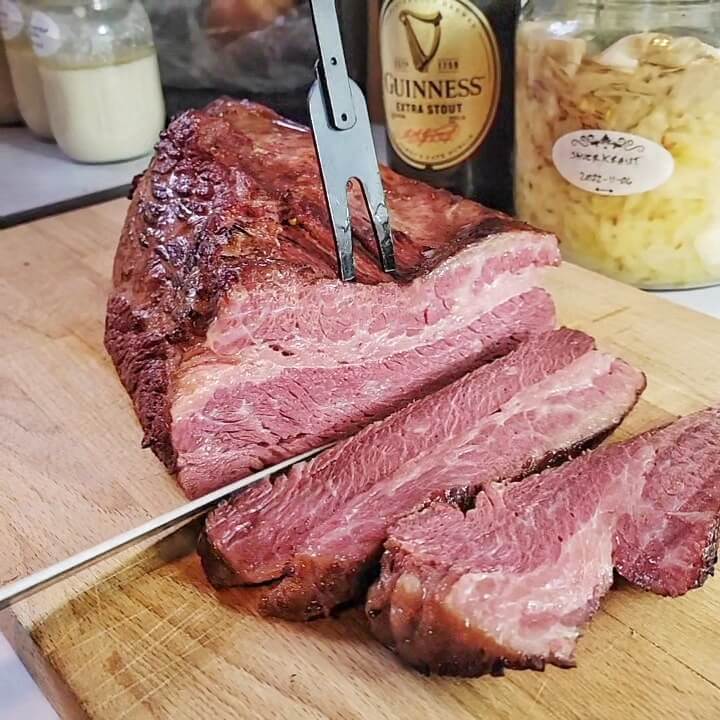
After 24 hours (remember, do 48!), I removed the beef from the bag and used that tasty broth for the vegetables I braised separately. Patted dry, it went under a 500°F broiler for about 5 minutes, just long enough to brown the fat cap.
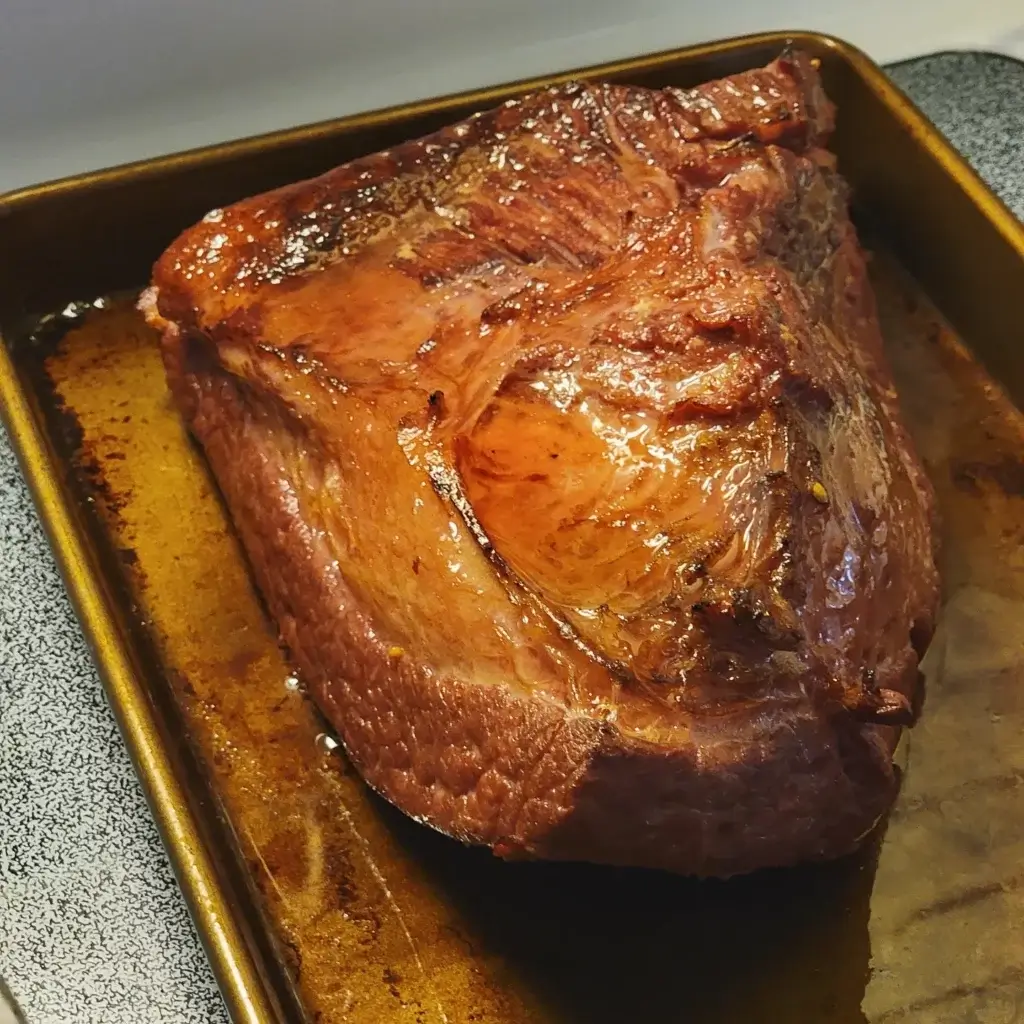
And that’s it! The immersion circulator did all the work, keeping it at exactly the right temperature, just needing a little browning at the end.
Since I didn’t do all of this in advance of St. Patrick’s Day, I hope this is useful to someone next year. If it is, join us on the Crock of Time Discord and let me know, or leave a comment below!