Amazake Sourdough
Last year during Kojicon, I attempted my first amazake-enriched sourdough bread, using some of my Green Tomato Amazake. I shamefully did not post about it here, so I’m correcting that now. I’ve also had another go at it this year with my new Pullman loaf pan for a sandwich bread variant below.
Traditional Loaf
But first, last year’s loaf. This was an attempt at a traditional batard*, or oval loaf.
I made a mistake that ended up helping me more than I realized at the time. I figured I’d replace half of the water in my standard recipe with amazake, but at the time I was experimenting with 80% hydration (usually 70%) and I messed up the calculation because I forgot to factor in the starter. So the hydration if you include the amazake was 90%.
Recipe:
- 100g starter
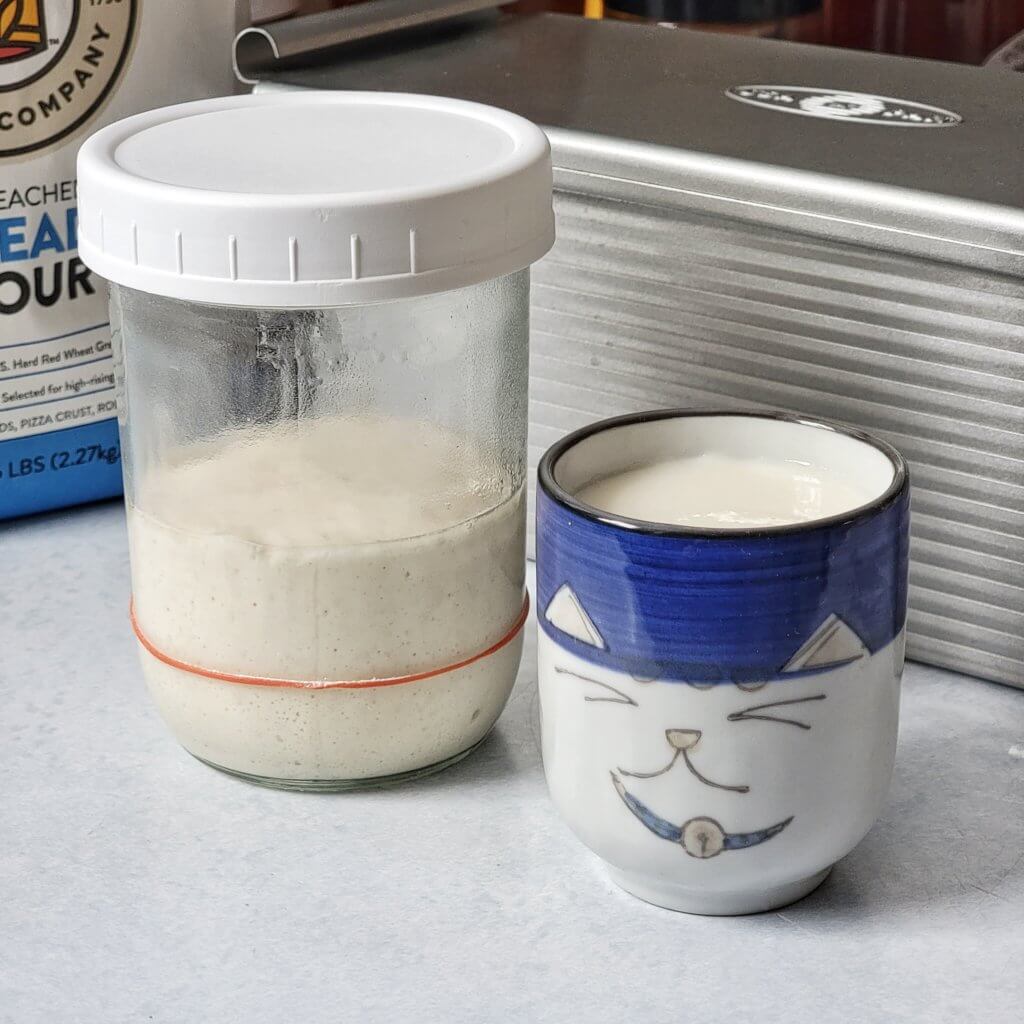
- 200g green tomato barley amazake
- 200g water
- 400g bread flour
- 50g whole wheat flour
- 10g salt
Breakdown:
- 500g flour — 100%
- 50g AP from starter (10%)
- 400g bread (80%)
- 50g whole wheat (10%)
- Hydration —
75%90%- 200g amazake (40%)
- 200g water (40%)
- 50g water from starter (10%)
Of course the hydration wasn’t actually 90%, because amazake itself is roughly 100% hydration, meaning its water content is 100% (equal parts) of the weight of its base content of koji & rice.
Here’s how the hydration should have been calculated:
- 500g flour — 83.33%
- 100g amazake solids — 16.66%
- Hydration — 58.33%
- 100g amazake water (16.66%)
- 200g water (33.33%)
- 50g water from starter (8.33%)
- 10g salt (1.66%)
I do recall the dough being stiffer than intended, even though I thought I overshot the hydration, because it ended up at roughly 60% hydration, lower than my usual recipe (70%). But perhaps a stiffer dough helped keep the loaf from spreading too much while baking.
For all of my mistakes, my usual sourdough process likely saved me. Everything mixed together (yes, salt and all), stretch and folds for 2 hours in 30 minutes increments, bulk rise to 125% (which only took 1 hour!), and then preshaping:
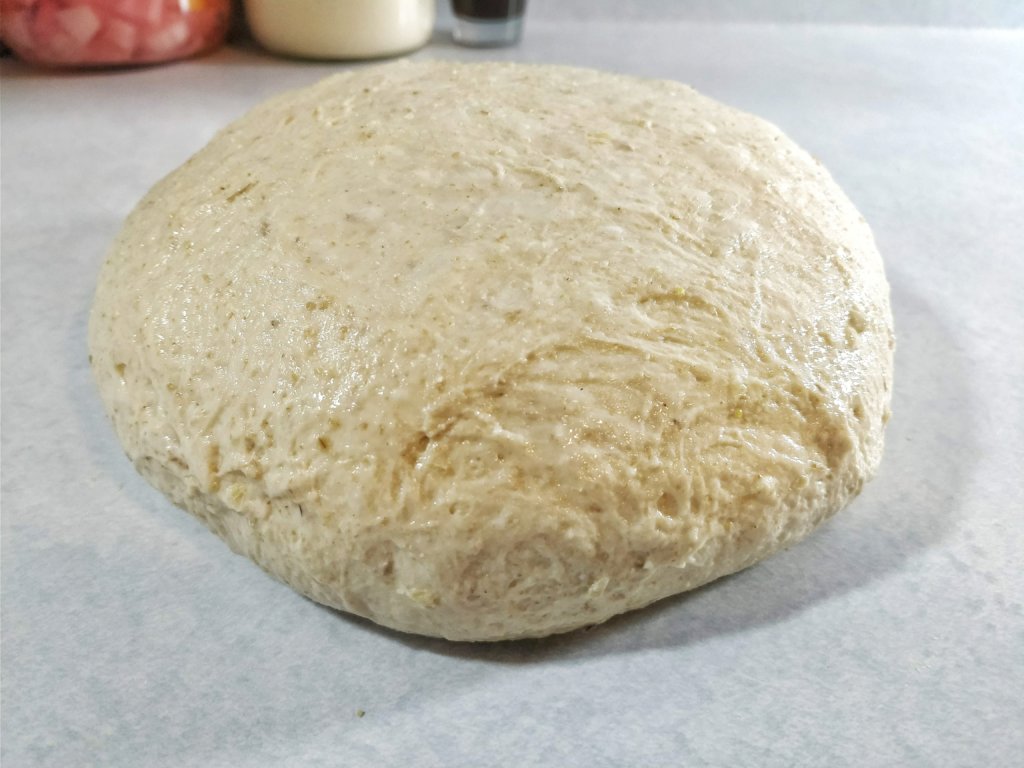
Notice how this dough is not smooth. The dough just barely passed the windowpane test before the bulk rise, and now you can see it getting a little stringy.
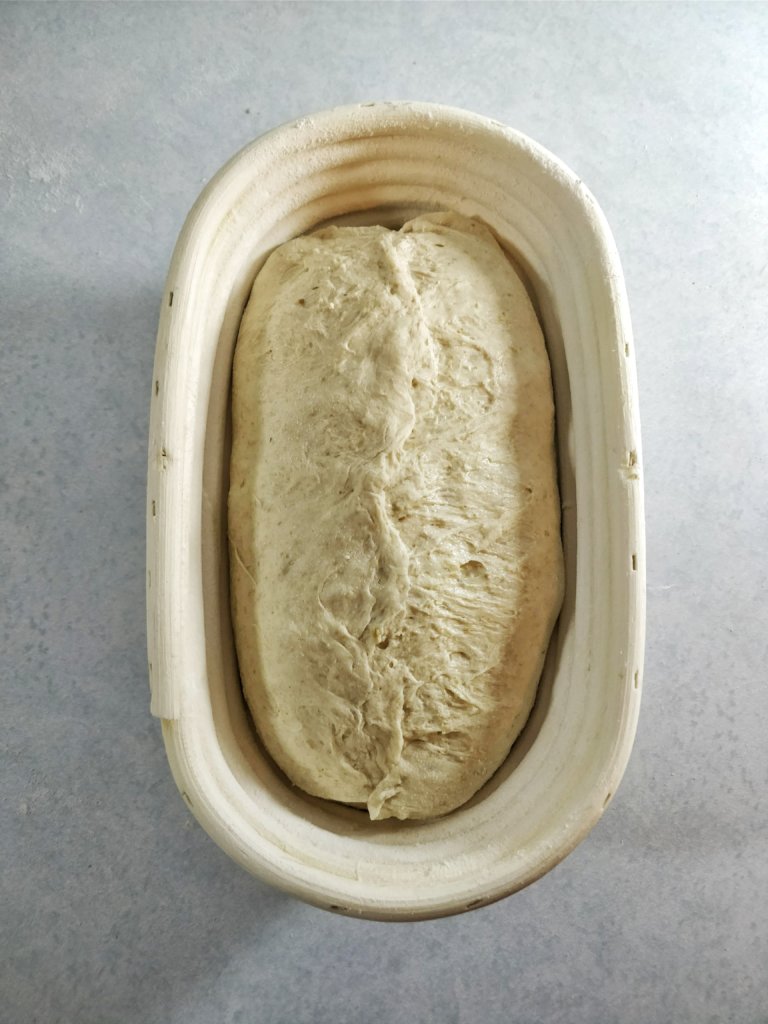
The dough was tri-folded and rolled up, placed in an oval banneton dusted with rice flour. In the fridge overnight the dough rose significantly—this was much more active than my usual dough.
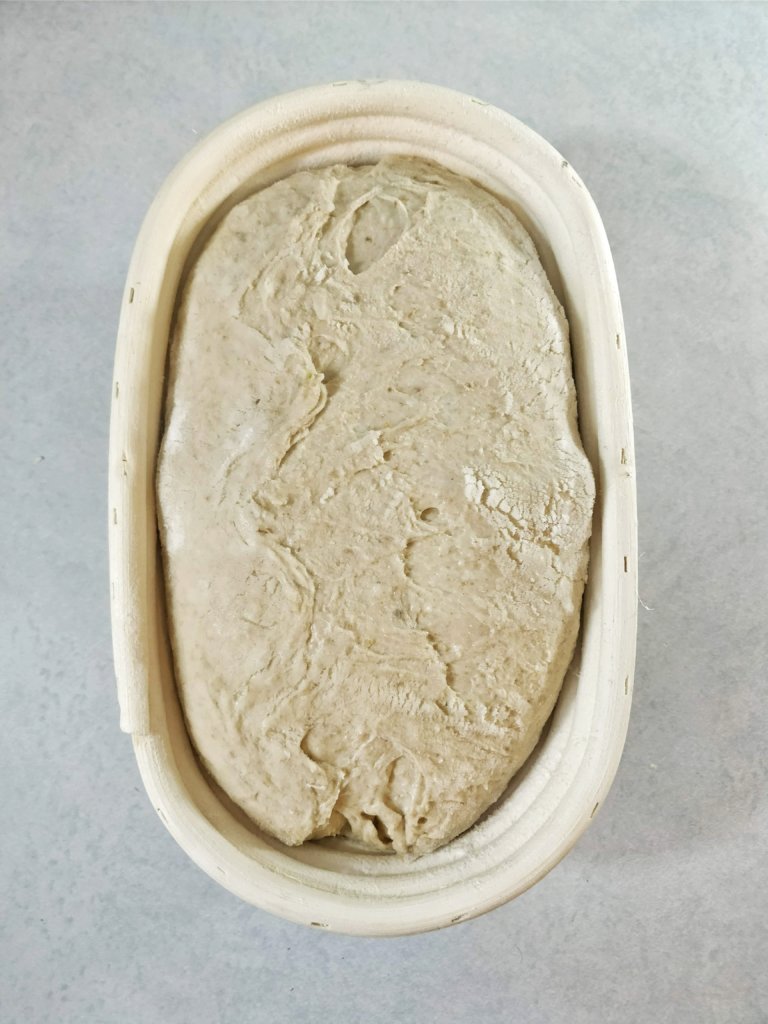
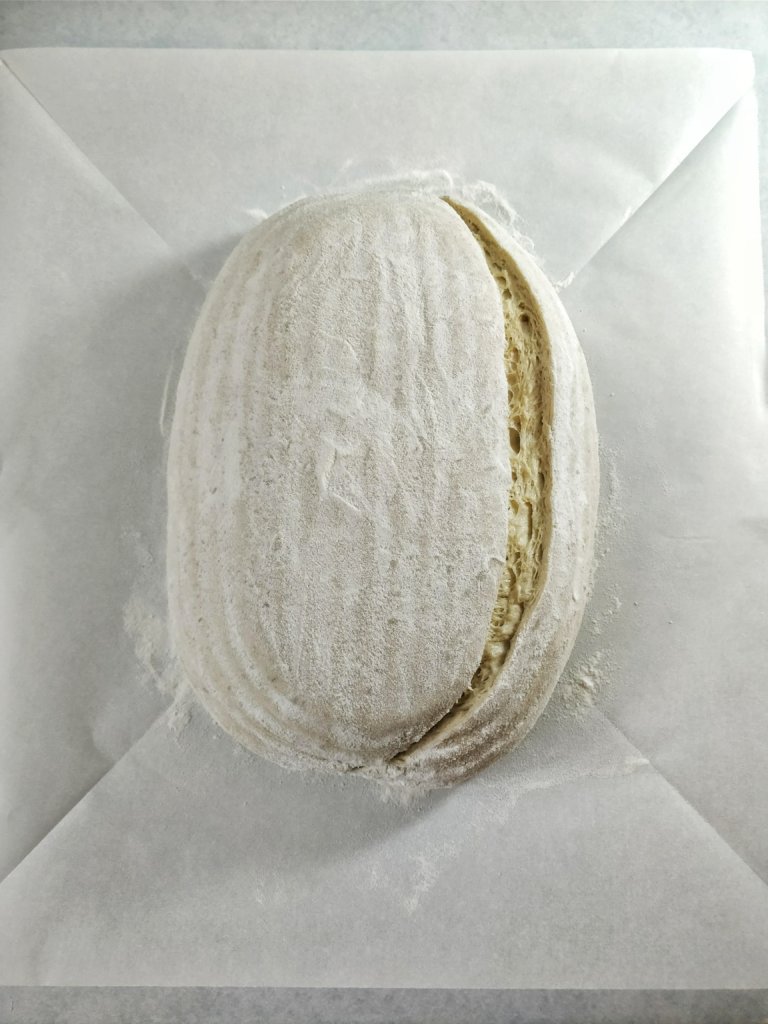
After turning the dough out on parchment paper, dusting with some rice flour, and scoring, the dough spread out a bit but held well enough. I baked in a preheated dutch oven at 450°F, lid on 20 minutes, lid off 10 before I pulled it since it was getting dark. Here is the before and after baking:

Sandwich Loaf
This year, I wanted to do a sandwich-style loaf, because I figured the support of a Pullman loaf pan would be perfect for the gluten-reducing effect that the enzymes in amazake have in the dough. “Standard” sandwhich loaves are enriched with milk, fat, and sugar, which also interferes with gluten development, but the result is a tender crumb.
And, I gotta be honest with you—I messed up the hydration calculation again. The stuff above about recalculating last year’s loaf hydration was only something I realized after putting the dough together this year. Once I realized how stiff the dough was, after the first stretch & fold, I added the missing water to get the hydration I wanted. It was not easy working the water into the dough after it had already come together, but somehow I managed it.
I’m going to give you the final measurements to keep things simple. If I had done the right calculation in the beginning, I probably would have done this differently to have the numbers a little more “round”. I believe that the exact measurements don’t matter as much as some people think.
This started as a 20% reduction in my Standard Sourdough recipe (which I have yet to post, sorry… stay tuned!)
- 80g starter
- 130g rice amazake
- 220g water, warm
- 360g flour, all purpose
- 8g salt
Here is the hydration calculation:
- 65g rice from amazake — 14%
- 400g flour — 86%
- 40g AP from starter (9%)
- 360g AP (77%)
- Hydration — 70%
- 40g from starter (9%)
- 65g from amazake (14%)
- 220g water (47%)
I know the amazake here is roughly 100% hydration itself because I used the same kind of math to make it that way on purpose—see the Glutinous Rice Koji post for where I made the amazake. Most people probably don’t do it this way, so adjust accordingly if yours is higher hydration.
After 2 hours of stretch & folds every 30 minutes, I left it covered in my OWLO “proofer” (Oven With the Light On) for 5 hours. It got fairly bubbly but was not rising, so I figured I’d cut my losses and just shape it anyways. Maybe it would have risen if I’d let it go longer.
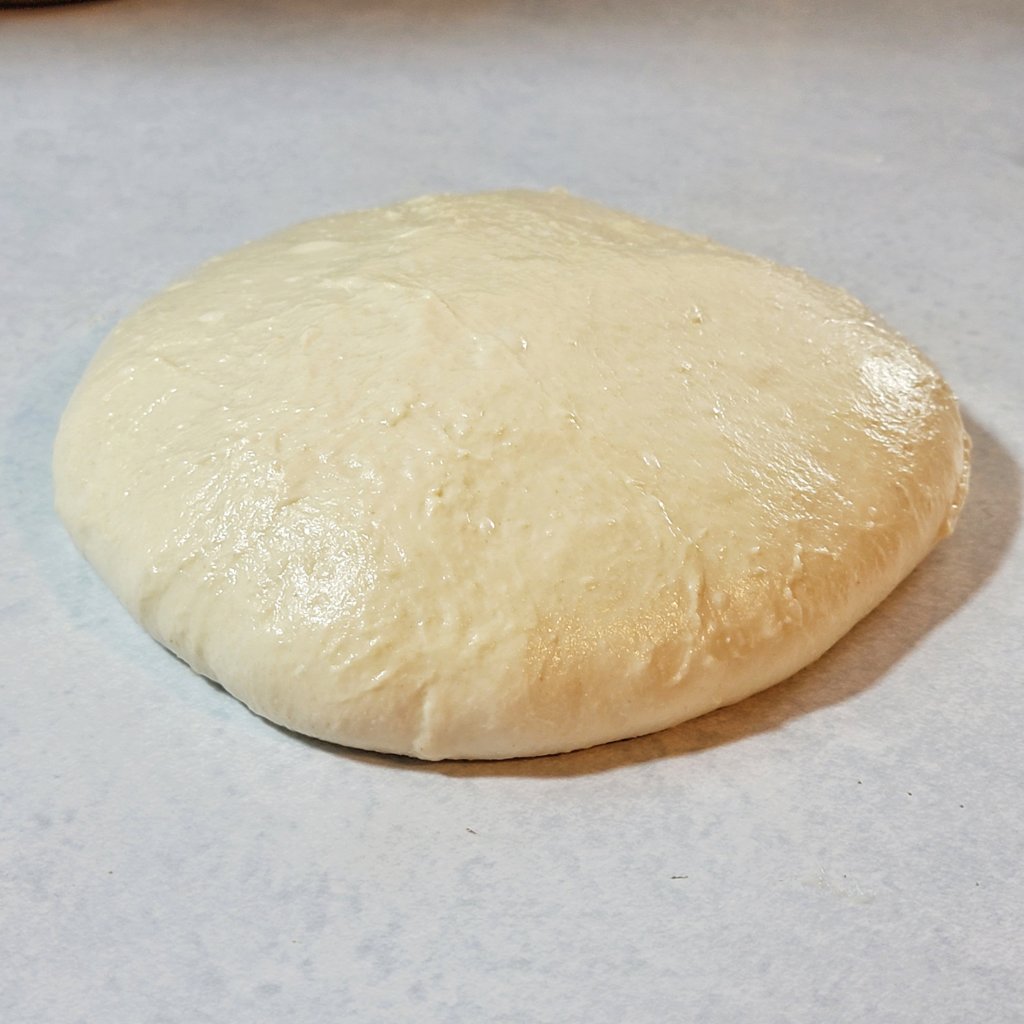
After a bench rest, I floured the top and was barely able to flip it over to pull gently into a rectangle and roll up to fit the greased loaf pan. Covered and refrigerated overnight for 10 hours.
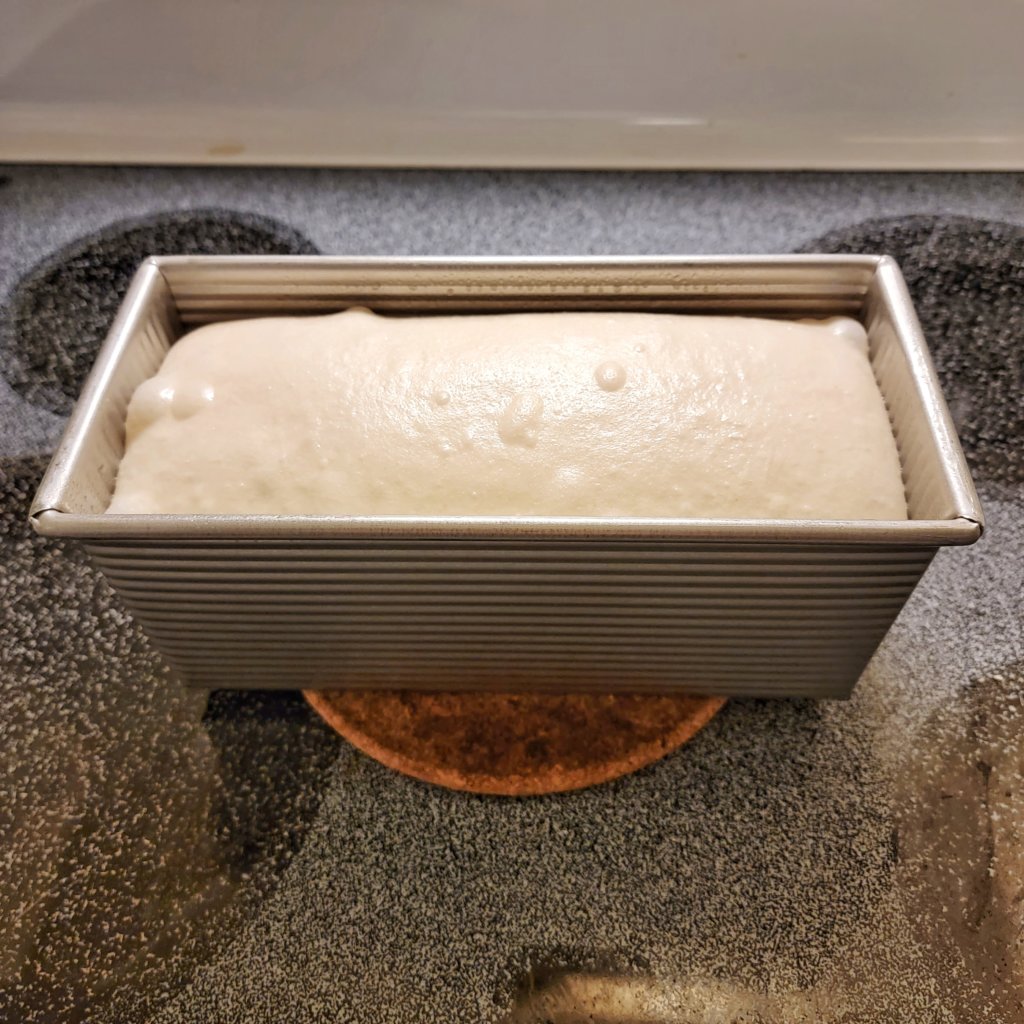
I pulled it out of the fridge the next day and set it in the proofer for 8 hours. I really should have taken a before photo to show you how much this dough rose, but I wasn’t expecting this to work. It initially didn’t even fill the pan halfway, check this out:
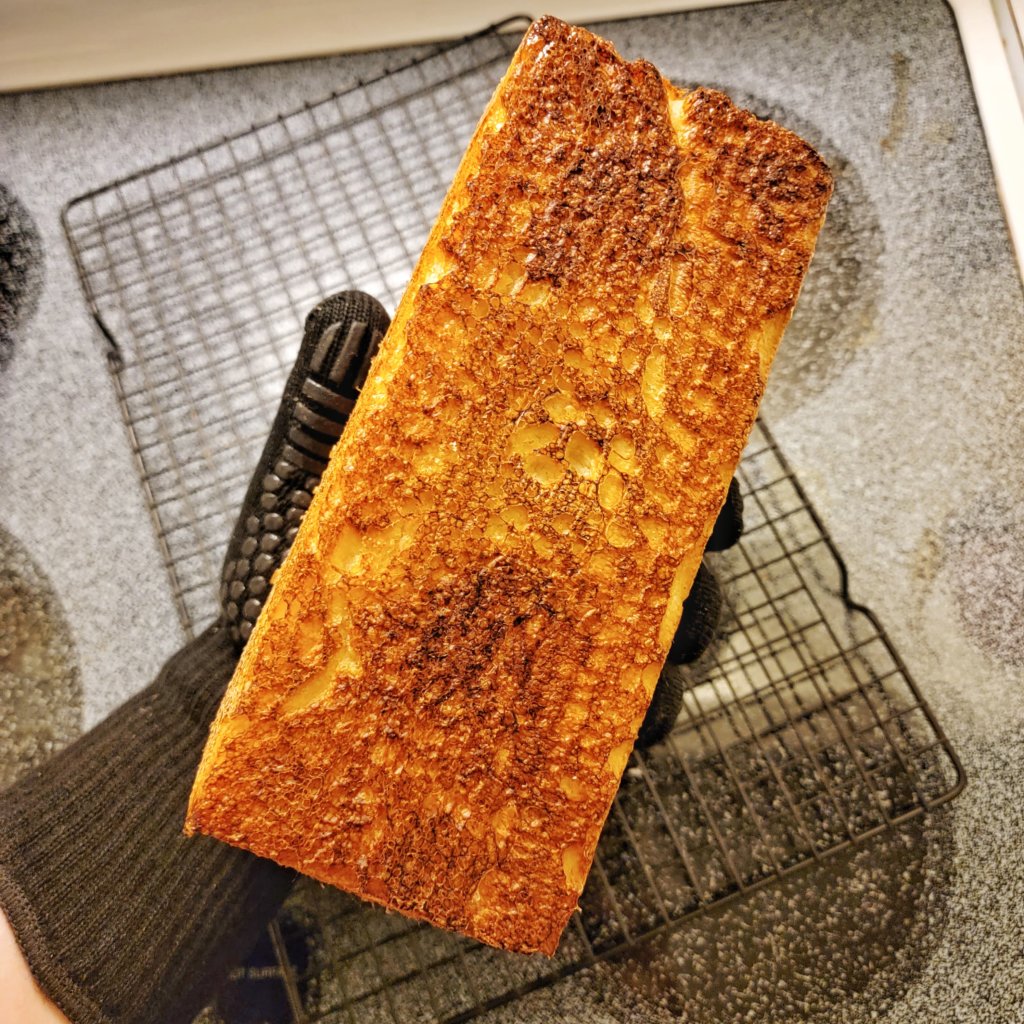
Every step of the way I was worried it wouldn’t work, and baking was no exception. I usually do a 40 minute bake at 450°F with the lid on for half, but I was worried about the sugar burning. Here I baked at 400°F, lid on 20 minutes, then lid off for 10 minutes before pulling because the top was getting dark.
it came out of the pan immediately to cool on a rack and I was stunned.
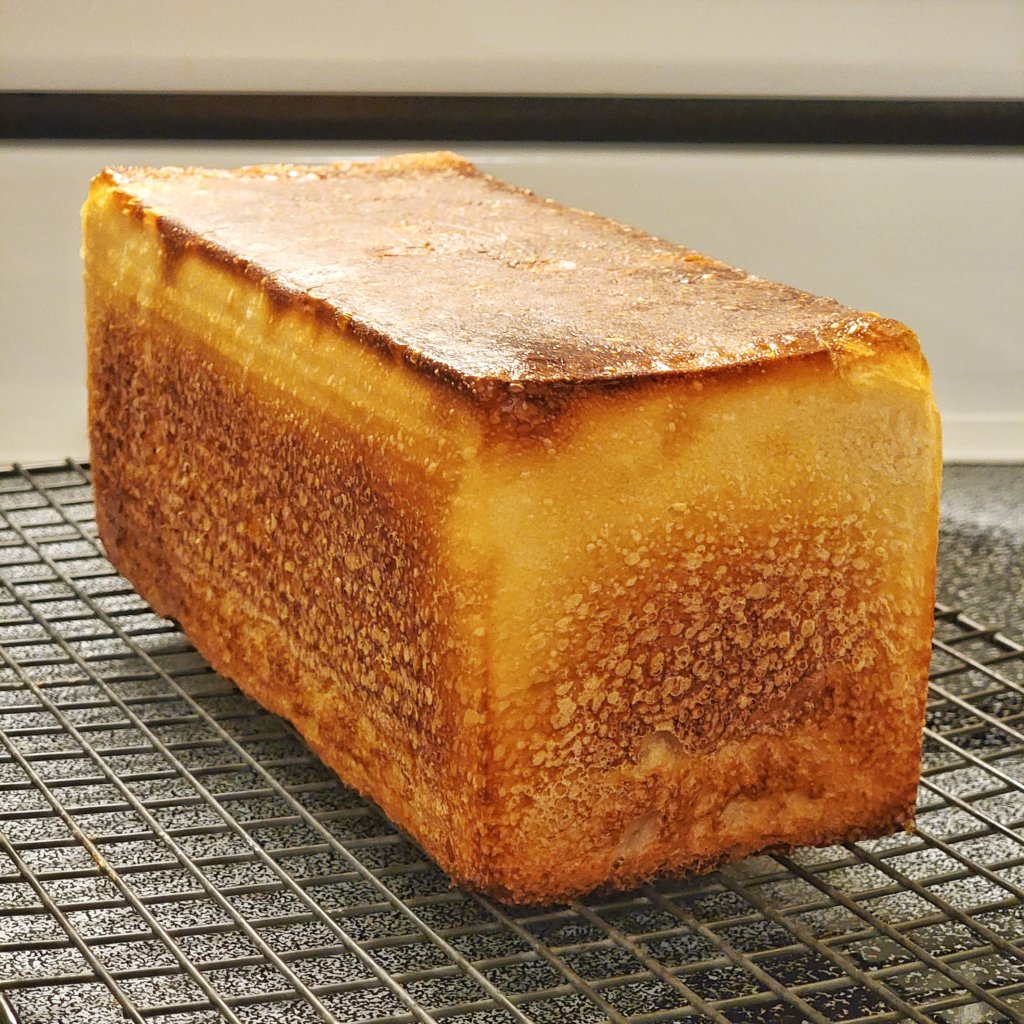
When I said I was still worried it wouldn’t work, well… we aren’t out of the weeds yet. I had baked this at a lower temperature than usual, and 3/4 of the normal cooking time. Was the outside cooked but the inside still raw?
I didn’t think about this until it had already sat for a bit, so the internal temperature wouldn’t tell me the whole story. I would just have to wait…
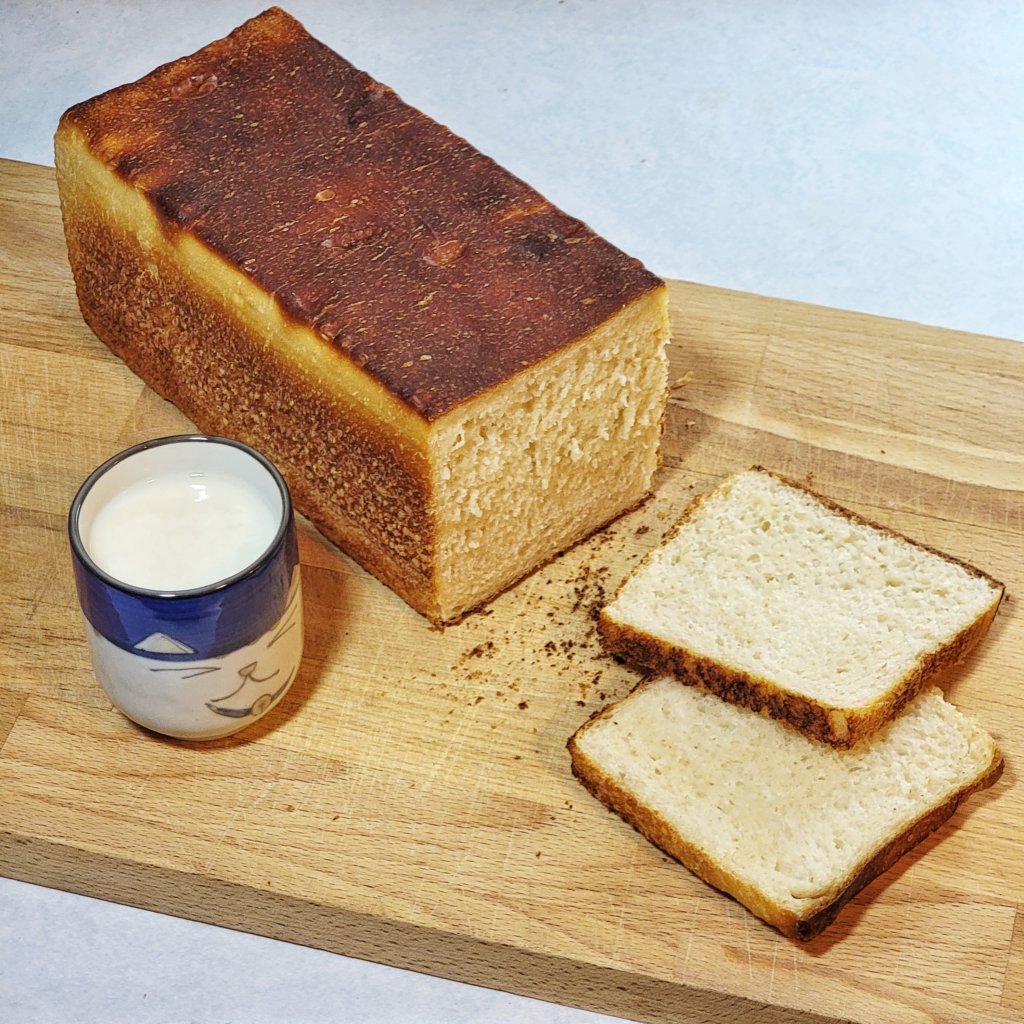
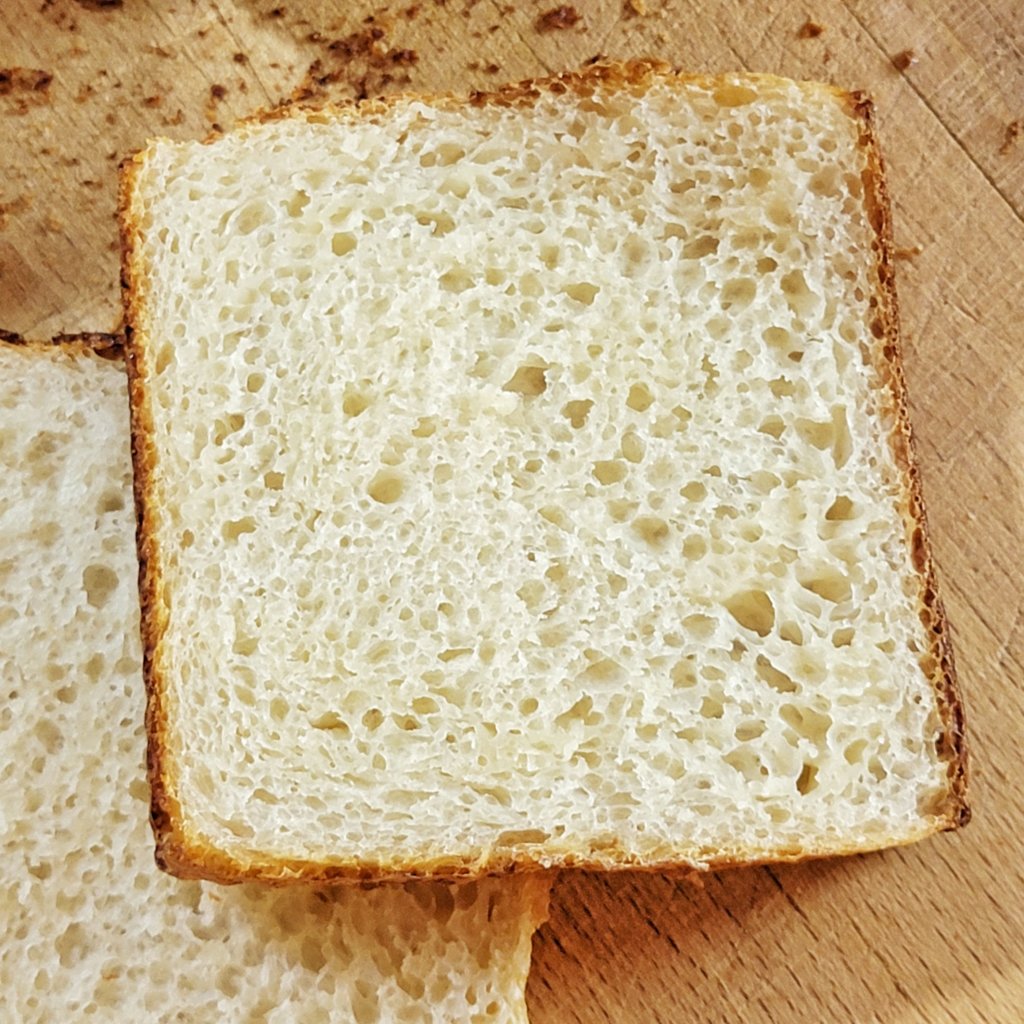
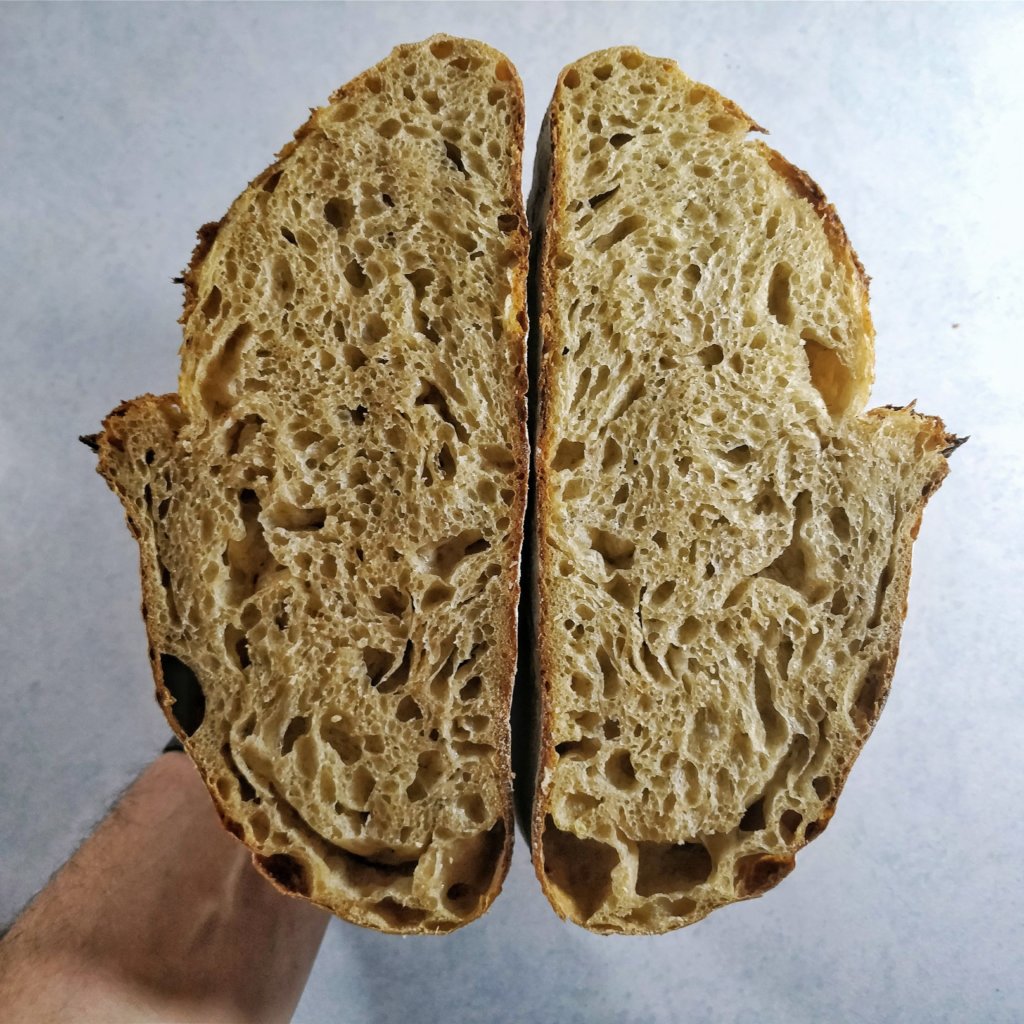
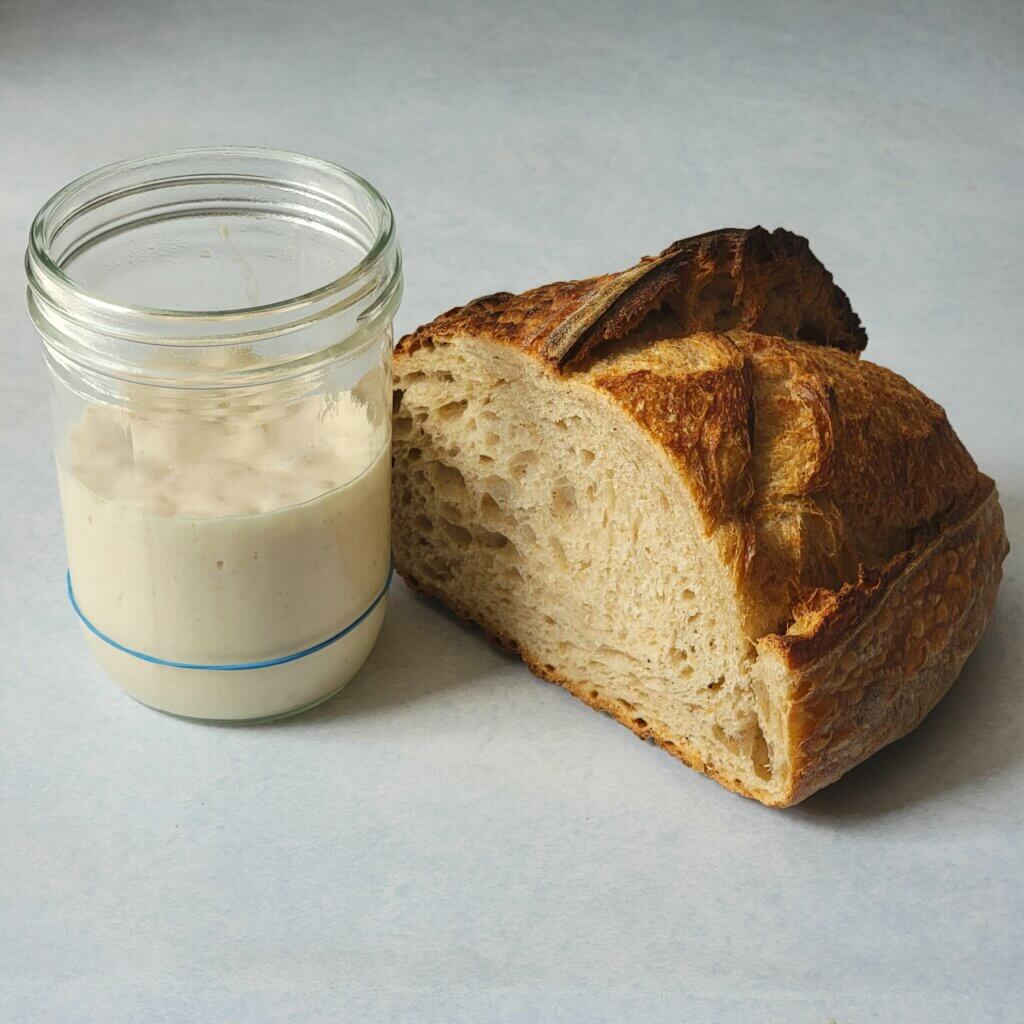
And there it is. So tender inside that it was difficult to slice, but the crust that first day was super thin and crispy.
The taste is, of course, comparible to white bread, considering I used just all purpose flour. It is obviously sourdough in flavor but not particularly sour. It is not especially sweet, but I’m amazed there is no fat in the bread. The texture is spongey and incredibility moist, way different than the dry tenderness of white bread.
Everything worked out. The key to the success of this loaf was patience, which I’ve learned plenty from working with sourdough. Even though I thought it surely wouldn’t work, I let it do its thing and it surprised me. I think there might be a life lesson here… or maybe it’s just overly-complicated bread.


Hi there, I just made my 1st Jiu Niang and am wanting to add some to a sourdough bread that I’ll be making tomorrow. I am thinking about adding it to the Levain, with some of my starter and see how it goes. Have you ever added this to your sourdoughs, instead of Amazake? Do you know of anyone else who has? I was at last year’s KojiCon…it was so great & inspiring! I hope there will be one this year too!
I have not, but it should act fairly similarly. Only difference being the hydration, which is just tricky in general. I’d love to hear how it turned out!
I’ve tried adding jiu niang into my chinese steam buns (mantou) with great success. It gives the fermentation a great boost as it contains plenty of yeast.